In this topic, we continue our discussion of the commands located on the Tables Menu.
While zip code information is added to the AIM system at the time of install, you may find the need to edit or add zip code information to your AIM system to meet the needs of your agency. Changes can be made to the Zip Code table.
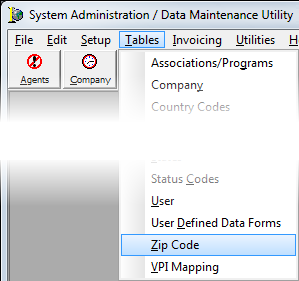
- On the Tables menu, click Zip Code.
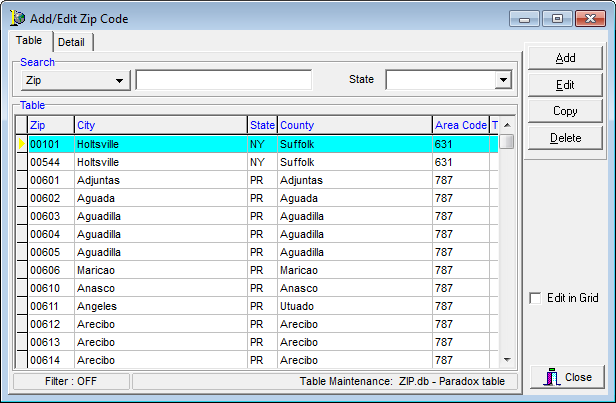
Zip codes are displayed in a grid layout on the Table tab in the Add/Edit Zip Code dialog box. In the table that follows we will show you the various buttons that are present on the Table tab and discuss their functions.
| Button | Function |
|---|---|
|
|
Add a new zip code |
|
|
Edit an existing zip code |
|
|
Copy the selected zip code data for insertion into a new zip code record |
|
|
Delete the selected zip code |
|
|
Close Add/Edit Zip Code |
We will show you how to search for existing zip codes, how to edit zip codes in the grid, and how to add a zip code. You can use this information later to edit existing zip codes as needed.
- In the Zip box, type the zip code that corresponds to the standard industry code that you want to find. Alternatively, you can click
 and choose from the following search operators:
- City
- County
- In the State list, select a specific state to display only the zip codes from within that state.
- Select Edit in grid to edit the selected zip code in the grid. Click the grid column and type to edit the zip code entry from within the grid.
- Click the Add button to add a new zip code. You can select a zip code in the list and click:
- Edit to change the selected code.
- Copy to copy the selected code which can be changed as needed to create a new code.

|
Boxes and fields shaded in yellow indicate a required field. You must enter text into these fields in order to be able to save your changes. |
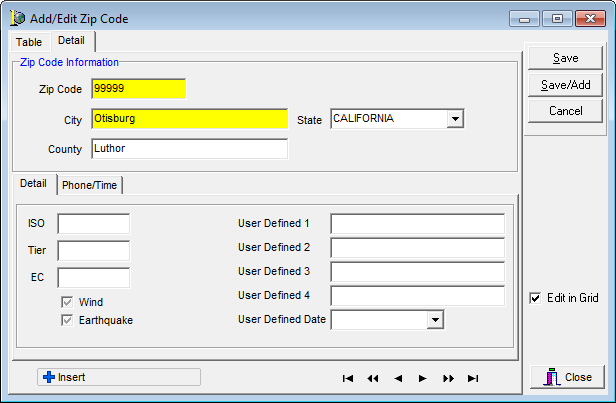
- The new zip code is added to the Detail tab and the sub-tabs. Enter the following information in the Zip Code Information pane.
- Zip Code (new code being added)
- City
- State
- County
- On the Detail sub-tab, enter the:
- ISO (insurance service office)
- Tier – zip code tier abbreviation (up to 3 alpha characters) for rating purposes
- EC (extended coverage) – code (up to 3 alpha characters) that applies to the zip code
- In the User Defined boxes labeled 1–4, enter user defined entries, that is, details that you define for the zip code. The entries may be up to 30 alpha characters in length.
- In the User Defined Date box, type a date. You can type the date or click and use the Calendar.
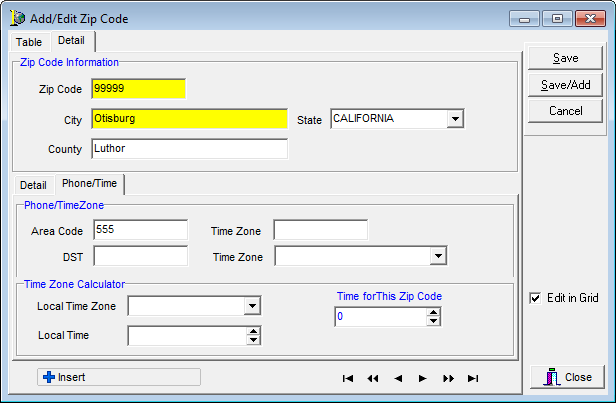
- Click the Phone/Time tab.
- In the Area Code box, enter the three-digit area code that corresponds to the zip code.
|
|
The time zone fields in both the Phone/TimeZone and Time Zone Calculator panes, are reserved for future development. |
- Click:
- Save to save your changes.
- Save/Add to save your changes and retain the dialog box for use.
- Cancel to abandon any unsaved changes.
|
Button |
Function |
|---|---|
|
|
Moves to the first record |
|
|
Skips past the previous ten records |
|
|
Moves to the previous record |
|
|
Moves to the next record |
|
|
Skips past the next ten records |
|
|
Moves to the last record |