-
In Sagitta, click Other.
-
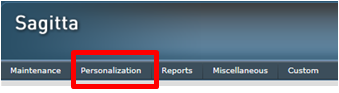
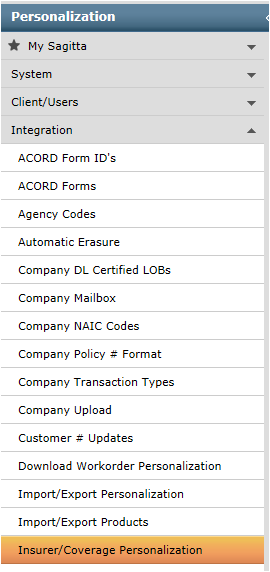
Click Personalization.
-
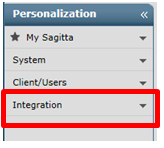
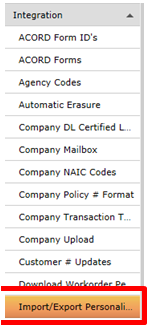
Expand Integration on the left side:
Import & Export Personalization: Exporting from the Policy Detail Information Page. The Import & Export Personalization page directs Sagitta during a rating integration session. The Program ID designated determines where the integration initiates.
-
To export from the Sagitta Policy Detail Information page, the Import & Export Personalization page must be personalized for Export with the following entries.
-
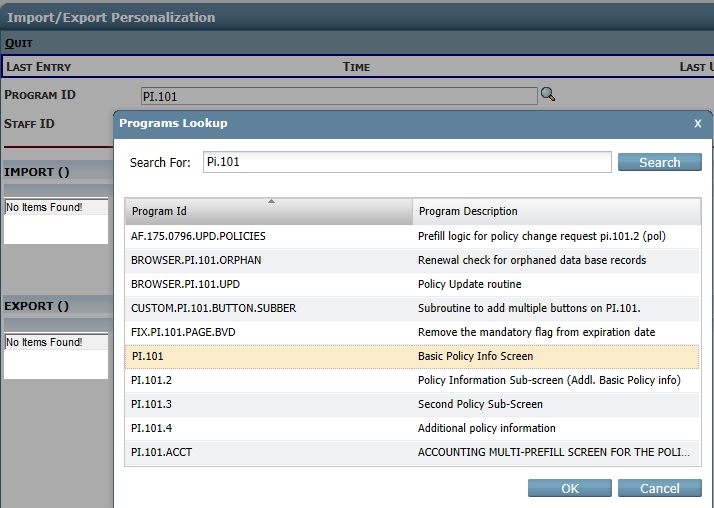
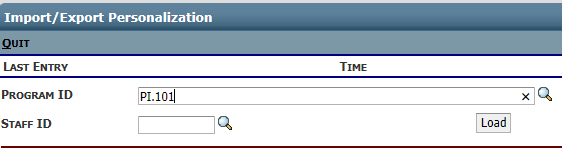
Field: Value > Program ID PI.101 Use the lookup to search for the value PI.101 then click on the value in the list and click OK.
-
Staff ID
-
Leave blank to create a generic record for unrestricted access
-
To restrict access to one staff member, enter a staff code. Use a fresh page for each additional staff member you set up.
-
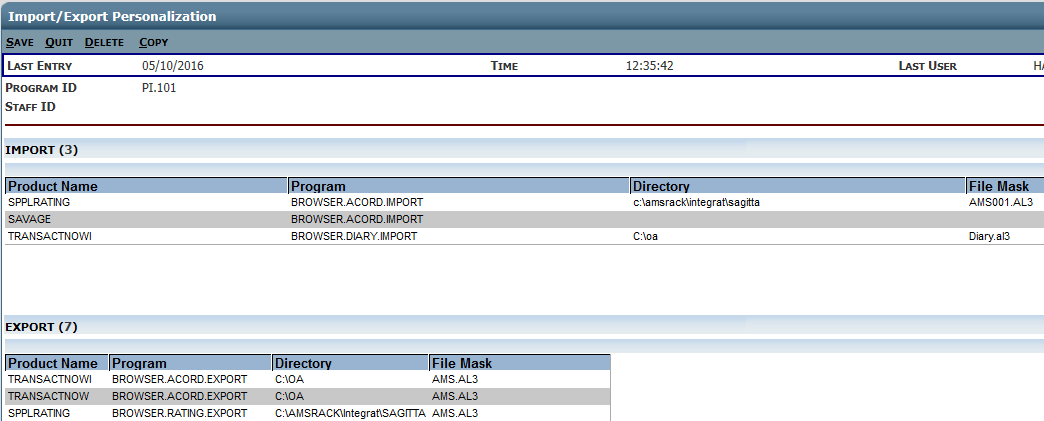
Click the LOAD button then verify the following values in the Export Information section of the Import/Export Personalization page the click the SAVE icon.
-
Field Value > Product: SPPLRating
-
ENV: DOS (this is 32 bit/Windows)
-
Type: R
-
Opts: Leave blank
-
Target\Data SRC: Leave blank
-
Shared: Leave blank
-
Data Directory: C:\AMSRACK\Integrat\SAGITTA
-
File Mask: AMS001.AL3
-
Program Dir: C:\AMSRACK\ (or designate drive where PL Rating was installed)
-
Program: ARImport.exe /Partner=6
-
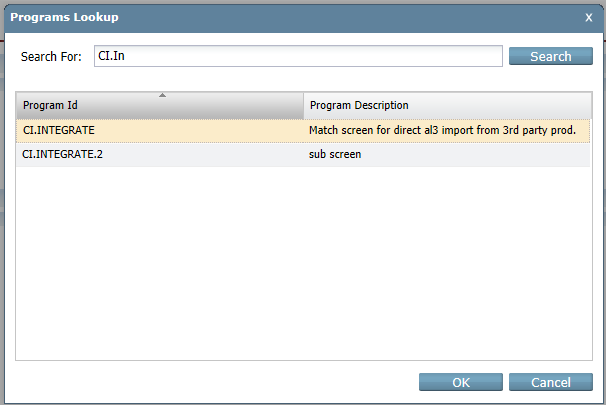
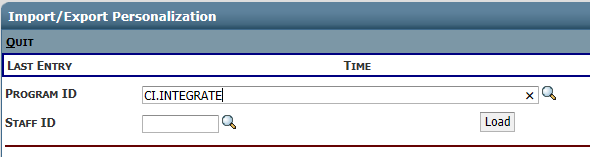
To import to the Sagitta Direct Policy Match page, the Import & Export Personalization page must be personalized for Import with the following entries. Use the same process as above when you added the PI.101.
-
Field Value > Program ID CI.INTEGRATE
-
Staff ID
-
Leave blank to create a generic record for unrestricted access
-
To restrict access to one staff member, enter a staff code. Use a fresh page for each additional staff member you set up.
-
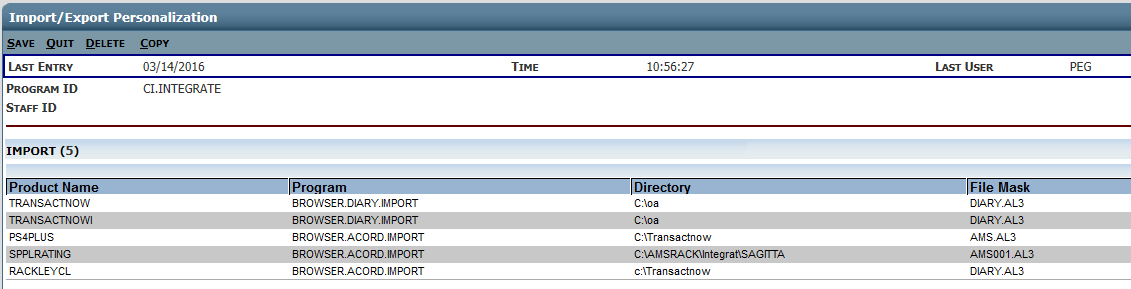
Click the Load Button then verify the following values in the Import Information section of the Import/Export Personalization page.
-
Field Value > Product SPPLRating
-
ENV DOS (this is 32 bit/Windows)
-
Type R
-
Opts Leave blank
-
Target\Data SRC Leave blank
-
Shared Leave blank
-
Data Directory C:\AMSRACK\Integrat\SAGITTA
-
File Mask AMS001.AL3
-
Program Dir Leave blank
-
Program Leave blank
-
After entering the above information click SAVE.
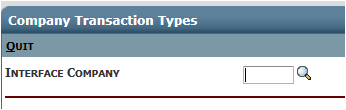
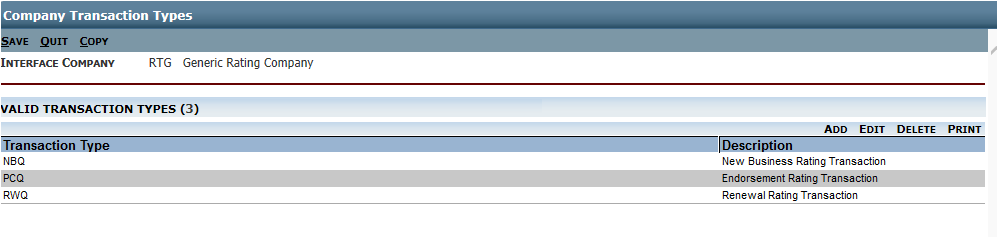
Company Transaction Types
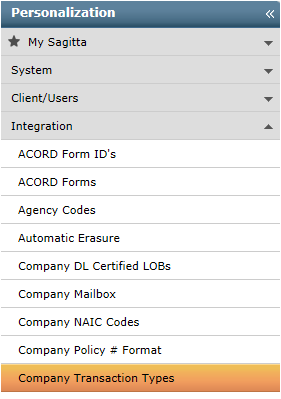
Use the lookup to add or review the settings for RTG
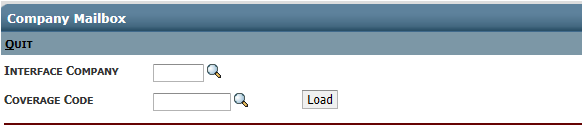
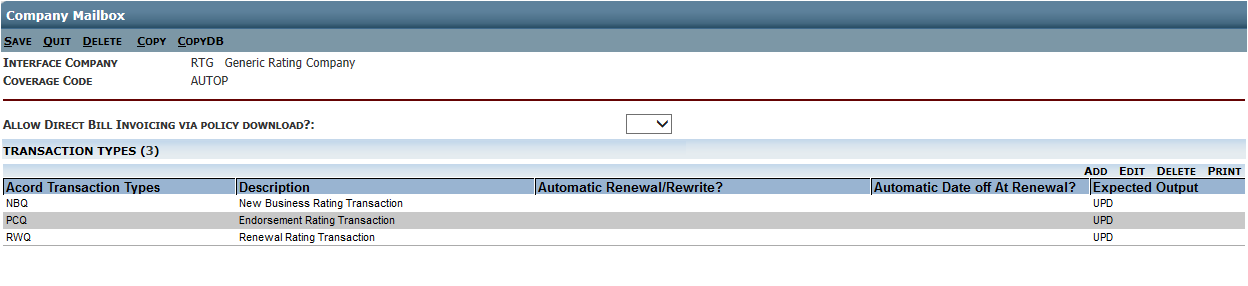
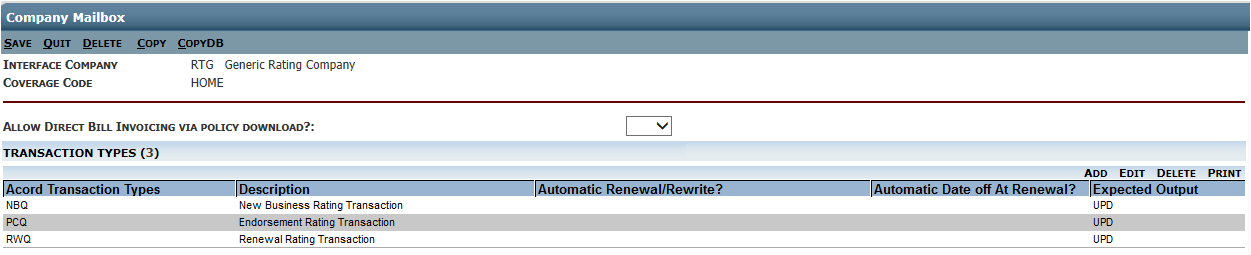
Company Mailbox Personalization: Enter the following values at the top of the Company Mailbox Personalization page. Refer to the Sagitta ACORD Company Mailbox Personalization topic in online help if you need additional assistance completing this page.

-
Interface Company RTG > use the lookup to populate the field
-
Coverage Code The applicable coverage code AUTOP
-
Enter AutoP then click the LOAD button to refill the transaction types
-
Coverage Code The applicable coverage code HOME
-
Enter HOME then click the LOAD button to refill the transaction types
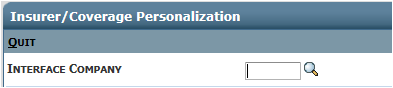
Insurer and Coverage Codes: The Insurer and Coverage Codes Personalization page translates the ACORD standard codes into your Agency's unique Insurer and Coverage codes. Follow these steps to personalize the page:
-
Enter RTG as the Interface Company by using the lookup
-
The Code Equivalent section will populate. You can edit each Code (AUTOP and HOME) for the following:
-
Select Y at Monoline Coverage Info.
-
Select Y at Package Coverage Info.
-
Click Save, or if you need to add more codes, click Save&Add.