In this topic, we continue our discussion about managing Units At Risk on a submission.
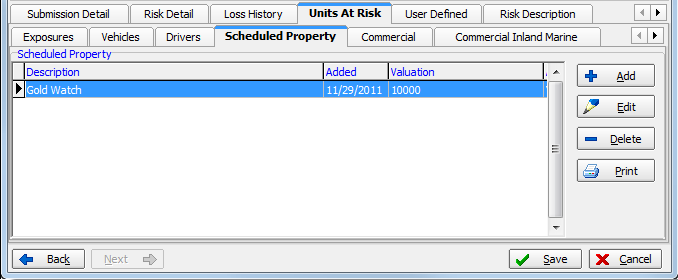
Using the Scheduled Property tab, you can add scheduled properties to a policy or submission. You can record information that may be valuable in the event of a loss such as the value and the serial number of the property, if applicable.
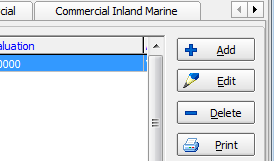
In the table that follows, we show describe each of the buttons on the Scheduled Property tab.
|
Button |
Function |
|---|---|
|
|
Add a new scheduled property |
|
|
Edit an existing scheduled property |
|
|
Delete the selected property |
|
|
Print a list of all properties displayed |

In the steps below, we show you how to add a scheduled property. You can easily modify our steps to edit existing scheduled properly records as needed.
- Click Add.

- In the
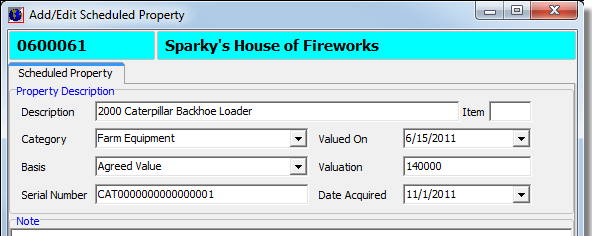
Property Description pane, enter the following information in the boxes:
- Description – brief description of the property
- Item – item number for the scheduled property, if applicable
- Category – property category
- Valued On – date on which the value of the property was established
- Basis – basis for the valuation of the property
- Valuation – value of the property
- Serial Number – serial number of the property, if applicable
- Date Acquired – date on which the property was acquired
|
The Category and Basis lists are maintained via the Lookup Codes table of Data Maintenance Utility (DMU). Contact your AIM system administrator for assistance modifying these lists. |

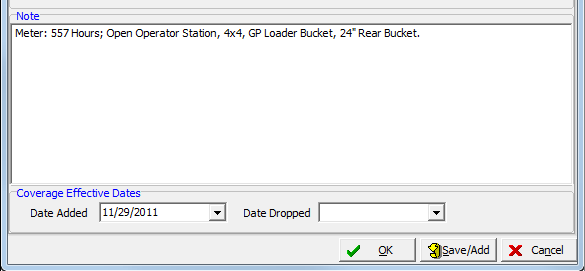
- In the Notes box, enter any relevant notes about the property.
- In the
Coverage Effective Dates pane, enter the dates that the coverage began
and ended.
- Date Added – date on which the property was added to the policy
- Date Dropped – date on which the property was dropped from the policy, if applicable
- Click
OK to save your changes or click Save/Add to save your changes and add
a new property.
Alternatively, you can click Cancel to abandon your changes.


