The AIM system makes frequent use of the grid format to display data, and the AIM program is no different. Grids are arranged in columns and rows similar to a spreadsheet. The useful information in the grids is easily used by you and the system for a wide variety of purposes.
While not all grids that you encounter will behave in the same manner, many of the grids have a similar look and feel and share common controls. We will discuss the most commonly seen type of grid and how you can arrange the grid to show you the information that you want to see.
You can arrange the layout of the grid to meet your individual needs. You can drag a heading to move it to any desired position. You can also click a heading to sort the data in the grid by that heading. For example, click Insured to change the order of the grid contents. Clicking the heading again will sort the list in the opposite order.
If there is more data to be viewed on the grid, scroll bars will be shown. You can use the scroll bars to scroll horizontally and vertically to see all available data.
Right-click anywhere in the grid to view the menu. The menu varies depending on the grid that you are viewing.
|
Click |
To do this |
|---|---|
|
Toggle Scrollbars |
Enable or disable the scroll bars. |
|
Export Grid |
Send data in the grid to a third party application like Microsoft Excel. |
|
Show SQL Statement |
Show the SQL statement used to gather the data in the grid. |
|
Save Grid Settings |
Save your grid settings. |
|
Clear Grid Settings |
Delete the grid settings that have been saved for the user. |
|
Add Fields to Grid |
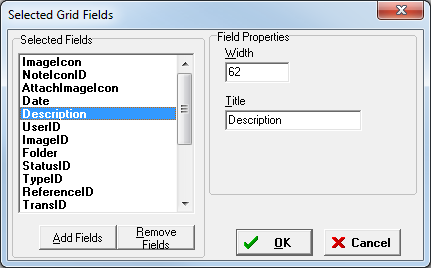
Open the Selected Grid Fields dialog box used to add and remove grid fields. |
Depending on the grid that you are viewing, the Add Fields to Grid menu command can be used to further customize the grid layout.

- Click Add Fields to Grid.

- In the Selected Fields pane, select the field that you want to change.
- In the
Field Properties pane, edit the selected field to meet your needs.
- Width – number of characters shown in the field
- Title – name of the field displayed in the grid
- Click
the appropriate button to add or remove a field.
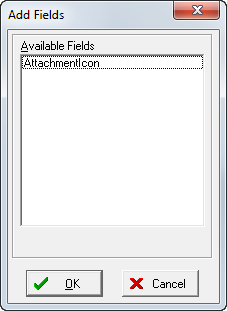
- Add Fields – add fields to the grid using the Add Fields dialog box
- Remove Fields – remove the selected field from the grid