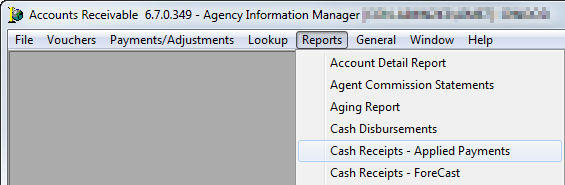
You can use the Cash Receipts – Applied Payments report to view and print payments that have been posted to an account.
- On the Reports menu, click Cash Receipts – Applied Payments.
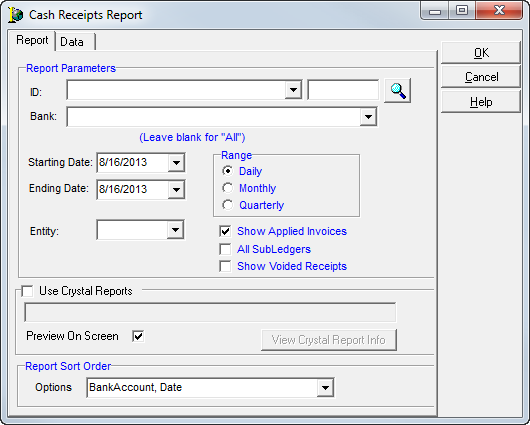
- In the Report Parameters group box, located on the Report tab, enter the following information:
- ID – Type the ID in the field or click
 to select an agent or insured. You can leave this field blank, to prepare the report for ALL agents or insureds. Click
  to open the Select Account window, and then select an agent/insured from the list.
 - Bank – Click to select a bank account to prepare this report for only one bank account. By leaving this field blank, the report will be prepared all bank accounts.
- Starting Date – Enter the start date for the report by typing or by clicking and using the calendar.
- Ending Date – Enter the end date for the report by typing or by clicking and using the calendar.
- Entity – Click to select the entity. Leave the box blank to run the report for all entities.
- ID – Type the ID in the field or click
- In the Range group box, select Daily, Monthly, or Quarterly.
The start/end dates are updated automatically based on your selection.
- Select the following options, if applicable:
- Show Applied Invoices – select to show all invoices that have applied funds
- All Subledgers – select to view information for all subledgers
- Show Voided Receipts – select to show invoices with voided receipts
- Select Use Crystal Reports if a Crystal Report has been prepared for this report.
The box populates the path to the stored Crystal Report making the View Crystal Report Info button active. - Select Preview on Screen to preview the report on your computer prior to printing.
- In the Report Sort Order group box, click and select one of the sort order methods from the list.
- Click OK to view or print the report, or click Cancel to abandon the action.
The Data tab is used for easier export of the report without the report headers. You can export the report data by right-clicking in the grid, and then clicking Export Grid.