The Offsets feature of AIM Accounting is used to manually apply an original invoice against a reversal invoice. Doing so causes the invoices to be closed, and thus they do not display as an open item on the client’s account.
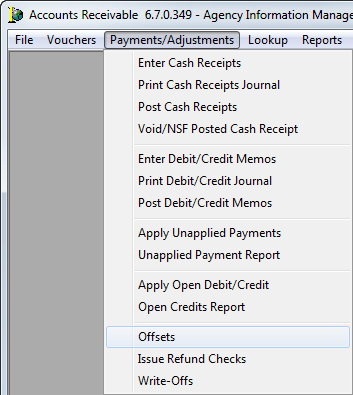
- To create a new batch, click the Payments/Adjustments menu, and then click Offsets.
- In Select Batch, click New to create a new offset batch or select an existing batch and click OK.
Click Cancel if you want to abandon the process.
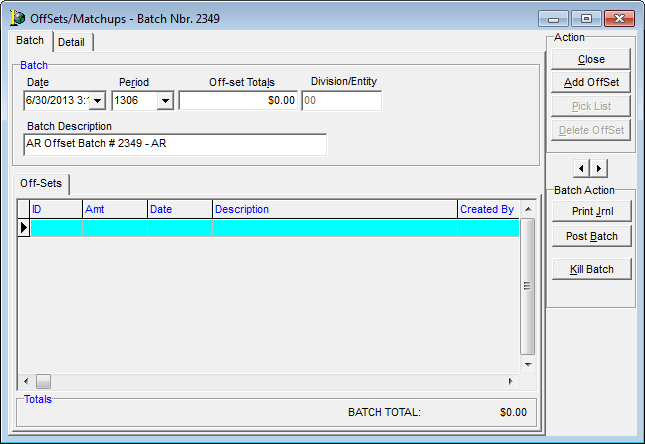
You may find it useful to review the features, fields, and buttons located in the Offsets/Matchups dialog box before proceeding.
| Field/Feature | Function |
|---|---|
| Date | Populates with the current date and can be modified |
| Period | Populates with the current accounting period and can be modified |
| Off-set Total | The total of the batch |
| Division/Entity | Entity being affected by the batch |
| Batch | System generated description of the batch and can be modified |
| Close | Click to save and close the batch for later use. |
| Add Offset | Click to add an offset to the batch |
| Delete Offset | Click this button to delete the selected offset |
| Database navigation arrows | Scrolls between previous and next payment entries within the batch. |
| Print Journal | Prints the memo report journal |
| Post Batch | Posts the batch |
| Kill Batch | Cancels the batch |
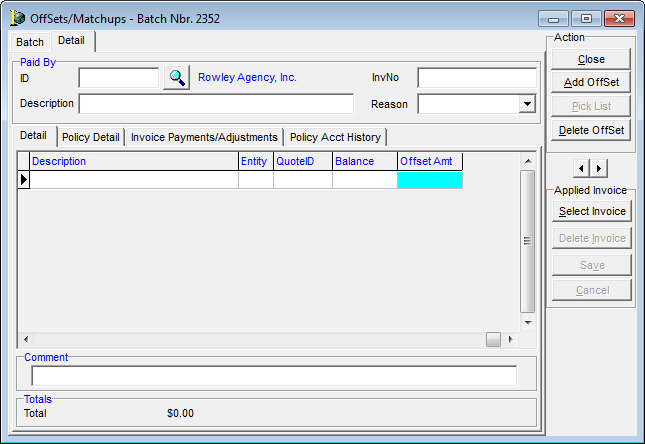
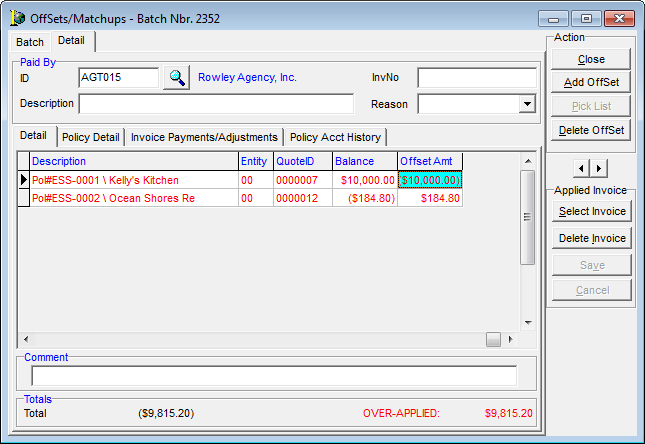
- Click Add Offset.
- On the Detail tab, click to select the client ID.
- Click the Select Invoice button.
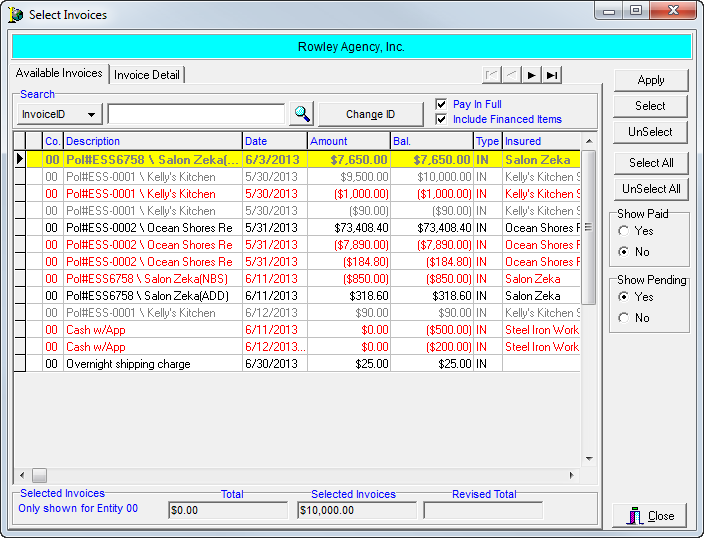
You may find it useful to review the features, fields, and buttons located in the Select Invoices dialog before proceeding.
| Field/Feature | Description |
|---|---|
| Available Invoices tab | Holds invoices available for selection and addition to this payment batch. |
| Database navigation arrows | Scrolls between previous and next payment entries within this batch. |
| Search field |
Allows the user to search for a particular invoice. Choose search parameters of:
|
| Change ID | Used to change the ID to that of another retail agent or insured. Example of use is to select invoices from multiple retail agent accounts in the application of a payment received from a premium finance company. |
| Pay In Full | If not selected, causes the amount field on the Applied Invoices tab to display zero, alerting you to enter the amount to be applied to the invoice. If selected, causes the amount field on the Applied Invoices tab to display the open balance of the invoice. This feature, if selected, applies to all selected invoices. |
| Include Financed Items | When selected, causes the display of invoices for policies that have been flagged as being premium financed. |
| Apply | Causes the selected invoices to be pulled into the Applied Invoices tab for payment. |
| Select | Use to individually select invoices for payment. |
| Unselect | Use to clear the selection of the selected invoice. |
| Select All | Use to select all invoices available. |
| UnSelect All | Use to remove from selection all selected invoices. |
| Show Paid |
If Yes, displays all paid and unpaid invoices in the grid for selection. If No, only unpaid invoices are displayed for selection. |
| Show Pending |
If Yes, displays all invoices for selection, including those that may have already been selected in another batch. If No, only those invoices that are unpaid (or not selected in another batch) are displayed for selection. |
| Selected Invoices fields | Fields display the selected entity for the batch, as well as the payment total, total of invoices selected, and revised total (difference between the payment total and total of invoices selected). |
| Close | Closes Select Invoices and returns the user to the Payment Application tab. |
| Invoice Detail tab | Holds information pertaining to the history of the invoice and policy in both AIM and AIM Accounting. |
- Select all offsetting invoices, and then click the Apply button.
- Click Add Offset to select another client or click the Batch tab to process the batch. The offset totals must be $0.00 for the batch to post.
- Click the Print Journal button.
The Report Sort Options dialog box is displayed, which allows the report to be sorted by Company, ID, or Order Entered. - Click OK.
The Offset Batch dialog box is displayed, which allows the following options:
| Print Option | Description |
|---|---|
| View | View the journal on screen |
| Print the journal | |
| Setup | Change the printer set up |
| Exit | Close the Memo Report dialog box |
| Cancel | Cancel printing of the journal |
- After reviewing and approving the printed journal, click the Post Batch button.
A confirmation window is displayed, verifying the batch number, batch total, and accounting period.