Cash Receipts – AP/Misc
This option is used to enter carrier and finance company checks. hey can either be applied directly to a General Ledger (GL) account or applied to an AIM invoice or voucher.
- On the Company/Payables menu, click Cash Receipts – AP/Misc.

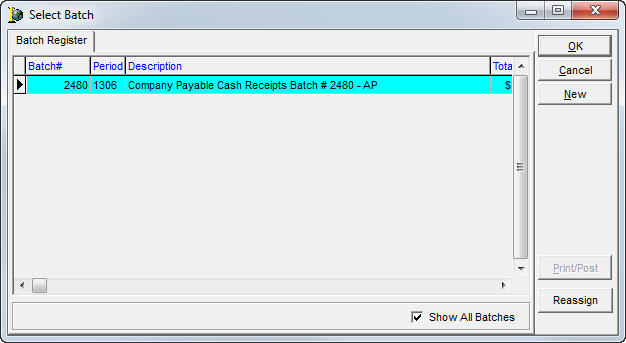
- In the Select Batch dialog box, use the buttons described in the table below to create and manage batches.
| Button | Function |
|---|---|
| OK | Open and edit the selected batch. |
| Cancel | Close the Select Batch dialog box. |
| New | Create a new batch. |
| Print/Post | Print the cash receipts journal and posts the batch. |
| Reassign | Reassign the batch to another user. |
- Click New to create a new batch.
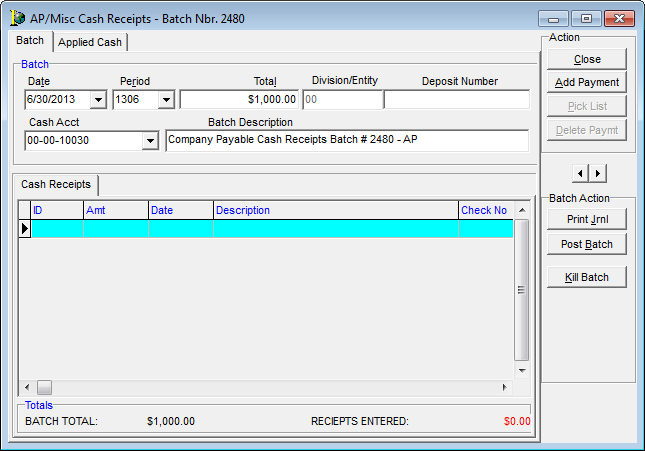
- On the Batch tab of the AP/Cash Receipts dialog box, enter the following information:
- Date – Populates with the current date but can be modified
- Period – Populates with the current accounting period but can be modified
- Total – The total of all payments added to the batch
- Division/Entity – Entity being affected by the batch
- Deposit Number – optional bank deposit number
- Cash Account – Bank account being affected by the cash receipt batch
- Batch Description – System-generated description of this batch; can be modified
- Click Add Payment to add a new payment to the batch on the Applied Cash tab.
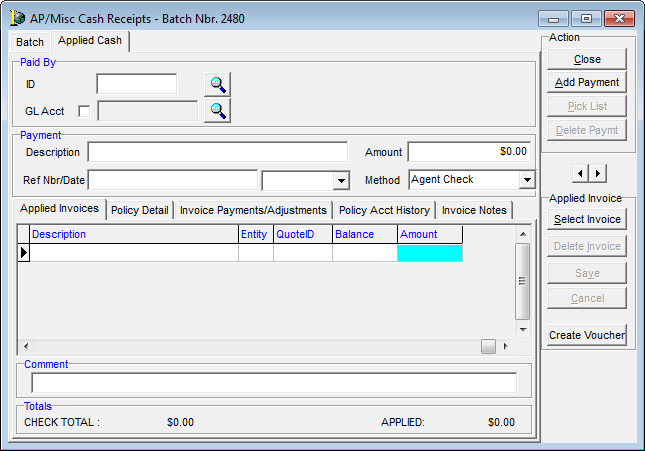
- The Applied Cash tab, holds the detail of each payment recorded in the batch, including amount, check number, and applied invoices. Enter the following information:
- ID – The ID number of the carrier or finance company account.
Enter the ID if known, or click to open the Select Account dialog box to select a specific account.
 - GL Acct – The General Ledger account.
You must select the check box, and then click to select an account. - Description – A brief description of the payment.
The description appears in the journal and in lookup screens. - Amount – The total amount of the payment.
- Ref Nbr – The check number or other information used as a reference to the check.
- Date –The check date or date received by your agency, whichever is preferred.
- Method – Select the method of payment
- ID – The ID number of the carrier or finance company account.
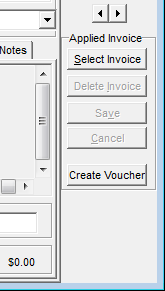
- In the Applied Invoice pane, you can use the buttons described in the following table to manage invoices to be paid with the payment.
| Button | Function |
|---|---|
| Select Invoice | Displays the Select Invoices dialog box, which is used to select invoices to be paid |
| Delete Invoice | Deletes the selected invoice from the Applied Invoices tab |
| Save | Save the batch |
| Cancel | Cancel the creation of the batch |
| Create Voucher | Apply a payment to a new submission that does not currently have an invoice associated with it. This button is intended for use with Cash with App payments only. |
You can view information about the selected invoices using the tabs described below.
- Applied Invoices – Holds the detail of the payment application currently viewed in the upper half of the Payment Application dialog box. Individual invoices are shown in the grid. You can enter amounts to apply to each selected invoice.
- Policy Detail – Used to view the policy number, effective date, quote ID, insured and commission rates for the policy selected on the Applied Invoices tab.
- Invoice Payments/Adjustments – Holds information about any payments or adjustments made to the policy selected on the Applied Invoices tab.
- Policy Acct History – Used to view any transaction that applies to the policy selected on the Applied Invoices tab.
- Invoice Notes – Used to add, view, or edit notes specific to the invoice selected on the Applied Invoices tab.