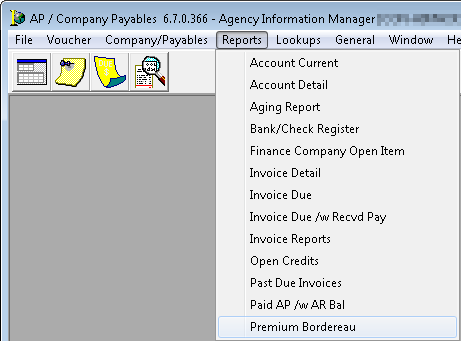
Use this report to view and print balances due to market companies. The report header displays Premium Bordereau rather than Account Current.
- On the Reports menu, click Premium Bordereau.
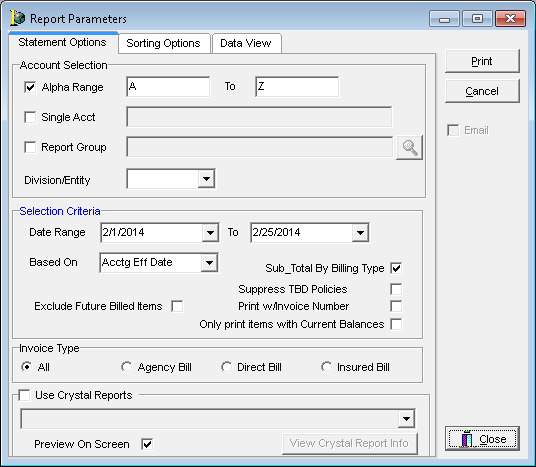
The fields and features of the Report Parameters dialog box are defined in the table below.
| Field/Feature | Function |
|---|---|
| Account Selection |
Several parameters exist for the Account Current report:
|
| Start Date/End Date/Period | Desired date range |
| Based On |
Options are as follows:
|
| Exclude Future Billed Items | Suppresses any future invoices |
| Sub-Total By Billing Type | Display totals by billing type, i.e. Agency Bill and Direct Bill to Insured |
| Suppress TBD Policies | Excludes any policies where the policy number is to be determined (TBD) |
| Print w/Invoice Number | Displays the invoice number on the report |
| Only Print Items with Current Balances | Suppresses original AIM invoices and reversals that display on the report |
| Invoice Type |
Options are as follows:
|
| Use Crystal Report | If a custom account current is created with a Crystal Report, you can select this option to display the path of the custom report. |
| Preview on Screen | The report is displayed on your computer monitor before printing the report |
| View or print the report | |
| Cancel | Terminate the report |
| Close | Terminate the report |
| Sorting Options tab | Used to manage whether the report is sorted by policy number, insured’s name, policy effective date, or type as well as in ascending or descending order. In addition, you can choose to have the page break on the change of the company names within the report and have the page numbering restart on this break. |
| Data View tab | Refer to the Tabs topic for additional information. |
- Enter the report parameters.
- Click Print.
- In the Account Current print dialog box, click the appropriate button, depending on your needs:
- View – View the report on your monitor.
- Print – Print the report to a printer.
- Setup – Select or change the default printer.
- Exit – Close the Account Current print dialog box.
- Cancel – Close the Account Current print dialog box.