Import DBC Files
In the steps that follow, we will show you how to run the Direct Bill Carrier (DBC) Upload process in AIM Accounting.
Setting up DBC imports requires engagement from Vertafore Professional Services. Please contact your account manager to schedule time with Professional Services to complete the setup.
- Open the Accounts Receivables module.
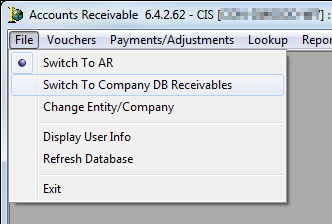
- Click the File menu, and then click Company Direct Bill Receivables.
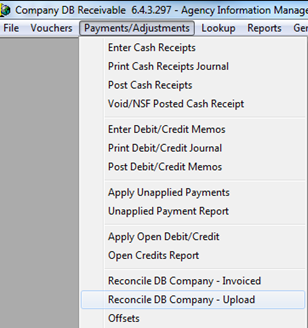
- Click the Payment/Adjustments menu, and then click Reconcile DB Company – Upload.
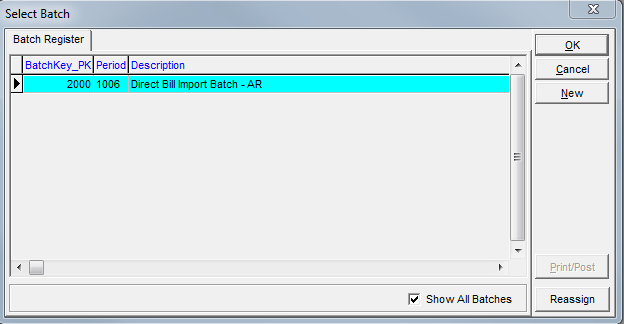
- Click New in the Select Batch dialog box.
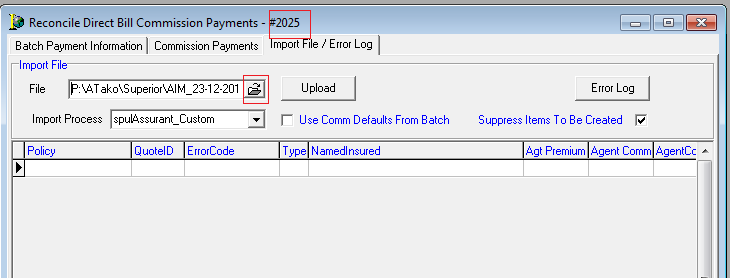
- In the Reconcile Direct Bill Commission Payments dialog box, locate and make note of the batch number in the title bar.
The batch number may be needed for troubleshooting. - Click the Import File/Error Log tab.
- In the File field, type the path to the import file.
As an alternative, you can click to browse to the file location.
 - In the Process list, select spulAssurant_Custom.
- Click Upload.
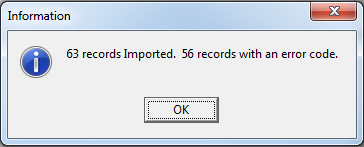
- In the Information dialog box, verify that the correct number of records were imported.
Records with errors will be shown as well.
- On the Import File/Error Log tab, records with an error are displayed in the grid. Correct all errors and restart the upload process using a new batch.
Note: You cannot post a partial batch.
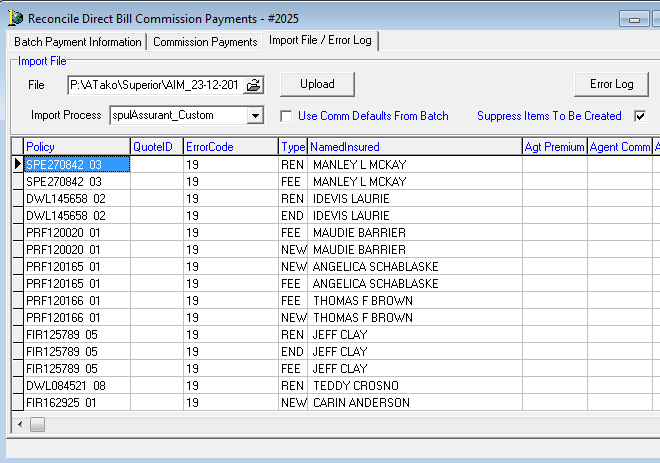
The table that follows describes the error messages and their meaning.
|
Error Code |
Description |
|---|---|
|
15 |
Producer has not been set up. Add dummy producer to be used for DBC upload with name DBC Upload Agent |
|
16 |
AIM Product have not been set up |
|
17 |
Line of business from input file does not match AIM line of business mapping |
Continuing in the Reconcile Direct Bill Commission Payments dialog box of the AIM accounting application, we will show you the steps necessary to post a batch.
|
The Cash, Income, and Expense accounts should match the Entity/Cost Center. The first 2 digits of the account number designate the entity. The next two digits, after the dash, refer to the cost center. In our example, the Cash Account, 00 = entity, and 00 = cost center. |
- Click the Batch Payment Information tab.
- In the Batch Action pane, click Close.
- Click Print Jrnl to print the batch before posting.
|
The company ID will be used as the default market company for the policy record if one does not currently exist. |
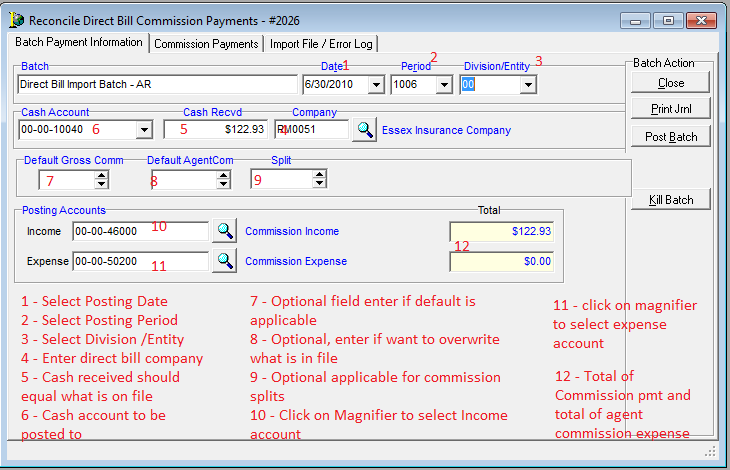
- If the journal is correct, click Post Batch to post the batch to AIM Accounting.
|
The agent shown in the journal is the retail agent entered in AIM when the policy was created. The Agt Rate represents the retail agent commission entered in AIM. Ignore the 0 Items string shown in the report. |
- If there are no errors with the posting, you will be prompted to reconcile another batch. Click No.
- If you want to discard the batch and start a new one, click Kill Batch.
The payment types, shown in the Pmt Type column of the Company DB Receivable report are defined in the table below.
|
Payment Type |
Definition |
|---|---|
|
FEE |
Policy Fee, Inspection Fee |
|
REN |
Renewal Policy Premium |
|
NEW |
New Policy Premium |
|
CAN |
Cancellation |
|
END |
Endorsement |
|
RIN |
Reinstatement |
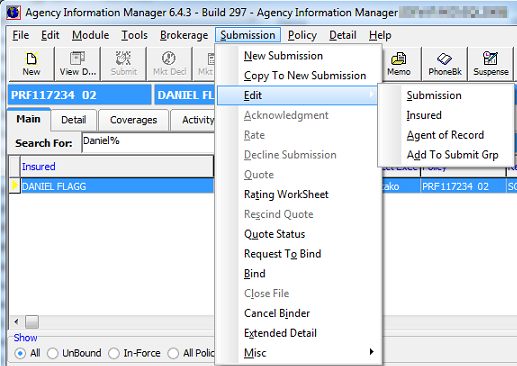
In AIM, you can view and edit Insured information.
On the Main tab in AIM, you can enter the insured’s name in the Search For box.
In our example below, we searched for Daniel% (using % as a wild card) and the insured name Daniel Flagg is returned. You can view the coverage, policy, and invoices created in AIM for this insured. You can also go to the Submission menu to edit the insured or edit the submission.
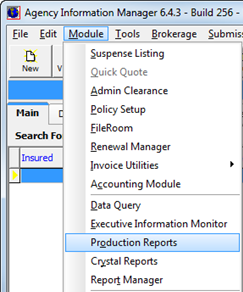
- On the Module menu, click Production Reports.
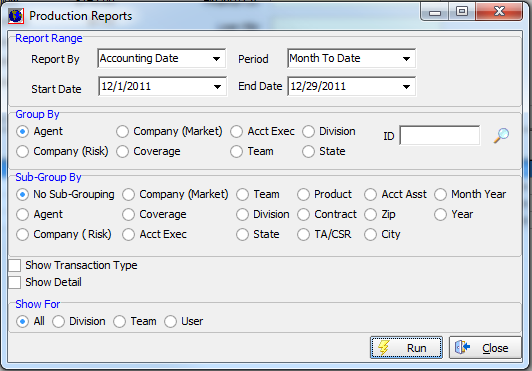
In the Production Reports dialog box, you can view production statistics for the Company, Coverage, Product, and Agent.
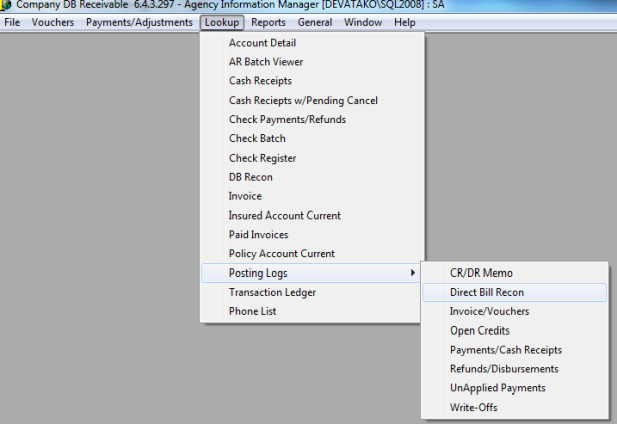
Using the process outlined below, you can view the Direct Bill Reconciliation Report in AIM Accounting.
- Open the Company DB Receivable module of AIM Accounting.
- Click the Lookup menu, point to Posting Logs, and then click Direct Bill Recon.
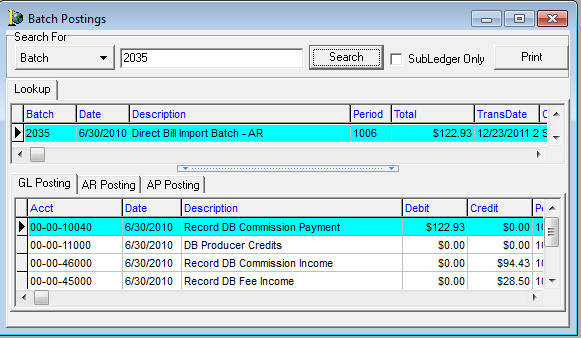
- In the Batch field, located in the Batch Postings dialog box, type the batch number.
- Click Search.
The batch details are displayed in the grids on the Lookup, GL Posting, AR Posting, and AP Posting tabs.
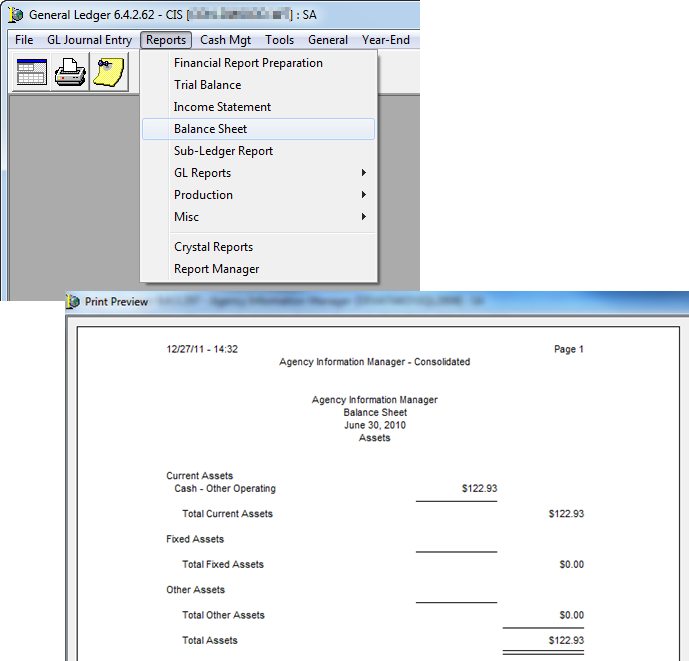
- Open the General Ledger module.
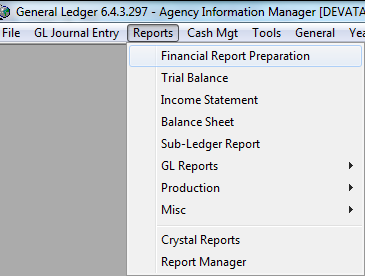
- Click the Reports menu, and then click Financial Report Preparation.
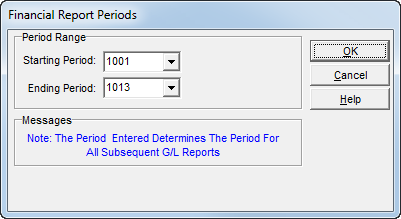
- In the Financial Report Periods dialog box, enter the starting and ending periods.
Once the report preparation is completed, you can view financial statements.
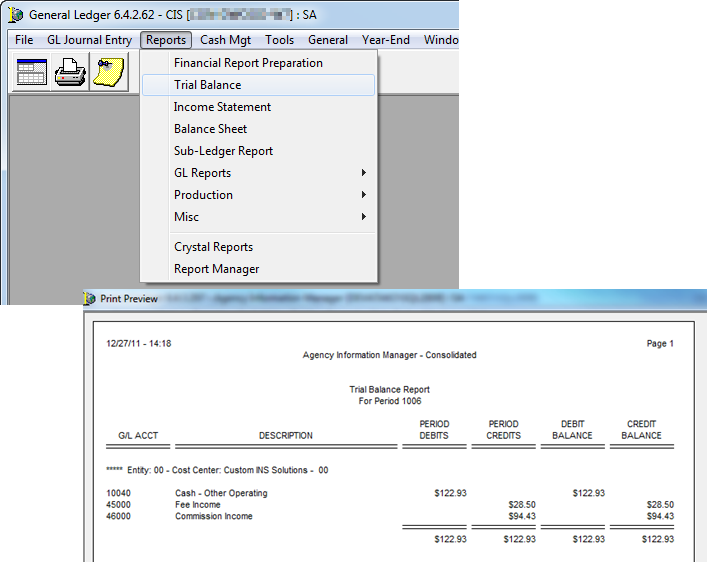
- To view the Trial Balance report, click the Reports menu, and then click Trial Balance.
- To view the Income Statement report, click the Reports menu, and then click Income Statement.
You must enter report parameters and view the report before it can be printed.
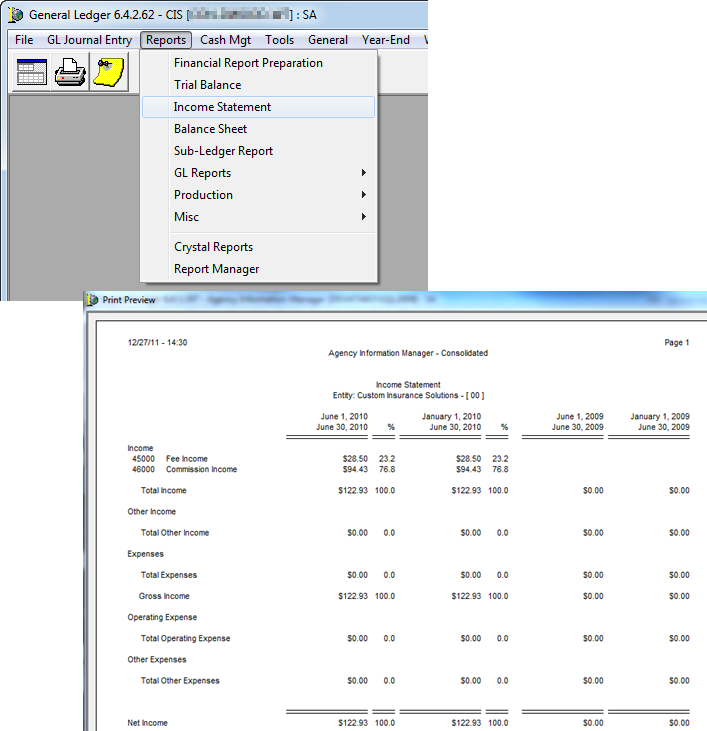
- Click the Reports menu, and then click Balance Sheet to view the Balance Sheet report.
