Surplus Lines Tax Reconciliation
This workflow is intended to show you how to reconcile the statement received from the taxing entity and create a statement that can be used in check preparation so that individual invoices do not have to be selected manually during the check preparation process. Multiple tax reconciliation batches/statements can be created throughout the year and selected in the check preparation screen.
In the steps that follow, we will show you how to reconcile a tax statement.
- On the AIM Accounting toolbar, click the Modules menu, and then click Accounts Payable – Taxes.

- In AP/Tax Payables, click the Tax/Payables menu, and then click Tax Reconciliation.
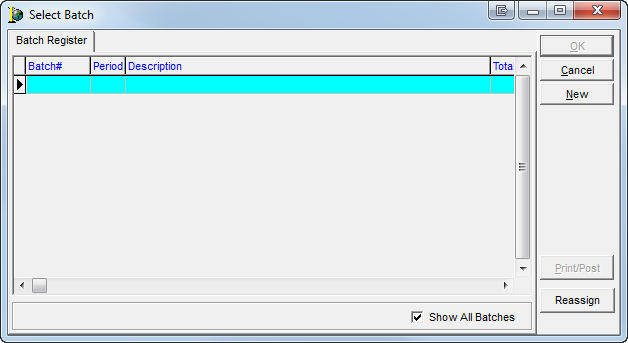
- In Select Batch, click New to create a new batch. If you need to edit an existing batch, select the batch and click OK. You can also perform the following actions as needed:
- Cancel – close Select Batch without saving changes
- Print/Post – print and post an existing batch
- Reassign – reassign a batch to another person
-
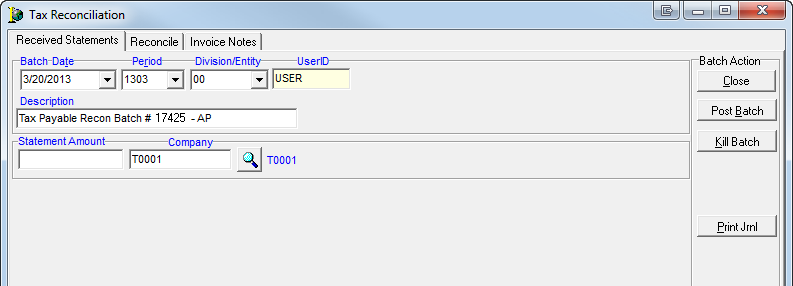
In Tax Reconciliation, on the Received Statements tab, enter the following information:
- Batch Date – automatically defaults to current date
- Period –accounting period (required)
- Division/Entity –entity (required), leave blank to make all entities available
- UserID – populates automatically with the current user’s ID
- Description – populated with default message (can be overwritten)
- Statement amount – total amount of the statement received from the taxing entity (optional)
- Company – taxing entity (Click to select the taxing entity.)
- Click the Reconcile tab.
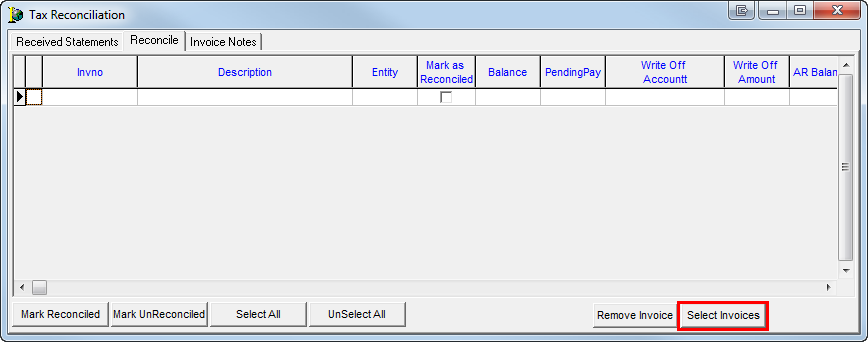
- Click Select Invoices to select available invoices.
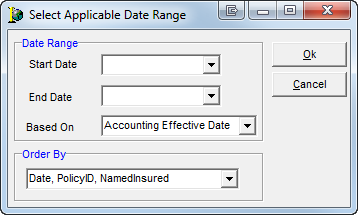
- In Select Applicable Date Range, enter the starting and ending dates of the invoices required. Leaving these boxes blank results in all open invoices being displayed.
- In the Based On list, select the type of date to use:
- Accounting Effective Date
- Due Date
- Invoice Date
- Statement Date
- In the Order By list, select the order in which the results should be viewed. Choose from:
- Date, PolicyID, NamedInsured
- Date, NamedInsured, PolicyID
- PolicyID
- NamedInsured
- Click OK to continue or click Cancel to abandon your changes.
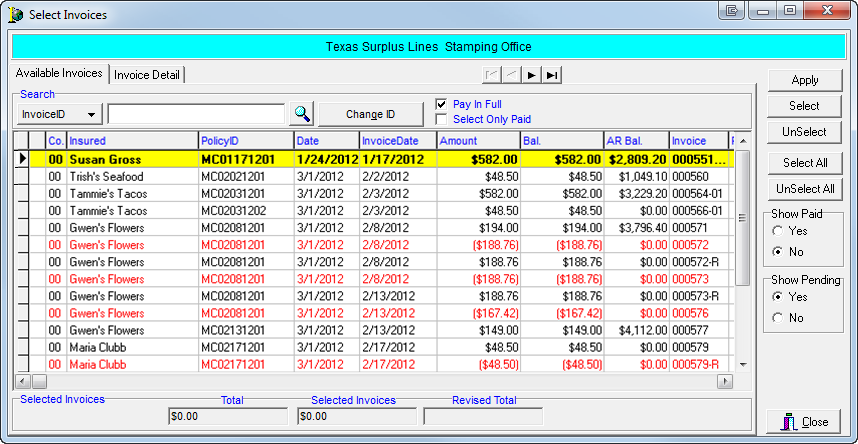
- On the Available Invoices tab, located in the Select Invoices dialog box, select the invoices to add to the batch by clicking Select All or by pressing Shift or Ctrl with the spacebar. The table below describes features and functions of the Select Invoices dialog box.
|
Feature |
Used to |
|---|---|
|
Available Invoices tab |
Hold invoices available for selection and addition to this payment batch. |
|
Yellow highlight bar |
Indicate the highlighted invoice when scrolling through the grid. When the invoice has been selected, the highlight bar turns blue. |
|
Navigation Arrows |
Scroll between previous and next payment entries within the batch. |
|
Search |
Search for a particular invoice. Choose from:
|
|
Change ID button |
Change the ID code to another client ID code. |
|
Pay In Full |
If not selected, this box causes the amount field on the Applied Invoices tab to display zero, alerting the user to enter the amount to be applied to the invoice.
If selected, it causes the amount field on the Applied Invoices tab to display the open balance of the invoice. When selected, it applies to all selected invoices. |
|
Apply button |
Cause the selected invoices to be added to the Applied Invoices tab for payment. |
|
Select button |
Individually select invoices for payment. |
|
Unselect button |
Clear the selection of the highlighted invoice. |
|
Select All button |
Select all available invoices. |
|
Unselect All |
Clear the selection of all highlighted invoices. |
|
Show Paid |
Display all paid and unpaid invoices depending on the selected option.
|
|
Show Pending |
Display pending invoices for selection, depending on the selected option.
|
|
Selected Invoices boxes |
Display the payment total, total of invoices selected and revised total (difference between the payment total and total of invoices selected). |
|
Close button |
Close Select Invoices and return to the Payment Application tab. |
|
Invoice Detail tab |
Access information pertaining to the history of the selected invoice and policy in both AIM and AIM Accounting. |
- Click Apply to add the selected invoices to the batch.
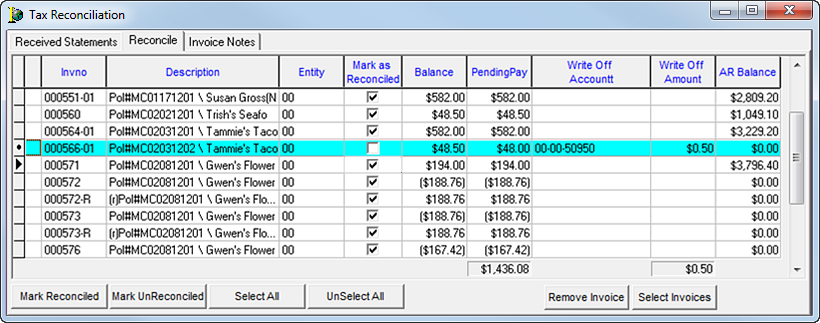
- On the Reconcile tab, located in the Tax Reconciliation dialog box, select the invoices to be reconciled.
- Click Mark Reconciled.
|
If an invoice has been selected in error, it can be unmarked by selecting it and clicking the Mark UnReconciled button. |
- To remove an invoice from the batch, select the invoice, and then click Remove Invoices.
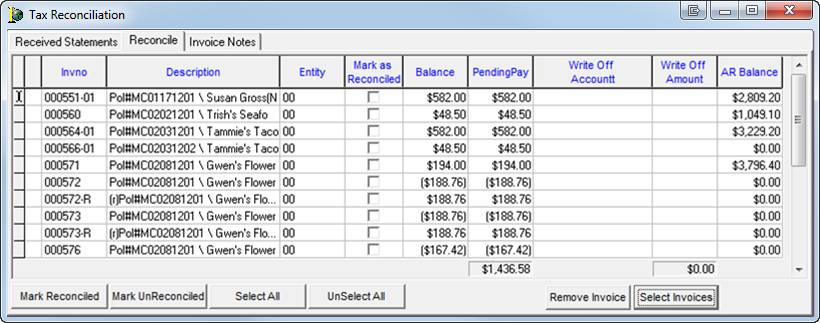
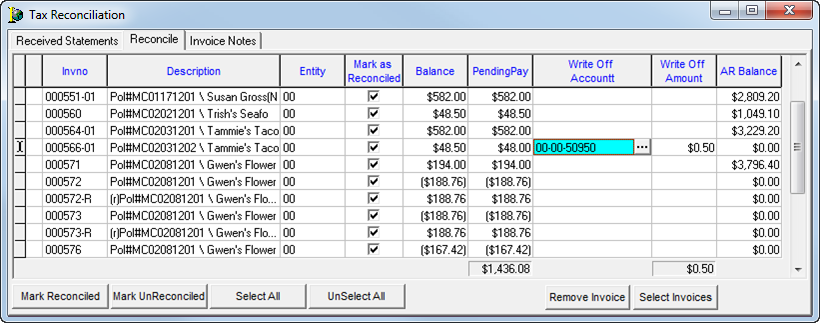
- If you need to change the pending pay amount, click the amount in the PendingPay column of the grid and enter the new amount to be paid.
If the Mark Reconciled box is selected and the amount changed, the system with automatically populate the Write Off Amount column. The Write Off Account box is populated with the default write off account designated in Admin module and the System Parameters in Data Maintenance Utility (DMU).

- If Mark as Reconciled is not selected and the Pending Pay amount has been changed to write off the difference, you can enter the general ledger account number in the Write Off Account box.
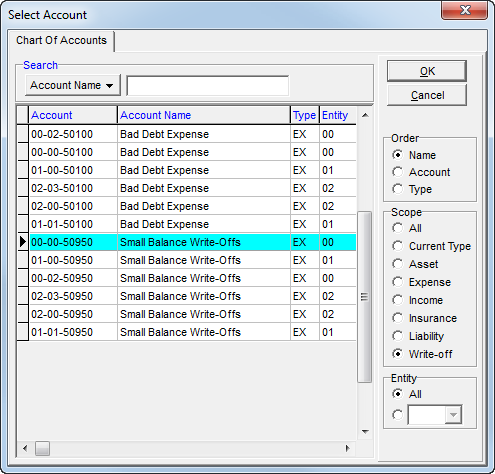
Alternatively, you can click to make a selection from the chart of accounts.
- On the Chart Of Accounts tab, located in the Select Account dialog box, select the appropriate account, and then click OK to return to the Reconcile tab.
- On the Reconcile tab, enter the amount to written off in the Write Off Amount box.
-
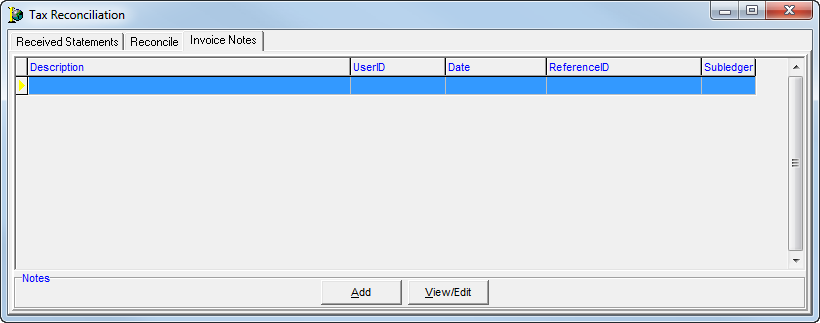
On the Invoice Notes tab, you can add or review notes regarding the selected invoice.
-
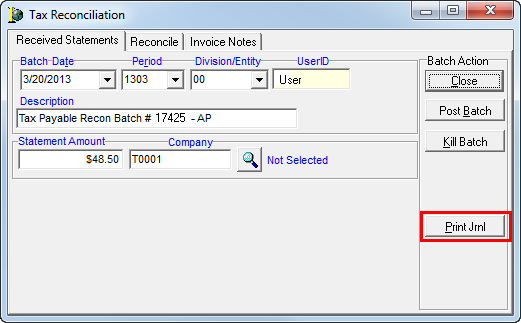
Click the Received Statements tab.
-
Click Print Jrnl.
-
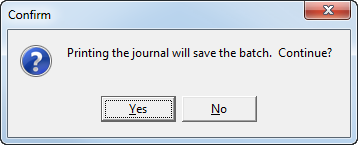
Click Yes to save the batch and print the journal, or click No to abandon printing the journal.
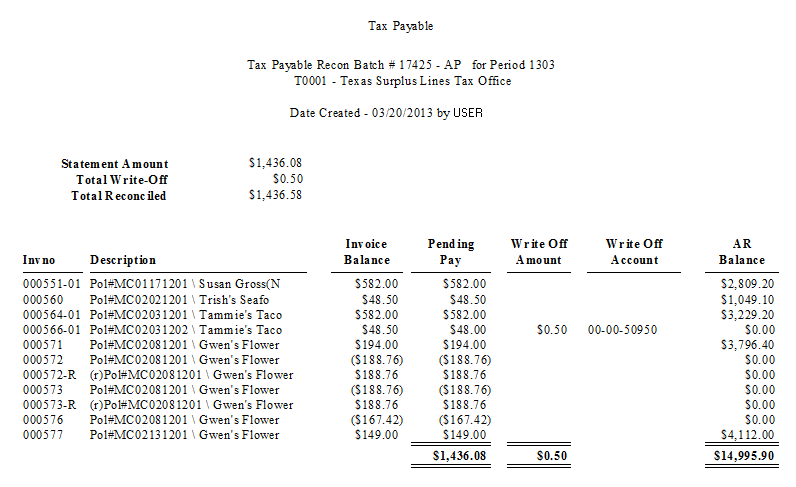
- Review the Tax Payable Recon Batch journal,and print as needed. Close the window when you are finished reviewing the journal.
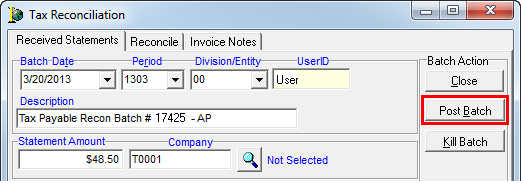
- Click Post Batch.
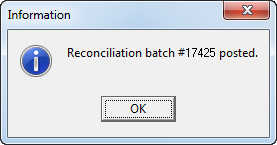
- Click OK in the Information dialog box.
The prepared reconciliation batches are stored for future daily, monthly, quarterly, or yearly use in a check batch.
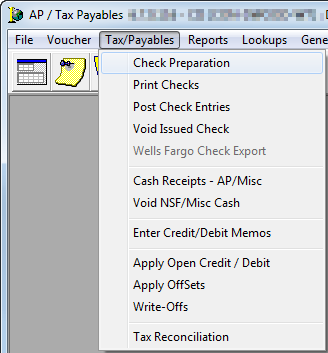
- Prepare checks by clicking Check Preparation on the Tax/Payables menu.
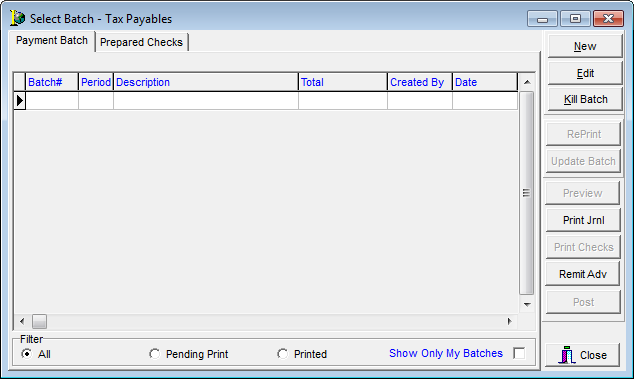
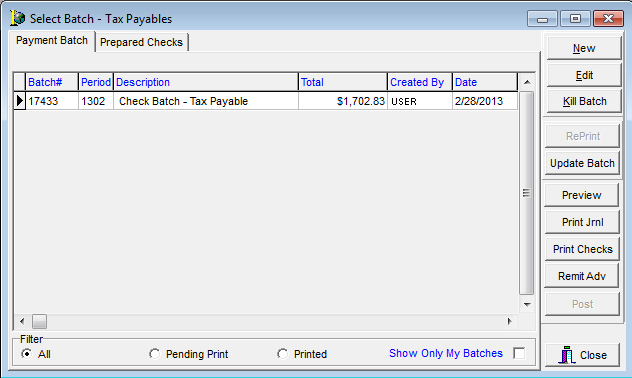
In the table below we describe the buttons located in the Select Batch – Tax Payables dialog box.
|
Button |
Function |
|---|---|
|
New |
Create a new batch. |
|
Edit |
Edit the selected batch. |
|
Kill Batch |
Kill the selected batch. |
|
Reprint |
Reprint the selected batch. |
|
Update Batch |
Update the selected batch. |
|
Print Jrnl |
Print the journal for the selected batch. |
|
Print Checks |
Print checks for the selected batch. |
|
Remit Adv |
Print Remittance Advice |
|
Post |
Post the selected batch. |
|
Close |
Close Select Batch – Tax Payables. |
- To create a new batch, click the New button.
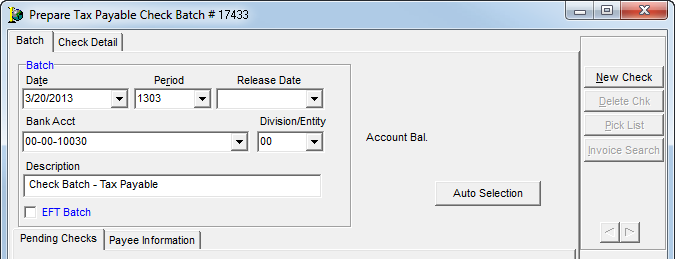
- On the Batch tab,enter the following information:
- Batch Date – automatically defaults to current date
- Period – accounting period (required)
- Release Date – not required
- Division/Entity – entity is required (Leave blank to make all entities available.)
- Bank Acct – populated with the account set as the default in Admin/System Parameters but can be changed by making a selection from the list
- Description – populated with default message, which can be overwritten
- Click New Check to enter a check.
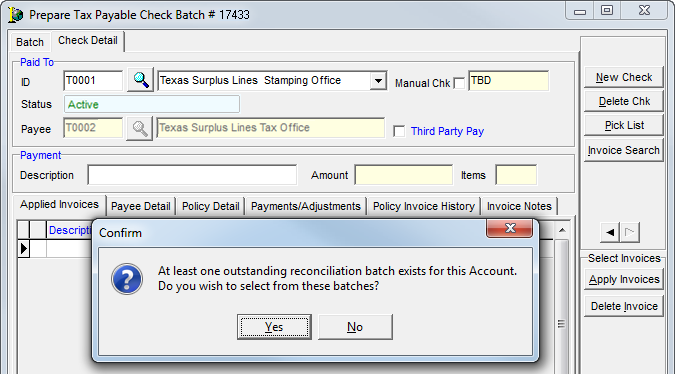
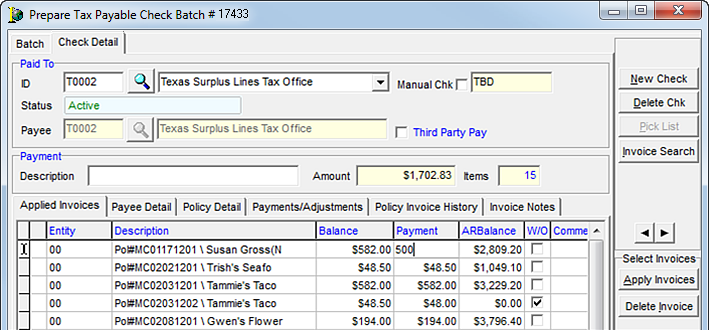
- In the ID box, located on the Check Detail tab, enter the taxing entity ID by clicking
 to select from Open Accounts. Alternatively, you can click
  to the taxing entity from the list.
 - In the Confirm dialog box, click Yes to select the batches previously reconciled.
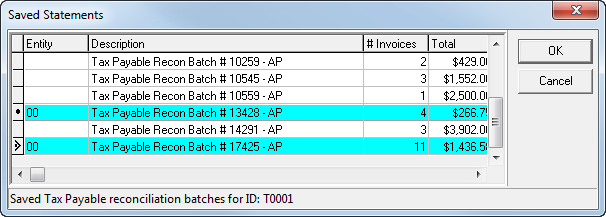
- In Saved Statements, select the batches to add to the check by using the arrow keys and the space bar.
Alternatively, you can use the keyboard commands of Shift or Ctrl + left mouse click.
|
If the Entity column is blank, there are multiple entities in the batch. |
- Click OK.
- On the Applied Invoices tab, located on the Check Detail tab, you can:
- Change payment amounts by typing a new amount in the Payment column. This leaves the difference on the open tax payable invoice.
- Create additional checks by clicking New Check.
- Click the Batch tab to return to complete the batch.
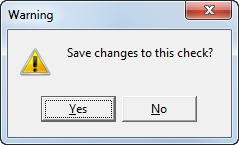
- In the Warning dialog box, click Yes to save changes to the check.
Otherwise, click No to cancel saving changes to the check.
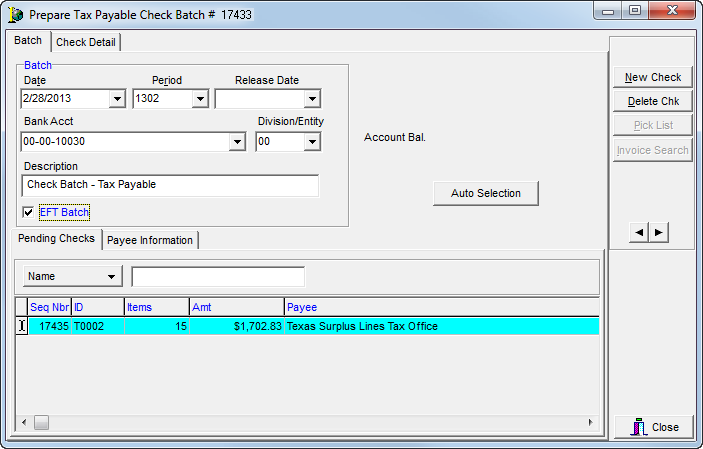
- On the Batch tab, select EFT Batch to create an ACH/NACHA (Automated Clearing House/National Automated Clearing House Association) file for upload to the bank to transfer funds from the MGA’s specified bank account to the taxing entity.
You can mark this as a manual check if EFT is used to prohibit anything from printing. - Click Close to close Prepare Tax Payable Check Batch.
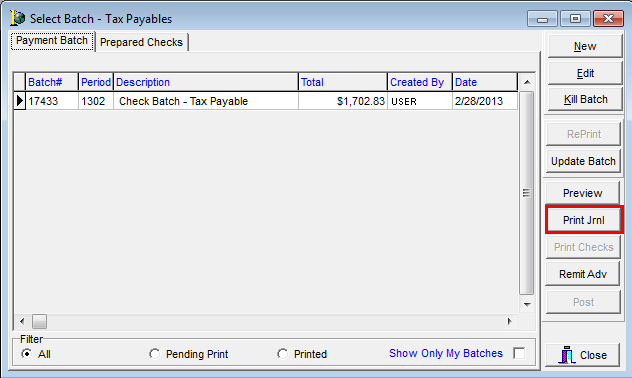
- On the Payment Batch tab, click Print Jrnl to print the check journal.
The journal must be viewed, sent to an image file, or printed to a physical printer to proceed.
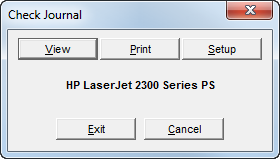
- In the Check Journal dialog box, click the appropriate button to view or print the check journal.
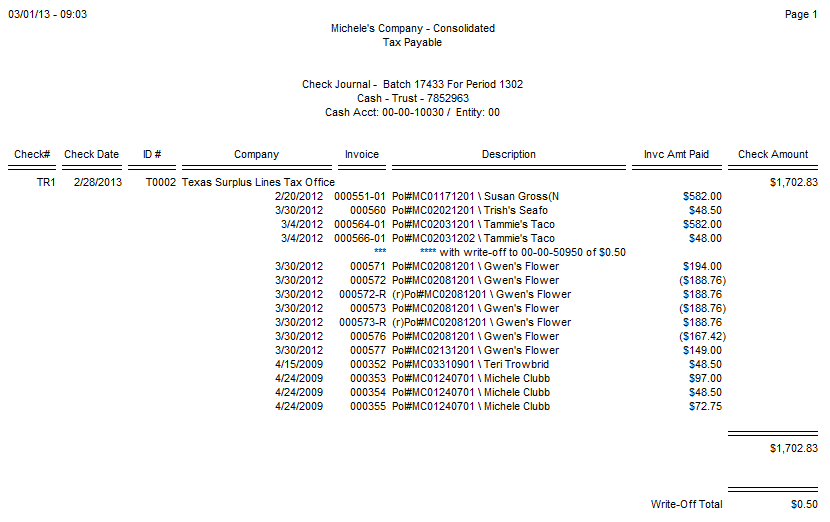
- Review the check journal. Items that have been written off in the reconcile batch are posted to the general ledger when the batch is posted.
- On the Payment Batch tab, click Print Checks.
If EFT was selected, the ACH/NACHA file is created at this time. - Verify that the checks print properly.
- Click Remit Adv to print remittance advice, if applicable.
- Post the batch.