In this topic, we continue our discussion configuring the Product table located on the Tables Menu.
On the Pg. 2 tab in Product/Coverage Code Maintenance, you can define (add or change) the properties of a product related to the date the product was added, premium defaults, deductible type, and more. The defaults that you configure will be displayed when you are working with the product in AIM. By having the defaults configured, data entry in AIM will be reduced.
- Select or enter the following information in the Basic Info pane:
- Date Added – date the product was added to the system. You can use the date provided, type the new date, or click
 to use the Calendar.
- Box (unlabeled) next to the date added – name of the person that added the product. The name of the person logged onto DMU is added automatically.
- Date Modified – date the product was changed. You can use the date provided, type the new date, or click to use the Calendar.
- Box (unlabeled next to date modified) – name of the person that changed the product. The name of the person logged onto DMU is added automatically.
- Status – product status
- Active – makes the product active in AIM
- Map To ID – reserved for future development
- Date Added – date the product was added to the system. You can use the date provided, type the new date, or click

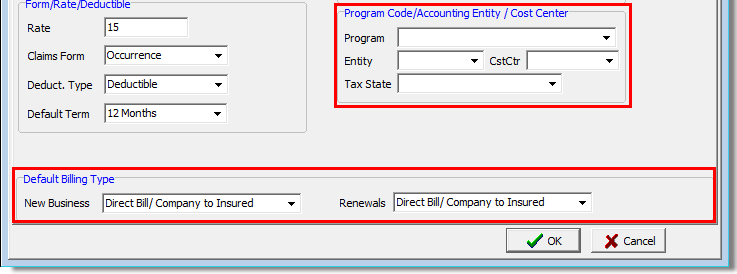
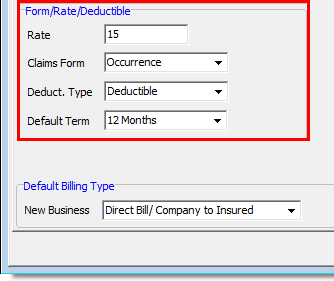
- Enter the information defined next in the Form/Rate/Deductible pane.
- Rate – default percentage rate
- Claims Form – default claim that will be selected when issuing a quote
- Deduct Type – default deductible type
- Deductible
- SIR (self-insured retention)
- Default Term – time that the coverage associated with the product is effective. The setting here overrides the default policy term entered for the coverage (see Pg. 2).
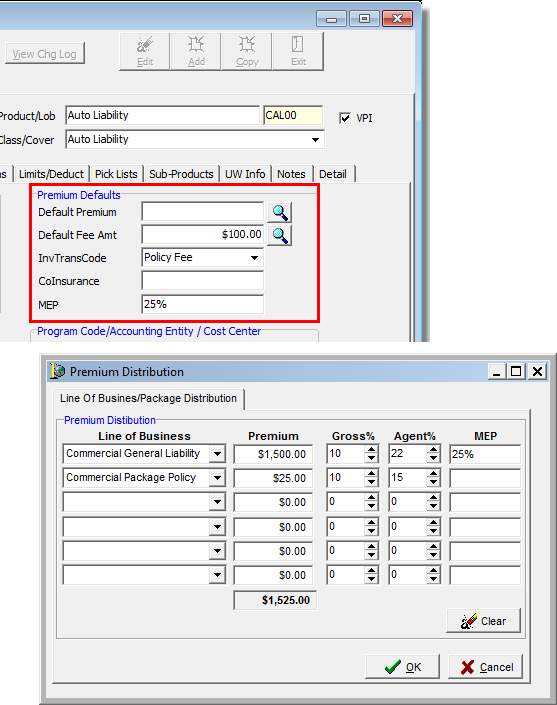
- If there is a default premium for the product, enter it in the Default Premium box in the Premium Defaults pane.
Alternatively, you can click next to the default premium to calculate the line of business premium distribution.
- Select the line of business in the Premium Distribution dialog box and then enter the appropriate amounts in the boxes that follow.
- Premium
- Gross % – gross commission percentage
- Agent % – agent commission percentage
- MEP – minimum earned premium (can be entered as dollars or percentage)
- Click:
- Clear to remove all entries.
- OK to save your changes.
- Cancel to dismiss your changes without saving.
- Select the line of business in the Premium Distribution dialog box and then enter the appropriate amounts in the boxes that follow.

|
Premiums can be specified at the agent and company levels as well. You can specify the lines of business but leave the Premium field set to $0.00. This will cause the lines of business to appear in AIM for the product, but the premium amounts will default to the agent or company premiums. Similarly, you can leave the Gross% or Agent% fields set to 0.00 to leave the commissions at 0.00 in AIM. To default to the agent or company level commissions, set these fields to 999.00. |
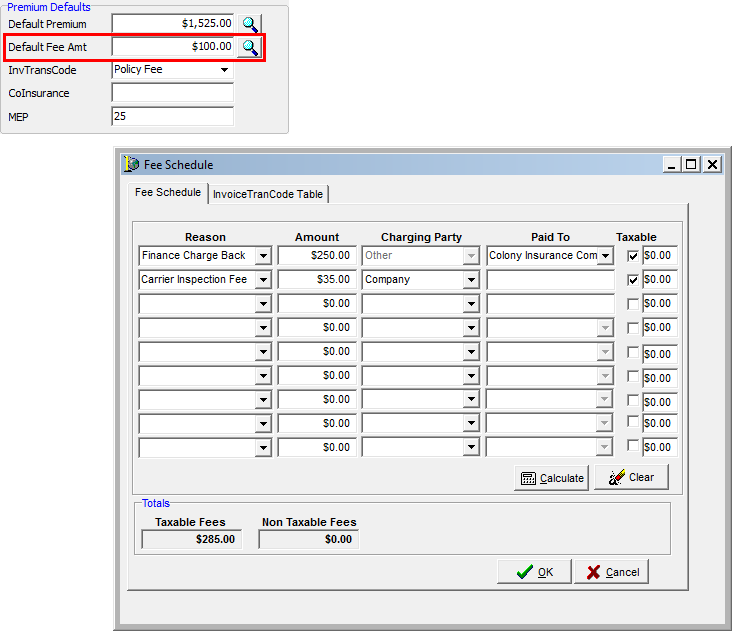
- Enter the default fee in the Default Fee Amt box.
Alternatively, you may click next to the default fee and create a fee schedule. - In the Fee Schedule dialog box, enter the information for the fees.
- Reason – select a fee reason
- Amount – dollar amount of the fee
- Charging Party – party collecting the fee
- Paid To – party receiving the fee
- Taxable – select if any portion of the fee is taxable and enter the taxable amount in the box.
- Click:
- Calculate to calculate the fees and taxes.
- Clear to clear all entries in the dialog box.
- OK to save your changes.
- The Taxable Fees and Non Taxable Fees boxes display the total of the entries in the Amount and Taxable columns respectively.
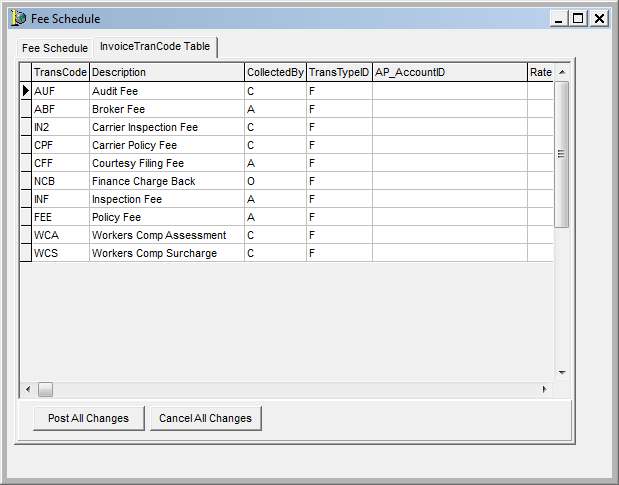
- Click the Invoice TranCode Table tab. Information about the fees are displayed for review.
- TransCode – transaction code
- Description – easily understandable fee definition
- CollectedBy – the entity responsible for collecting the fee
- C – company
- A – agency
- O – other
- TransTypeID – transaction type definition
- F – fee
- P – premium
- T – tax
- AP_AccountID – no longer used
- Rate – dollar amount or percentage used to calculate the fee
- FlatAmount_Flag – indicates whether the fee will be treated as a flat (dollar) amount or as a percentage of the premium
- Enter changes to the transaction code information directly in the grid.
- Click:
- Post All Changes to post your changes to the database.
- Cancel All Changes to abandon the changes without posting them to the database.
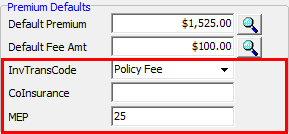
- Enter the applicable remaining default information in the Premium Defaults pane.
- InvTransCode – invoice transaction code
- Coinsurance – coinsurance percentage
- MEP – minimum earned premium

|
The contents of the Program Code/Accounting Entity/Cost Center pane are used to process Risk Purchasing Group (RPG) business. Contact AIM product support for assistance. |
- In the New Business list, located in the Default Billing Type pane, select the default new billing type for this product.
- In the Renewals list, select the default billing type for renewals.