The process of creating a personal or custom arrow annotation is virtually the same as creating a straight line annotation. However, there is one difference. You can select the style of the arrowhead as explained later.
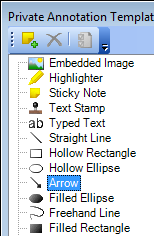
- Select Arrow in the list of annotation of tools.
- Click
 on the toolbar to open the New Arrow Template dialog
box.
on the toolbar to open the New Arrow Template dialog
box.
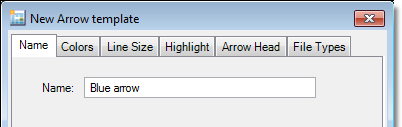
- Type an easily identifiable name in the Name box on the Name tab.
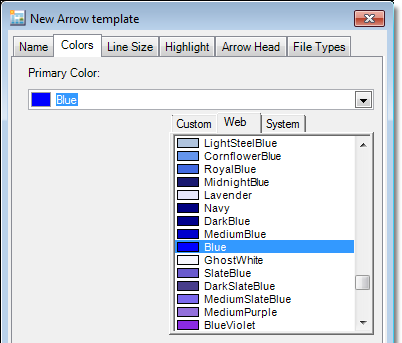
- On the Colors tab, click the down arrow to display the available colors. Click the appropriate tab (Custom, Web, or System) and select the color that you would like to use.
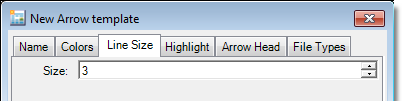
- On the Line Size tab, you can enter a value or select the size (thickness) of the line.
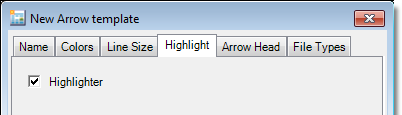
- On the Highlight tab, if you select the Highlighter option, the color will act only as a highlight, that is, the annotation will be transparent, and you will be able to read text through the color. If the option is not selected, the color will be opaque.
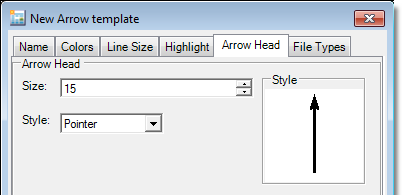
- On the Arrow Head tab, you can configure the size of the arrowhead by entering or selecting a value in the Size box. In the Style list, you can select the style of the arrow. The Style pane will be updated with a preview of your selections.
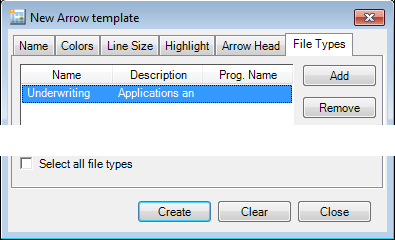
- On the File Types tab, you can designate specific file types with which the annotation may be used. When you add a type here, the annotation may only be used with images included in the type's file structure, that is, the organized documents structure.
- Click Add to display a list of file types.
- In the Select File Types dialog box, select the file type. You can select multiple types by using Shift+click, Ctrl+click, or by dragging the mouse pointer over the types to be selected.
- When your selections are complete, click OK.
- As an alternative to adding specific file types, you can select the Select all file types option at the bottom of the dialog box. When you select this option, the annotation may be used with any file type in the storage structure.

- To remove a file type so that the annotation is not related to a specific file type, select the type and click Remove.
- Click Create to save your changes. Click Clear to remove all entries and retain the dialog box for further use. Click Close before Create to return without saving your changes.