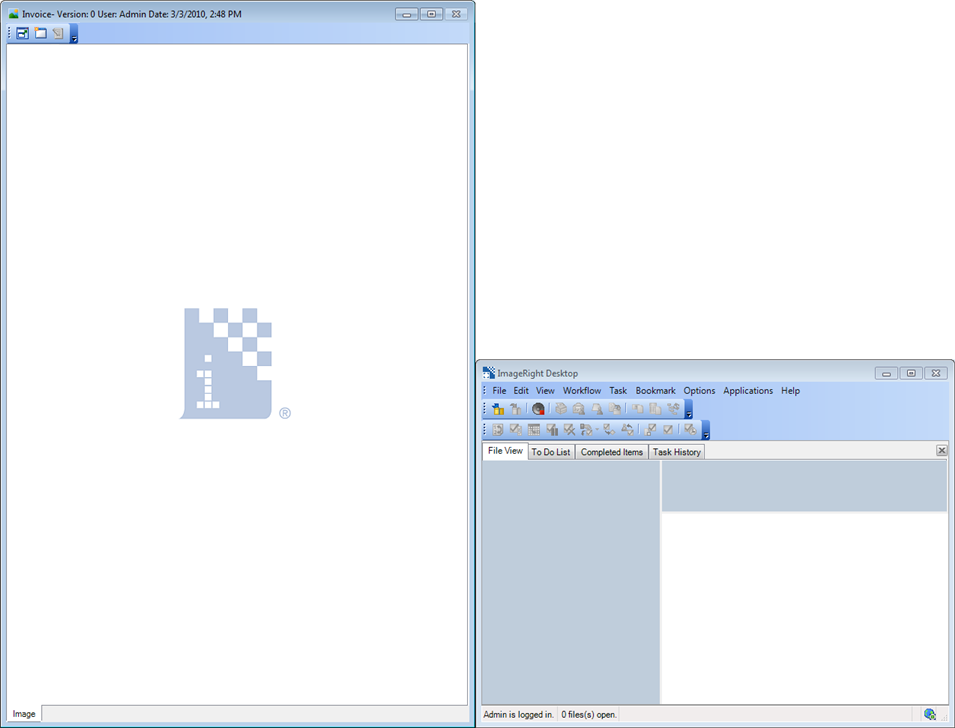
You can change the size and location of the windows shown in the screen capture below as needed.
To change the size of the windows, do one of the following:
- Point
at the border of a window. When the pointer changes to
 ,
drag the window to the desired size.
 - Click
 ,
the Minimize and Restore buttons in the upper right corner of the windows.
 - Click
 , the Full Screen button in Image Viewer.

You can change the location of the windows easily. Simply drag a window to a new location and drop it. There are also several keyboard shortcuts that you can use to change the location of the windows. Click the shortcuts below to see the corresponding changes.
- Ctrl+L – Switch the Desktop and Image Viewer windows left and right
- Ctrl+T – Switch the Image Viewer to the bottom
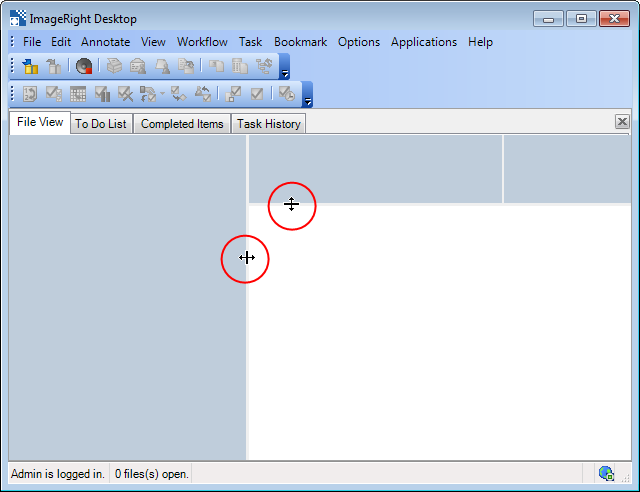
If you notice that a window is split into panes, you can adjust the height and width of the panes to make them smaller or larger. To adjust the panes:
- Place the mouse pointer over the edge of the pane that you want to adjust.
- When the
pointer changes to
 , press the
left mouse button and drag up, down, left, or right. The pane is resized
after you release the mouse button.

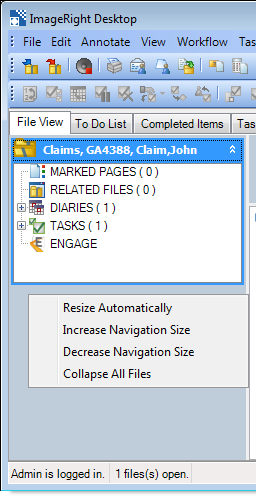
When you have a file open, you can change the size of the navigation pane.
- Right-click
the navigation pane and select either:
- Resize Automatically – Pane grows or shrinks automatically as you collapse or expand the branches.
- Increase Navigation Size – Pane size increases and remains unchanged until you resize it again.
- Decrease Navigation Size – Pane size decreases and remains unchanged until you resize it again.
- Repeat the step above as needed until the size of the pane meets your style.

- You can click the Collapse All Files command to reduce the size of the display in the navigation pane.

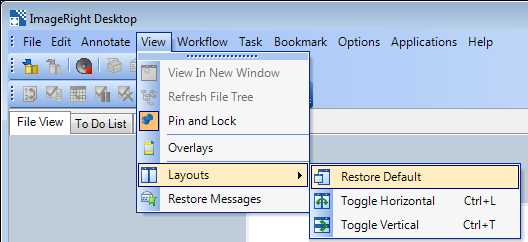
- To reset the window layout (remove the custom settings), click the View menu, point to Layouts, and then click Restore Default.
