Using ImageRight Export Viewer
Export Viewer can be used to view exported files outside the ImageRight Desktop program. In addition, images can be printed and information related to the file can be displayed. When you deliver the results of your export along with the viewer to other people, they have two options for starting the viewer.
- If the Autorun.inf file is included when the files are copied to removable media, the auto play feature will be triggered when the media is inserted into the computer. SeePreparing Files for Deliveryfor more information about files to be delivered.
- You can double-click the IRViewer.bat file to start the viewer. This option might be used when the files are shared on a network drive as opposed to removable media.
In the steps that follow, we are going to explain how to start the viewer manually and use it to view files.
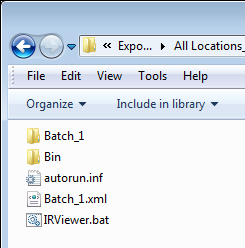
- Open the folder that contains the file to be viewed.
- Double-click IRViewer.bat.
- With the
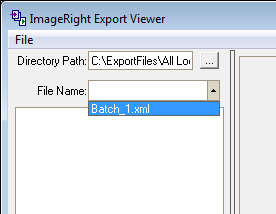
viewer open verify that the path displayed in the Directory Path box reflects
the location of the files to be viewed. If the path is incorrect, you
may type the correct path or click
 and
locate the folder.
and
locate the folder. - Select the Batch number or name (.xml file) of the file that contains the images that you want to view in the File Name list.
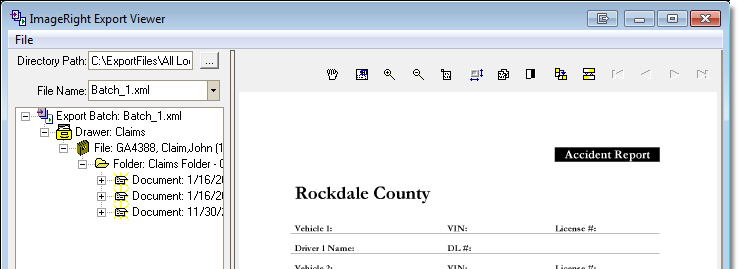
- The file
tree related to the exported files will be displayed in the left side
of the viewer. Files are viewed in much the same manner as they are in
the ImageRight Desktop program. You can expand or collapse the tree structure
by clicking
 or
or  ,
then select a level to view the content.
,
then select a level to view the content.
|
It is possible to customize the page and folder descriptions in ImageRight Desktop. If the descriptions are customized in Desktop, the revised names will appear in the viewer. For more information about customizing the descriptions, see the ImageRight Desktop Help. |
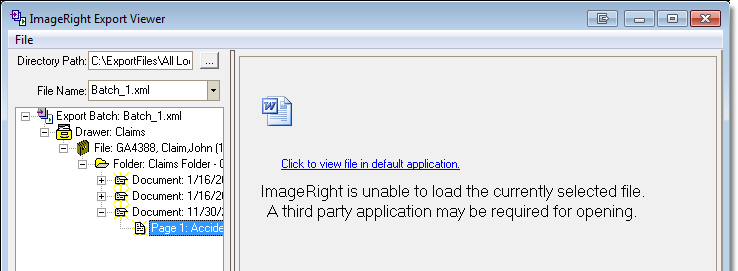
You may view files in their native format, for example, word processing documents. The appearance of the viewer will change when files are in their native format. To open a file in another program, the program must be installed on the computer, then all you have to do is click the link.
You may resize the viewer panes. Point at the bar
between the two panes. When the pointer changes to  ,
drag the panes to the desired size. You may also resize the window. Point
at the window border. When the pointer changes to
,
drag the panes to the desired size. You may also resize the window. Point
at the window border. When the pointer changes to  ,
drag the window to the desired size.
,
drag the window to the desired size.
You can use the toolbar icons (see definitions in table below) that appear above the image to manipulate the image being viewed. While we do not demonstrate the functionality of each icon, with a little practice, you should be able to master their use when viewing images.
|
Icon |
Use to |
|---|---|
|
|
Toggle between panning and zooming. In the panning mode, the icon is gray (depressed). You may drag an image to reposition it rather than using the scroll bars. |
|
|
Toggle the magnifier on and off. When the magnifier is on, you can view portions of a document without using the zooming feature by dragging the magnifier over the text. |
|
|
Toggle the magnifier on and off. When the magnifier is on, you can view portions of a document without using the zooming feature by dragging the magnifier over the text. |
|
|
Zoom in to enlarge the image. |
|
|
Scale the image to the best fit for the window size. |
|
|
Center a picture in the viewer. |
|
|
Cut the selected image and place it on the Windows clipboard, at which point you may paste it into another program. The image is not removed from the file. |
|
|
Copy the selected image and place it on the Windows clipboard, at which point you may paste it into another program. |
|
|
Undo changes made to a picture. |
|
|
Invert the image (negative view). |
|
|
Rotate the selected image 90 degrees. |
|
|
Rotate the selected image 180 degrees. |
|
|
Browse multi-page TIFF images. You can move forward or backward one page at a time, or you may jump to the first or last page. |