When you set up the properties of the sticky note annotation, you can predefine the text that will be used each time the note is added and other appearance items.
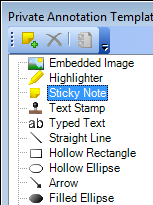
- Select Sticky Note in the list of annotation tools.
- Click
 on the toolbar to open the New Sticky Note Template
dialog box.
on the toolbar to open the New Sticky Note Template
dialog box.
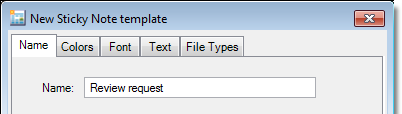
- Type an easily identifiable name in the Name box on the Name tab.
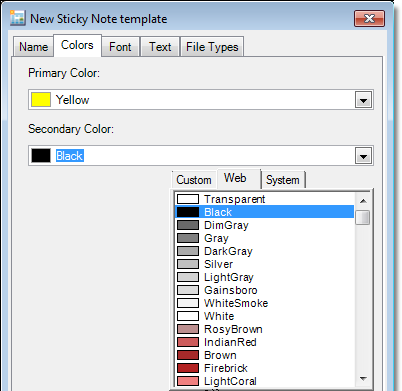
- On the Colors tab, click the down arrow to display the available colors. Click the appropriate tab (Custom, Web, or System) and select the colors that you would like to use. Primary color is the background color of the note. Secondary color is the color of the font (text) in the note.
- On the
Font tab, you can select the options (font name, style, and size) to format
the appearance of the text to meet your needs.
- B – bold
- I – italic
- U – underline
- S – strikethrough

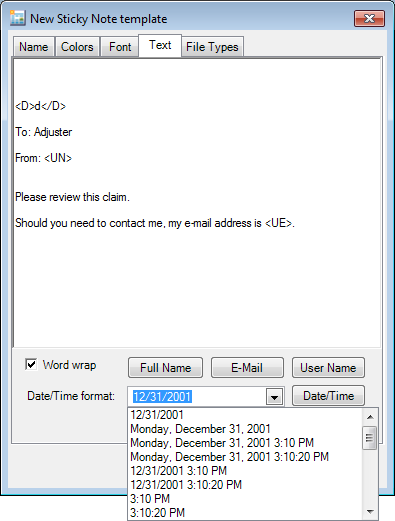
- On the
Text tab, you enter the message that will be used each time the annotation
is applied. You can also add the information listed below to the text
automatically without having to type it each time. When you enter the
text of the message, simply place your insertion point where the named
items should appear and click the appropriate button. The placeholder
shown will be added to the text. When the annotation is applied, the placeholder
will be replaced with your personal information as it appears in your
ImageRight user account that is maintained in ImageRight Enterprise Management
Console.
- Full Name – <UN>
- E-Mail – <UE>
- User Name – <U>
- Date/Time
- Select the format in the Date/time format list that you would like to use.
- Click the Date/Time button. A placeholder (for example, <D>d</D>) based on the format you pick will be added to the text.
- Select the Word wrap option at the bottom of the window, and the text of the message will wrap to fit the text area so that you can see all the text.
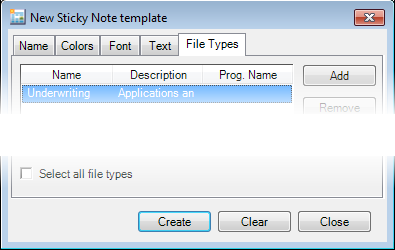
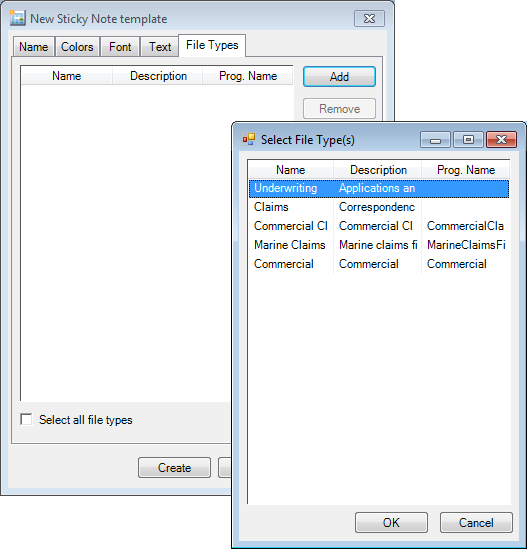
- On the File Types tab, you can designate specific file types with which the annotation may be used. When you add a type here, the annotation may only be used with images included in the type's file structure, that is, the organized documents structure.
- Click Add to display a list of file types.
- In the Select File Types dialog box, select the file type. You can select multiple types by using Shift+click, Ctrl+click, or by dragging the mouse pointer over the types to be selected.
- When your selections are complete, click OK.
- As an alternative to adding specific file types, you can select the Select all file types option at the bottom of the dialog box. When you select this option, the annotation may be used with any file type in the storage structure.
- To remove a file type so that the annotation is not related to a specific file type, select the type and click Remove.
- Click Create to save your changes. Click Clear to remove all entries and retain the dialog box for further use. Click Close before Create to return without saving your changes.