
Manage Real-Time Passwords (VSSO)
Real-Time Passwords Setup (Video)
For assistance, please watch this video on setting up your Real-Time Passwords.
|
This topic is for users of Vertafore Single Sign-On (VSSO). Please see the article Manage Real-Time Passwords (Classic) if you are a user that does not use VSSO. |
The Manage Real-Time Passwords feature (required for Real-Time rating) accomplishes the following:
- Direct access to carriers’ websites in order to allow the quote to be completed by using the real-time rating process, then retrieving and displaying the quote information in PL Rating.
- For agencies that have carriers which require multiple producer codes for commission assignment, affinity programs, or for carriers that have different credentials for individual states, this feature allows you save and retrieve these codes in the quoting process.
- A carrier selection restriction has been included and is applied when a user has not saved any credentials for a particular carrier by providing and easy-access link to the Manage Real-Time Password page so credentials can be entered and saved quickly.
For VSSO users of PL Rating, carrier credentials are stored in Credential Manager (cloud storage). This feature allows you to log on to PL Rating from any workstation and use your credentials.
In some cases, your VSSO Admin may need to enter your credentials, or provide you access to enter your own credentials.
- To add credentials, from the Admin menu in PL Rating, click Manage Real-Time Passwords. The Credential Manager page appears.
Credential information for carriers must be entered by each individual user at their own workstation.
- Select the appropriate carrier from the Insurance Carrier Site drop-down list.
- Enter the required information.
- Click Save.
- Repeat for any additional carriers.

Alternatively, you can also add credentials when you create a new quote and are on the Companies selection page.
On the Companies selection page, a carrier that has credentials entered appears with a blue hyperlink. If you hover over the hyperlink, the carrier credentials will display (it will also inform you if you have more than one set of credentials for that carrier). You can also click the link to get to the Credential Manager page for that carrier.
A carrier that appears with a red hyperlink on the Companies selection page indicates that credentials have not been added for that carrier. If you hover over the hyperlink, a message will appear stating credentials have not been entered. You can click the carrier name to go the Credential Manager page to enter your credentials.
|
You will not be able to select a carrier for rating unless credentials have been entered. Additionally, if you select a carrier that has multiple credentials, you will be prompted to select the appropriate credentials before proceeding with the quote. |
If a carrier/market does not require credentials for rating, then PL Rating will no longer force credentials to be entered on the Select Companies page. Those carriers will show without a hyperlink.
If a carrier/market only requires credentials when bridging/submitting, then PL Rating will prompt the user to enter or select the credentials at that time to launch the carrier website.
Credential Audit Report
The following steps show Credential Administrators how to take advantage of the Credential Audit Report:
-
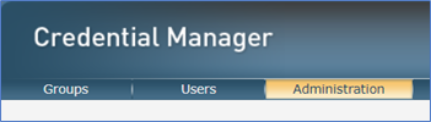
In Credential Manager, click on the “Administration” tab.

If you do not see this tab, you do not possess the rights to run the Credential Audit Report.
-
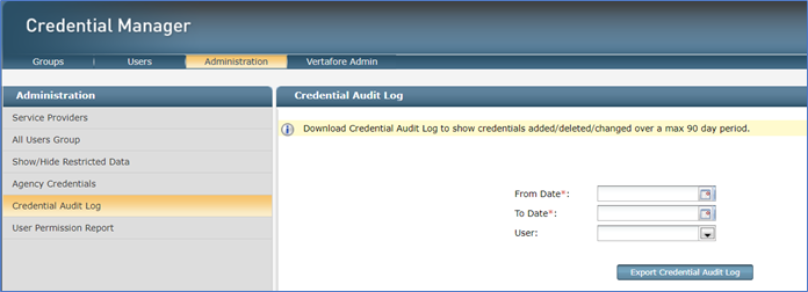
Select “Credential Audit Log” from the menu items shown on the left-hand side to see the following view:
-
Enter the dates for which you wish to view the credential audit activity. There is a 90-day limit for the report, but it can be for any 90-day period. For example, you may choose to run the report for a date beginning one year ago, but the results will only encompass the ensuing 90 days from the date you entered.
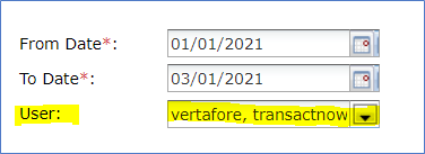
If the User field is left blank, the Credential Audit report will be run for the entire agency

-
You may also choose to run the audit report for a specific user; simply choose that user from the drop-down menu:
-
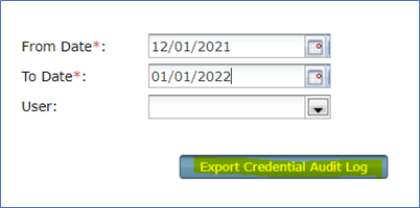
Once you make your selections, click on “Export Credential Log":
-
The report you have created will be a .csv file, named “AuditLog_’currentdate” with a GUID string of numbers to ensure each file is unique. A sample report is shown below.

Column Header Explanations:
-
Entity Type: The field in Credential Manager that was impacted by whatever add/change/delete function was performed
-
Type: The action performed
-
Entity Name: This is whatever is written in the description field
-
Event Date: The date and time stamp for the action performed
-
Customer Name: The name of the user who performed the action
-
Customer Email: The email address of the user who performed the action
-
-
If no changes were made to the agency or the user during the time period selected, the report will show “No records found” (see illustration below):

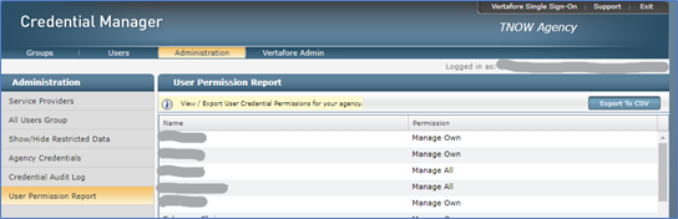
User Permission Report
The following steps show Credential Administrators how to take advantage of the User Permission Report.
-
In Credential Manager, click on the “Administration” tab.
If you do not see this tab, you do not possess the rights to run the User Permission Report.

-
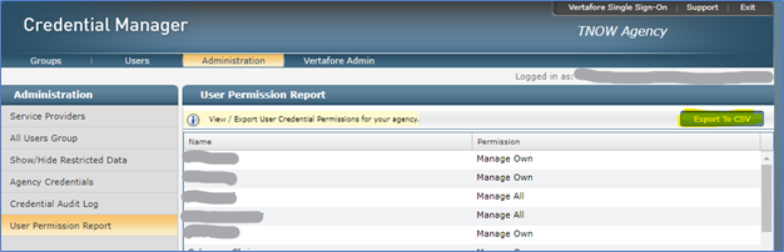
Select “User Permission Report” from the menu items on the left-hand side to see the following view, with the users and their permissions displayed:
-
Select “Export to CSV” to export a report of the data being displayed:
-
Here is a sample of the report that was created from the “Export to CSV” button:
