Create PDF Forms
There are a several ways to convert a Word document into a PDF. The following section provides the steps when running a workstation with Microsoft Word and Adobe Acrobat X Pro installed.
With Acrobat Pro installed on the same workstation, an Acrobat tab displays in your Word menu bar. Use the Create PDF option to save a Word file as a PDF document. 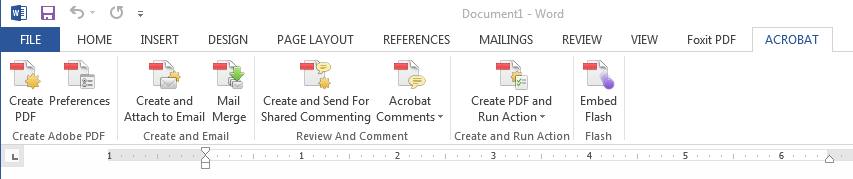
With Adobe Acrobat X Pro, you can convert to PDF one file at at time or several at once in a batch.
A Single Form
- Open Adobe Acrobat X Pro and select from the File menu: Create > PDF from File.
- Use the Open window to navigate to where the Word document file you intend to convert resides.
- Select the file from the folder and click Open button.
- The Creating Adobe PDF window will appear showing the progress of the conversion. Once completed the actual file in PDF format will open.
Multiple Forms (1 Folder)
- Open Adobe Acrobat X Pro and select from the File menu: Create-> Batch Create Multiple Files.
- When the Batch Create Multiple Files window opens click Add Files.
- If all of the forms you intend to convert reside in a single folder, click Add Folder.
- Navigate to the location where the folder is located and select it or select individual files.
- Click Open and the forms or folder you selected appear in the Batch Create Multiple Files window.
- Any files in the window you prefer to remove, select them and use the Remove button.
- Click OK to display the Output Options window.
- Select an option:
- The Same Folder Selected at Start – This option saves the converted files back into the same folder where you found them.
- A Folder on My Computer – This option allows the user to save the converted files to a new folder/location.
- Keep original file names – This option saves the files with the original file name.
- Add to original file names – This option opens the Insert Before and Insert After fields to add to the original file names.
8. Click OK to convert your files.
Adobe Acrobat X Pro allows you to add field and set field attributes on a PDF form.
- From the menu at the right hand side of the window, click Tools.
- Click the Add New Field drop-down arrow.
- Select the type of field you intend to add. Policy Issuance offers two types:
- Text Field
- Check Box
- Go to the location in the PDF where the text box is needed and release mouse. Text box will appear on the form.
- In the Field Name box enter the Internal Object, Macro, custom field, or custom array name. See next section for details on these field types.