Create and Manage Groups

If you use My Agency Home and your agency has connected more than one instance of any Vertafore product to your VSSO configuration (for example, you have two or more instances of AMS360, PL Rating, Credential Manager, or any product listed on the Manage Products tab in the VSSO console), you must create Groups.
For example, if your agency consists of separate regional offices or business units, Groups ensure that your users connect only to the data that's appropriate for their office or business unit. Group can contain just one instance of any given product, and they tell My Agency Home which information should be displayed.
They also help you spread the administrative load by allowing you to designate Group administrators.
- Can add new users to their group and remove users from their group
- Can update the name or reset the password for users in their group
- Can manage products and user access to products in their group
- Cannot create new groups, change the name of their group, or grant admin rights (full or group) to other users
- Cannot delete users or add/remove products connected to your VSSO configuration
- Cannot disable a user's access to VSSO
|
If you use My Agency Home, please create and configure Groups during non-business hours to minimize disruption. For security reasons, the moment that a group is created, even if no users or products have been assigned to it, My Agency Home will reject sign-in attempts by any user that is not assigned to a group. |
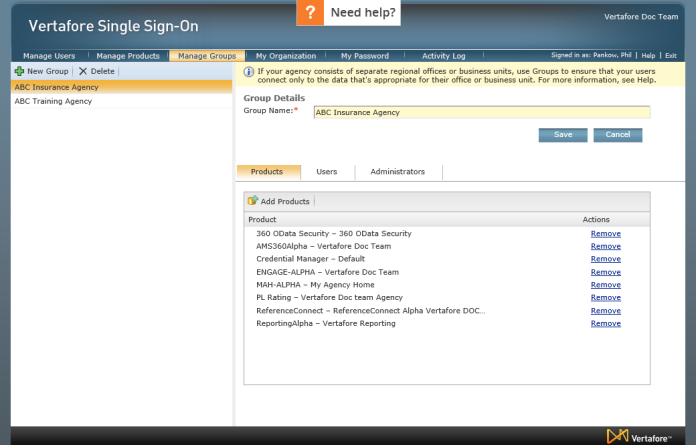
- Click Manage Groups and then click New Group.
- Type the name for the group (for example, “ABC Insurance Agency”, or “ABC Training Agency”), and then click Save.
If you have separate AMS360 or PL Rating databases that represent different business units, we recommend naming the groups with the appropriate business unit (for example, ‘Northwest Insurance Group’). You can rename groups later if you want.
- Click Add Product, select the products you want for this group, and then click OK.
Once you have selected one instance of a product (for example, your AMS360 live agency) you will not be able to add any other related instances (for example, your AMS360 training agency) to that same group. A separate group is required for that instance.
- Repeat these steps to create all of the groups you need. You are now ready to assign users to your groups.
You can assign a user to as many groups as you want. There is no limit.
- Click Manage Groups, select the group you want, and then click Users.
- Click Add Users, select the users you want in this group, and then click OK.
If you have a large number of users, use the search box at the top of the list to quickly find the ones you want. - To remove a user, click the Remove link next to their name.
Group membership does not automatically grant a user access to all products in that group. Users must also be individually configured for the products they are allowed to access. This is useful when you want to remove a particular user's access to a specific product or set of products in their group. A user's Product Access list always takes precedence over the group's Products list.
- Click Manage Groups, select the group you want, and then click Administrators.
- Click Add Administrator, select the users to whom you want to grant group admin rights, and then click OK.
If you have a large number of users, use the search box at the top of the list to quickly find the ones you want.Users with full admin rights are not included in this list because they already have full admin rights to all groups.
- To remove an administrator, click the Remove link next to their name.
|
You can also use the options on the Manage Users > Roles tab to grant group admin rights to a user. |
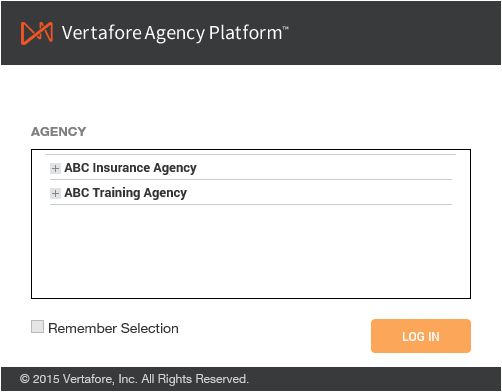
- Users that are assigned to multiple Groups can switch between them by exiting My Agency Home and selecting another group when they log in.
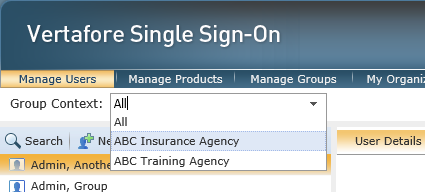
- Administrators (full and group) can use the Group Context drop-down menu in the VSSO console to display only users in the selected group. This menu appears only after groups have been created.

