In this topic, we continue our setup of a retail agent/broker started in Add a New Retail Agent Broker. This feature can be accessed by clicking the Retail Agent/Broker command on the Tables Menu.
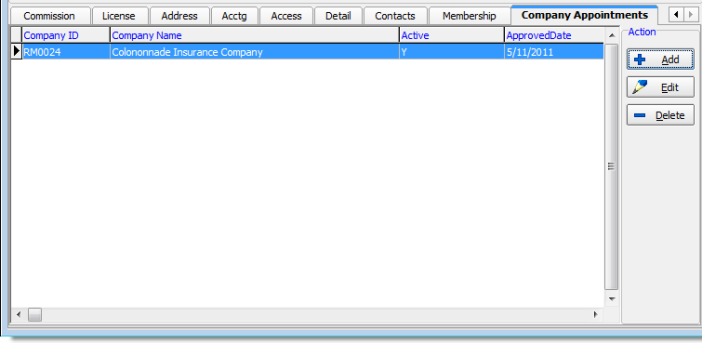
The Company Appointments tab is used to add companies with whom the retail agent/broker is appointed, that is, companies that have issued official authorization granting the agent or broker the authority to act as their agent.
Companies with whom the retail agent/broker is appointed are shown on the Company Appointments tab in a grid layout. The table that follows outlines the buttons located on this tab and their respective functions.
| Button | Function |
|---|---|
|
|
Add an appointment |
|
|
Edit an existing appointment entry |
|
|
Delete an existing appointment record |
We will show you how to add an appointment for a retail agent/broker. You can use this information later to edit existing appointment entries.
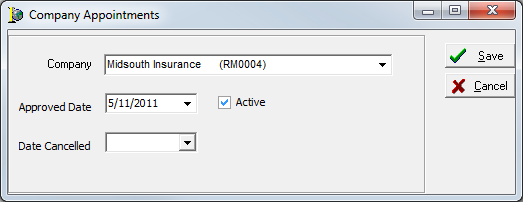
- Click the Add button, located in the Action pane.

- In the Company list, select the company that has appointed the retail agent/broker.
- In the Approved date box, enter the date that the retail agent/broker was appointed. You can type the date or click
 and use the Calendar.
 - Select Active to make the appointment active in your AIM system.
- In the Date Cancelled box, type the date that the appointment was cancelled, if applicable, or click
 and use the Calendar.
 - Click Save to save your changes and close the Company Appointments dialog box. Alternatively, you can click Cancel to abandon your changes and close the dialog box.
