In this topic, we continue our discussion of the commands located on the Tables Menu.
A retail agent/broker is the insurance agency that refers a submission to your agency for a quote and/or issuance on behalf of an insured. As each retail agent/broker is entered into DMU, the system will assign an ID number that can be overwritten to match the ID numbers that you desire.
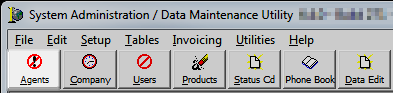
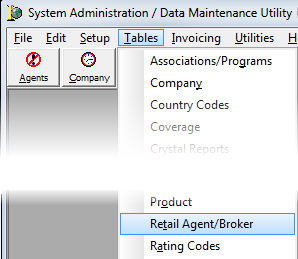
- On the Tables menu, click Retail Agent/Broker.
As an alternative, you can click the Agents button on the toolbar.
In the table that follows, we will discuss the buttons located in the Retail Agent/Broker Table Maintenance dialog box and how they function.
|
Button |
Function |
|---|---|
|
|
Suspends the selected retail agent/broker and warns the user that the agent/broker has been suspended when selected in AIM. If the user does not have the required security level to proceed, he will be unable to assign suspended agents or work submissions with suspended agents assigned. Security levels are discussed in the User topic. |
|
|
Reinstates a deleted or suspended retail agent/broker |
|
|
Marks the agent/broker record as deleted. Users will be unable to assign the agent/broker or work on submissions that have the agent assigned. |
|
|
Adds a new retail agent/broker |
|
|
Edits the selected retail agent/broker |
|
|
Opens the change log |
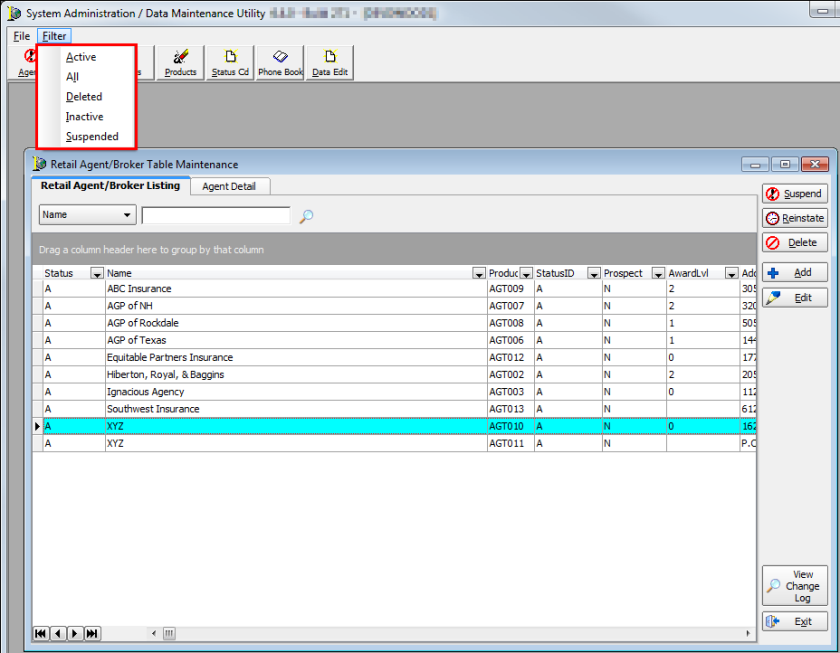
Filters
In the following steps, we will discuss how to filter the list of retail agents/brokers using multiple methods to make searching easier. You can use these filter methods together or independently to get the results that you desire.
- On the
Filter menu, located on the menu bar of DMU, select a filter method to
change the display.
- Active – all active retail agents/brokers
- All – all retail agents/brokers regardless of status.
- Deleted – only retail agents/brokers that have been marked as deleted
- Inactive – only retail agents/brokers that have been marked as inactive
- Suspended – only retail agents/brokers that have been marked as suspended
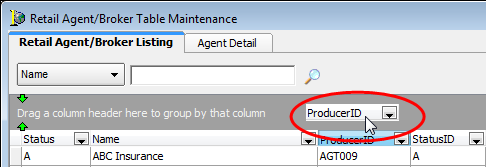
- Click a header on the grid and drag it to the gray area above the grid to group your results by that column.
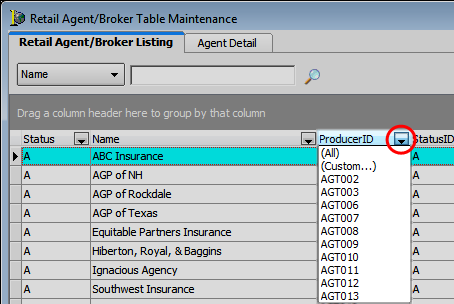
- Click
 to select a filter from the list.
You can select (All) to display all records, you can select an individual record from the list, or you can select (Custom) to create a custom filter.
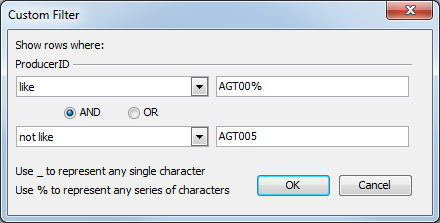
- In the
first list, located in the Custom Filter dialog box, select an operator.
Choose from the following options:
- Equals
- Does not equal
- Is less than
- Is less than or equal to
- Is greater than
- Is greater than or equal to
- Like
- Not like
- Is blank
- Is not blank
- In the text box to the right, type an operand such as a full or partial name or ID code. You can use an underscore (_) to represent any single character or use the percent symbol (%) to represent any series of characters.
- Select AND or OR if you wish to configure secondary search parameters.
- In the second list, select an operator as we just described.
- In the text box to the right, type an operand as we just described.

- Click
 to turn off the filter that you just applied. Alternatively,
you can remove the check mark to leave the filter in place but temporarily
disable it.
to turn off the filter that you just applied. Alternatively,
you can remove the check mark to leave the filter in place but temporarily
disable it. - Click
to switch between filters.
- Click Customize to change the filter parameters using the filter builder.
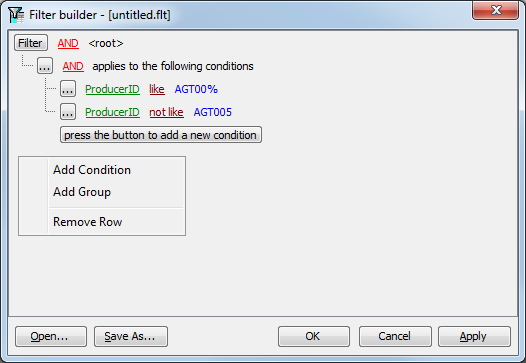
- Click
 or
or  to
show a filter menu. The menu commands are as follows:
to
show a filter menu. The menu commands are as follows:- Add Condition – add a new row to the filter
- Add Group – add a new group to the filter
- Remove Row – remove the selected row from the filter
- Click Open to open a previously saved filter.
- Click Save As to save the filter settings.
- Use the buttons, located at the bottom of the dialog box and outlined in the table below, to navigate the records displayed in the grid.
|
Button |
Move to |
|---|---|
|
|
First record in the grid |
|
|
Previous record in the grid |
|
|
Next record in the grid |
|
|
Last record in the grid |
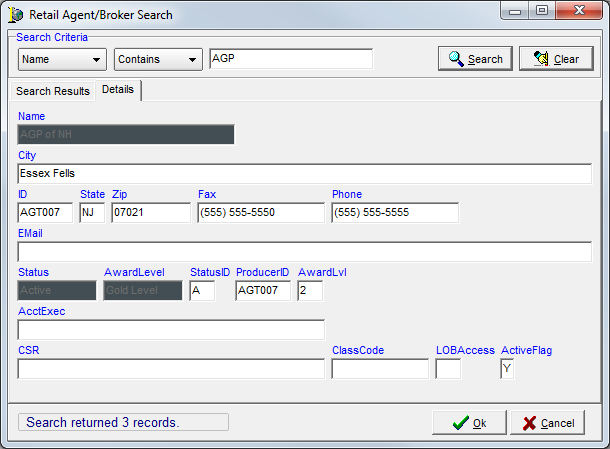
Search
We will use the following steps to show you ways to search for retail agents/brokers within your AIM system. You can use the search method that best meets your needs.
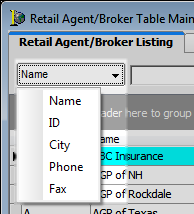
- Click
on the Name button to change the search operator.
Choose from the following options:
- Name – agent/broker name
- ID – agent/broker ID code
- City – city in which the agent/broker resides
- Phone – main telephone number
- Fax – main fax number
- In the text box, type all or the first part of the broker or agent information for the selected operator, name, ID code, etc... to locate matching records in the grid.
- Click
 to use the advanced search.
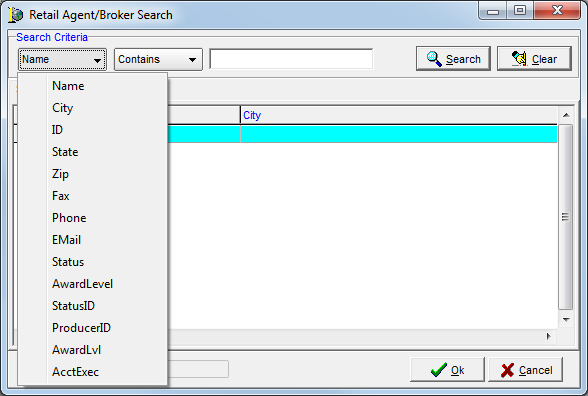
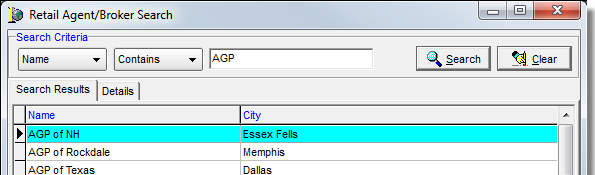
- Click
the Name button, located in the Search Criteria pane, to select a different
search parameter. The search parameters are based on the broker/agent
information that is maintained in DMU. Choose from the following search
parameters:
- Name – agent/broker name
- City – city in which agent/broker resides
- ID –ID code
- State – state in which the agent/broker resides
- Zip – zip code
- Fax – main fax number
- Phone – telephone number
- E-mail – agent/broker e-mail address
- Status – status of the agent/broker
- AwardLevel – award level of the agent/broker
- StatusID – status ID code
- ProducerID – Producer ID code
- AcctExec – account executive for the retail agent/broker
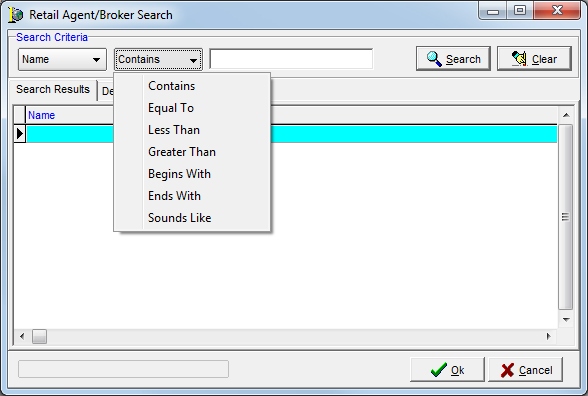
- Click Contains to select a different search operator. Choose from
the following search operators:
- Contains – Only results containing the exact text typed in the search box will be shown.
- Equal To – Search results with the exact integer or the exact text entered will be shown.
- Less Than – Search results will show only integers that are less than the value of the integer entered.
- Greater Than – Search results will show only integers that are greater than the value of the integer entered.
- Begins With – Search will return only files with the text or integers entered by the user at the beginning of the file name or number.
- Ends With – Search will return only files with the text or integers entered by the user at the end of the file name or number.
- Sounds Like – Search will attempt to locate search results based on an approximation of the sound of search criteria.
- Type the text of the search criteria in the box and click Search. Click Clear to remove the text without searching.
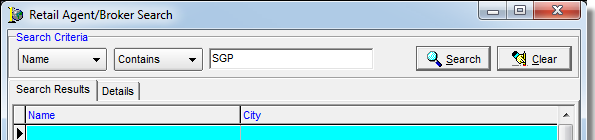
- Use the
specific information located on the Search Results tab to identify which
retail agent/broker that you want to select.
The columns in the Search Results grid contain the same information that we described when specifying the search criteria. Select the retail agent/broker from the list.
- Click the Details tab to view the specific details for the selected agent/broker.
- Click OK to return the Retail Agent/Broker Table Maintenance dialog box.