In this topic, we continue our discussion of the commands located on the Tables Menu.
In order for a user to be able to login to AIM, a user ID must be created not only in AIM, but also in Microsoft SQL Server. The User table in DMU can be used to create or delete SQL users as well as to manage AIM user credentials, information, team/division assignments, and security rights.

|
To manage both the SQL and AIM login, you must log on to the Data Maintenance Utility application using system administrator credentials. |
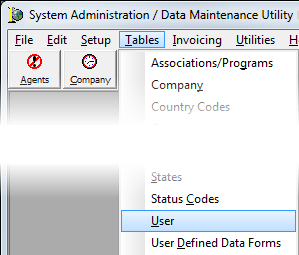
- On the Tables menu, click User. Alternatively, you can click the Users button on the toolbar.
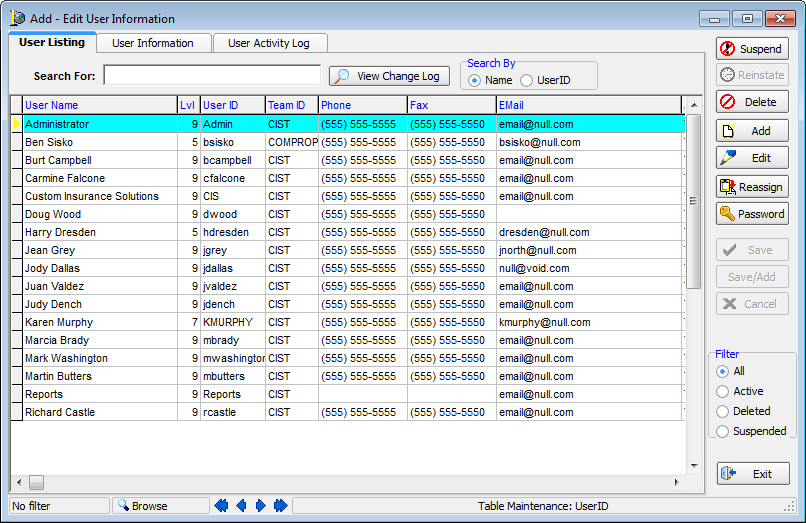
The Add - Edit User Information dialog box contains buttons that are used throughout the User table. In the table that follows, we will discuss these buttons and how they function.
| Button | Function |
|---|---|
|
|
View the change log |
|
|
Suspend the selected user |
|
|
Reinstate a deleted or suspended user |
|
|
Mark the user’s record as deleted |
|
|
Add a new user |
|
|
Edit the selected user |
|
|
Reassign all current and past submissions, policies, suspenses, and market reps from the selected user to another user |
|
|
Change the password for the selected user |
|
|
Save changes |
|
|
Save changes made to the selected user and begin adding a new user |
|
|
Abandon changes without saving |
|
|
Close the Add - Edit User Information dialog box |
You have the ability to reassign all the work from one person to another using the Reassign button.
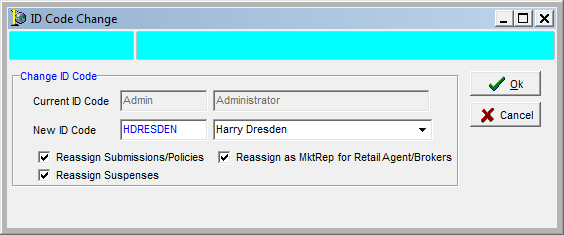
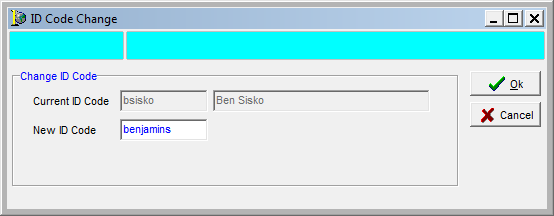
- On the User Listing tab, select a user and click the reassign button to open the ID Code Change dialog box. Enter the following information to reassign work from the selected user to the target user.
- New ID Code – type the id code of the user in the first box, or select the user from the list.
- Reassign Submissions/Policies – reassign all submissions and policies
- Reassign Suspenses – reassign all suspenses
- Reassign as MktRep for Retail Agent/Brokers – reassign the user as the market rep for agents and brokers on submissions and policies
|
|
When you reassign work using the Reassign button, both the current and past work will be reassigned. That is, if a user wrote a policy years in the past, that policy will also be assigned to the new user. Careful consideration should be given before using this button. |
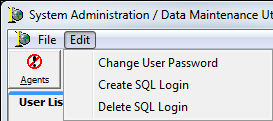
The menu bar of DMU changes when you access the User table. Only the File and Edit menus are available to you. The File menu contains only the Exit menu command, used to close the Add - Edit User Information dialog box. The following table outlines the menu commands available to you on the Edit menu.
| Menu Command | Function |
|---|---|
| Change User Password | Change the Microsoft SQL password for the selected user. This password is also used to log the user on to AIM applications. |
| Create SQL Login | Create an account for the selected user account on the Microsoft SQL Server |
| Delete SQL Login |
Delete the user account on Microsoft SQL Server |
The User Listing tab is used to display user records and to search the list for specific users. The users are displayed in a grid layout to simplify searching. In the steps that follow, we will discuss how to perform a search and how to filter your results. Later, we will show you how to add a user record. You can use the information presented here to edit users within your agency as needed.
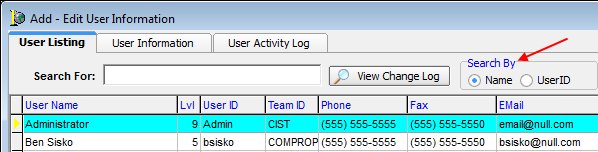
- In the Search By pane, select the criteria that you want to search from the following options:
- Name
- UserID
- In the Search For box, depending on the search criteria that you just selected, type all or the first part of the name or user ID of the user that you want to locate.
- In the Filter pane, located at the bottom right side of the dialog box, choose from the following filter methods:
- All – All users are displayed regardless of status.
- Active – Only active users are displayed.
- Deleted – Only users that have been marked as deleted are displayed.
- Suspended – Only users that have been marked as suspended are displayed.
- Click the Add button to add a new user.
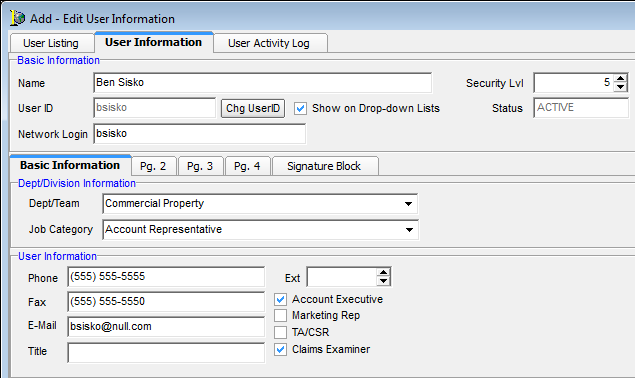
To add or delete an existing user, select the user in the list, click the appropriate button (based on our earlier descriptions). You can adapt our steps to make any necessary changes. - On the User Information tab, enter the following:
- Name – person's full name
- Security Lvl – numeric value of 1 (least access) to 9 (most access) that defines the user's rights to access system functionality and information. The rights are determined by the combination of the level selected here and the rights assigned to the level in Security Lvls.
- User ID – ID that will be used to log onto AIM
- Network Login – user's network user ID
- Show on Drop-down Lists – makes the user name (ID) available for selection in various throughout AIM.
-
To change the user's ID, click Chg UserID and type the new ID code in the New ID Code box.

|
The Status box reflects the status of the user as Active, Deleted, or Suspended. Active users can log on to AIM and be selected from lists within the application. Deleted and suspended users cannot log on to AIM and are not available on lists. |
To complete the addition of a user or to make changes, complete the information on the sub-tabs of the User Information tab. For more information about the tabs, click the appropriate link below.