In this topic, we continue our discussion of the commands located on the Active Directory Menu.
Using Group Manager, you can assign roles to your agency’s groups. The groups are imported from your agency’s Microsoft Active Directory.
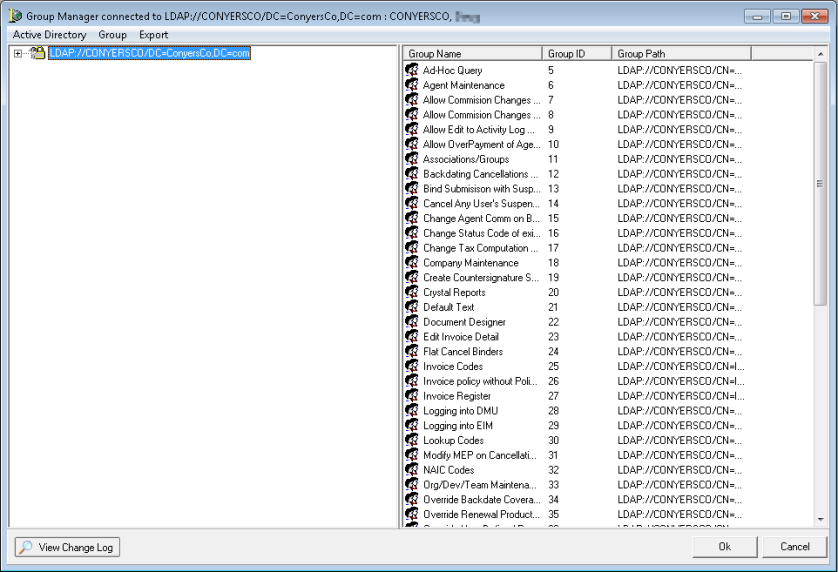
- On the ActiveDirectory menu, click Group Manager.

The domain to which you are connected is shown on the left side of Group Manager.
On the right side of the dialog box, all active AIM groups are shown.
You can review changes that have been made to Group Manager by clicking View Change Log.
In the steps that follow, we will show you how to connect to a domain and add groups from Microsoft Active Directory to AIM Active Directory integration.
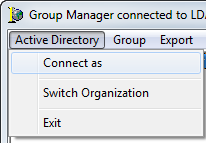
- If you
are not connected to a domain, or if you need to connect to a different
domain, click Connect as on the Active Directory menu.
If you are not connected to a domain, no domain appears in the left side of Group Manager.
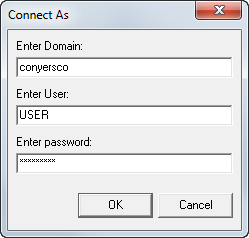
- In Connect
As, enter the connection information for the domain in the following boxes:
- Enter Domain – domain name
- Enter User – domain user ID
- Enter password – domain password
- Click OK. Once you are connected, the domain appears in pane on the left.
- Click
 to expand
the domain connection node to view the Active Directory groups for the
domain.
 - Locate
the AIM groups that you configured in Microsoft Active Directory and click
 to expand
the node. In our example, the group is called AIM Groups; however, the
name is unique to your agency.
 - Double-click
a group in your Active Directory AIM group on the left to move it to the
list of active AIM groups on the right.
Alternatively, you can drag the group from the left side to the right, or click the Map command on the Group menu.

- Right-click
a group, and then click a command to review or edit the following:
- Group Roles – edit group roles and group organizations
- Effective Permissions – view effective permission
- Export Effective Permissions – export
effective permissions:
- For Selected Groups
- For All Groups
- For Users from Selected Groups
- For Users from All Groups
- Group Members – review group members
- Delete Group – delete the group
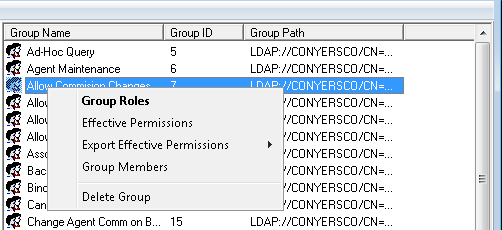
Group Roles
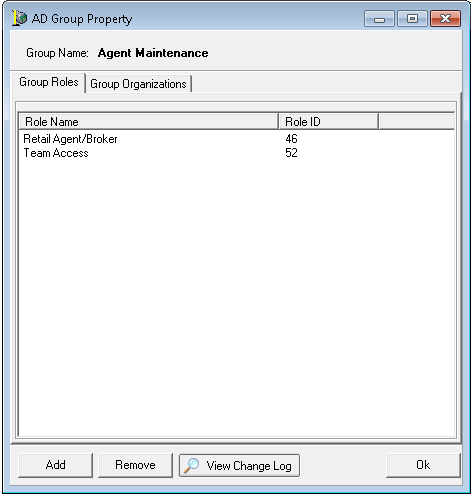
You can assign the roles that we show you in Role Manager to the selected group. You can do this by either right-clicking the group in Group Manager and clicking Group Roles or by double-clicking the group.
Assigned group roles are displayed on the Group Roles tab. The role name and role ID code are shown. To make searching easier, you can click the header of each column to sort the roles. For example, clicking the Role ID header sorts the role ID codes by ascending or descending numerical order.
In the table below, we describe the AD Group Property buttons and their respective functions.
| Button | Function |
|---|---|

|
Add roles to the group. |

|
Remove the selected role from the group. |

|
View the change log to review specific information about changes made. |

|
Save changes and close AD Group Property. |
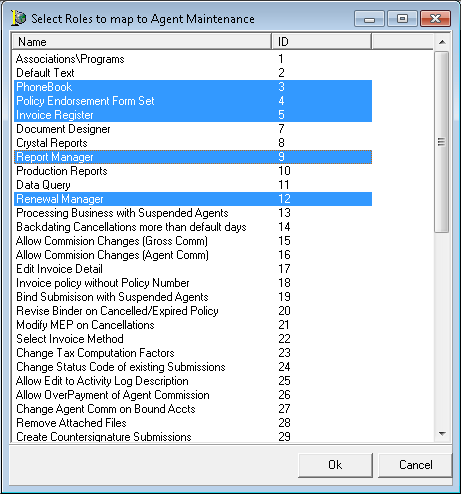
- Click Add to add a role to the group.
- In the Select Roles dialog box, click a role to select it. You can also use Shift+click to select blocks of roles, or hold down Ctrl while clicking to select multiple roles.
- Click OK to add the roles, or click Cancel to abandon your changes.
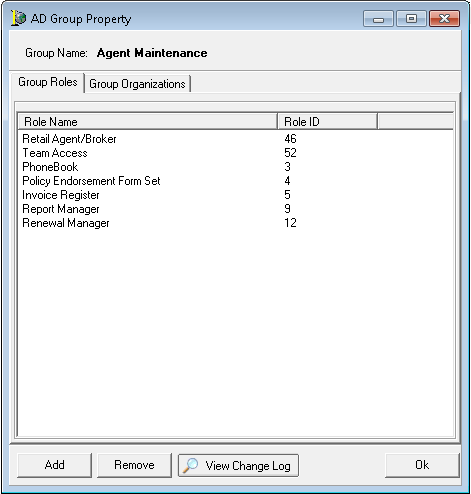
- Review the group roles that you added and make changes as needed.
Group Organizations
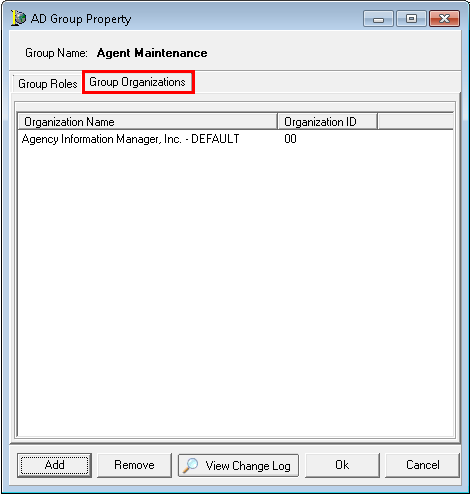
If your agency uses the Organizations feature of AIM to connect to multiple sets of data, you can use the Group Organizations tab to give the group permissions in other organizations. If your agency does not have organizations enabled, this tab is not shown.
Organizations to which the group has permissions are displayed on the Group Organizations tab. The default organization is indicated with the word DEFAULT with an Organization ID of 00.
If no organizations are shown, the rights assigned to the role are the same across all organizations.
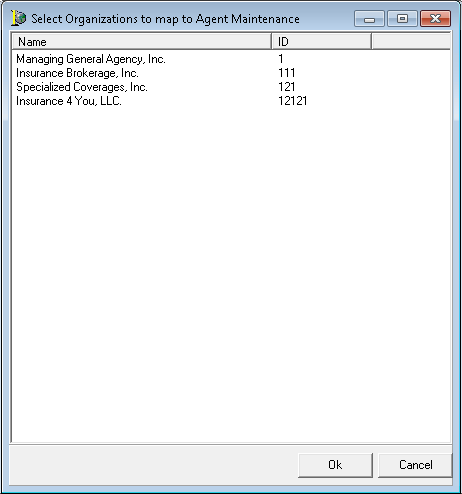
- Click Add to add permissions to a new organization.
- Click
to select the required organization.
You can also use Shift+click to select a block of organizations, or hold down Ctrl while clicking to select multiple organizations. - Click OK to add the organization, or click Cancel to abandon your changes.
