In this topic, we continue our discussion configuring the Product table located on the Tables Menu.
We are going to explain how to add a new product to your AIM system. With a few adjustments to our steps, you can also change an existing product as needed.
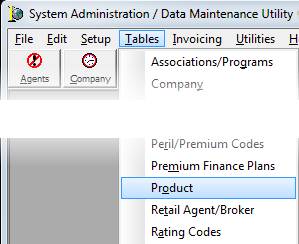
- On the Tables menu, click Product.
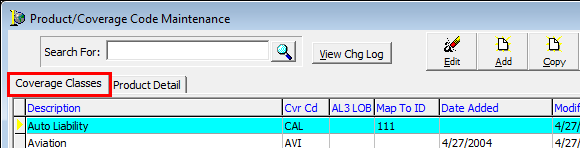
- On the
Coverage Classes tab in the
Product/Coverage Code Maintenance dialog box, click Add.
Alternatively, you can select a product in the upper portion of the tab and a related company in the lower portion of the tab, and then click Edit to change an existing product and company association.

|
Often you can save time by using the copy button to copy an existing product, then making only those changes that are necessary to add a new product. |
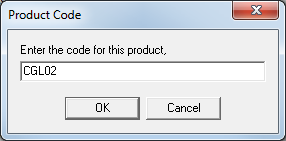
- In the Product Code dialog box, click OK to use the system-generated, sequential, unique product ID that is displayed (recommended). Alternatively, you can edit the product code. The code you enter must be unique and can be up to 8 alphanumeric characters. The alphabetic characters must be UPPERCASE.
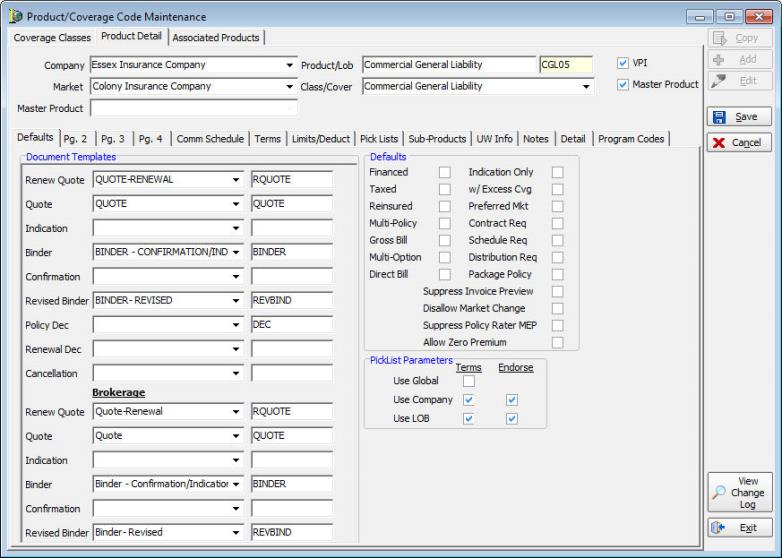
- Click the Product
Detail tab, if it is not already displayed, and then enter the following
information:
- Company – risk company for which the product is being created
- Market – market company for this product
- Master Product – master product for this product, if applicable (see Configure Master Products)
- Product/LOB – easily identifiable description of the product (line of business) that will be displayed in AIM (product ID is displayed in the unlabeled text box)
- Class/cover – Coverage under which this product is offered
- VPI – enables the product for use with VPI
- Master Product – indicates that the current product is a master product (see Configure Master Products)

|
The available items in the Class/Cover list are based on the entries in the Coverage table. |
To complete the addition of the product, you must add information to the remaining subtabs on the Product Detail tab in the Product/Coverage Code Maintenance dialog box.