This topic continues our discussion of the ODBC DSN setup for Crystal Reports that began in Setup ODBC DSN for Crystal Reports.
In order to create a new ODBC data source name, you will need to start ODBC Data Source Administrator.
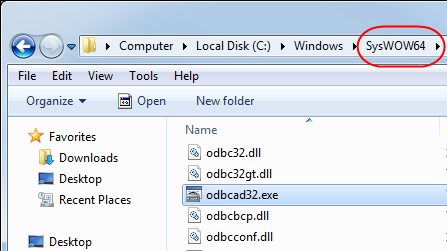
64-Bit Operating Systems
For 64-bit operating systems, you must start ODBC Data Source Administrator from the C:\Windows\SysWOW64 folder. Use the following steps to start the application.
- Browse to the C:\Windows\SysWOW64 folder.
- Double-click odbcad32.exe.
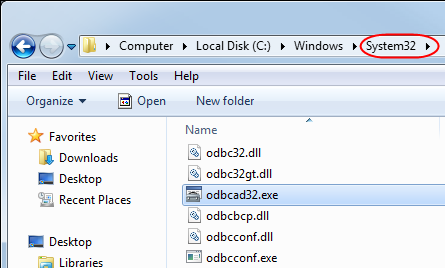
32-Bit Operating Systems
For 32-bit operating systems, you must start ODBC Data Source Administrator from the C:\Windows\system32 folder. Use the following steps to start the application.
- Browse to the C:\Windows\system32 folder.
- Double-click odbcad32.exe.
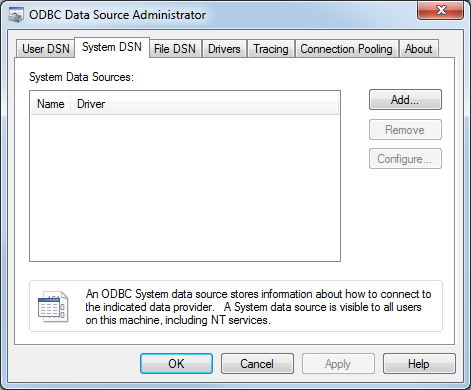
Configure ODBC Data Source Administrator
Use the following steps to add a new data source name using ODBC Data Source Administrator.
- In ODBC Data Source Administrator, click the System DSN tab.
- Click Add.
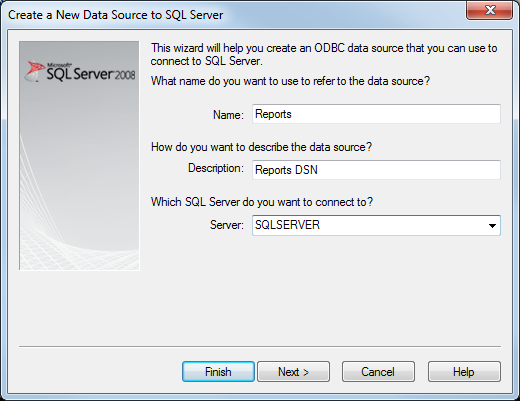
- In Create New Data Source, select SQL Server Native Client 10.0.
- Click Finish.

- In Create a New Data Source to SQL Server, enter the following information.
- Name – name of the data source
- Description – description of the data source
- Server –name of the SQL server, click
 to select a server from the list.
- Click Next.
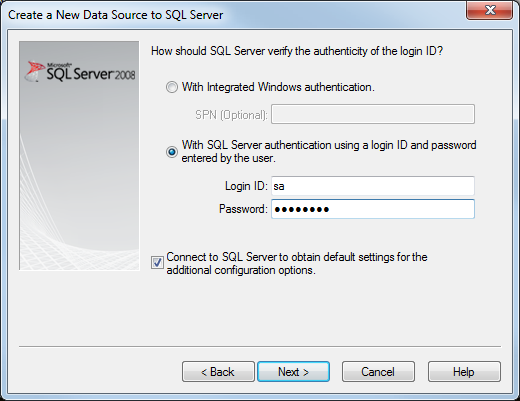
- Select With SQL Server authentication using a login ID and password entered by the user.
- Enter the logon information to connect to the SQL server.
- Login ID
- Password
- Verify that Connect to SQL Server to obtain default settings for the additional configuration options is selected.
- Click Next.
-
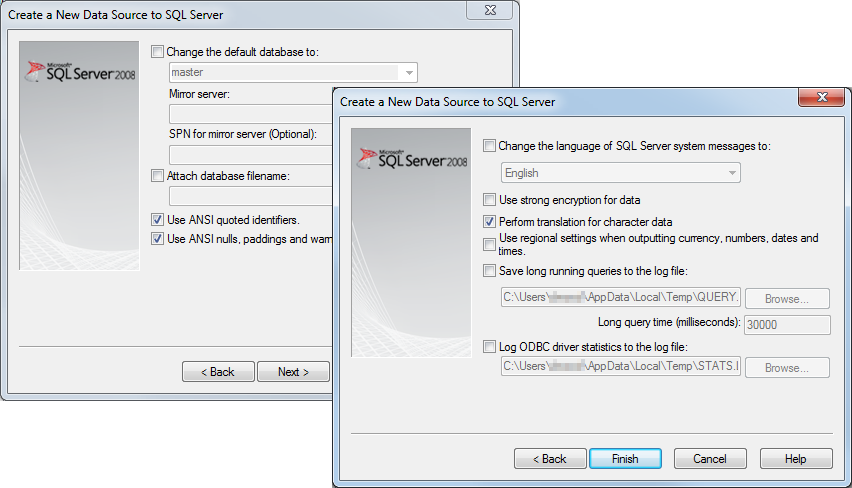
Click Next on the two screens that follow in the wizard . Make no changes.
- Click Test Data Source to test the connection.
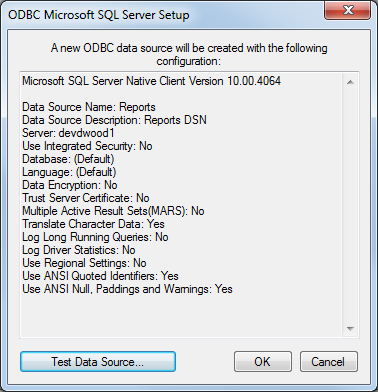
- Click OK and exit the wizard.
