Proposal Builder for Account Managers

|
Admins need to complete the initial setup before Account Managers can create proposals. |
To create a new proposal, use Launch Points # 2, or 3 depending on where you are in Sagitta (see the Proposal Builder Launch Points Section).
|
Proposal Builder imports policy and line of business data from Sagitta according to which data placeholders are included in a proposal template and which additional supported lines of business are included in the policies being translated.
|
When the data import completes from Sagitta, the Start a Proposal page will display in Proposal Builder. This page gives details of the policies, their component lines of business, and their expiry dates. You can now name your proposal and select a template and brand. After reviewing that all the required policies are present, click Start Proposal.

If you do not complete these steps, a message will appear to give you instructions.

After starting a proposal, you will be taken to the Table of Contents editing page. Based on the content of the template you selected on the Start a Proposal page, you will be able to re-order existing sections of the proposals, add new Sections and Subsections, and/or delete sections that were not set to be Required by the Admin.
Required and Editable options
As discussed in the admin guide, Sections and Subsections can be set to be Required and/or Editable by the Admin user. In the Table of Contents view, the Required status is shown by the presence or the absence of a ‘trash can’ icon when the user hovers over a section or sub-section.

Editable
The Editable status is shown by the absence or presence of a lock icon when the user hovers over a section or sub-section.

Required
|
|
Admins set the initial order of a particular proposal template. If the Table of Contents is not in the desired order, Account Managers can change the Reusable Section order and/or delete unnecessary sections if those sections have been set to be Not Required. |
You can drag and drop the different boxes in the Table of Contents tab.

Add a Section
If you need to add a section to the proposal, you can click Add New Section to add it the table of contents. The section will be not Required and Editable.
-
Click Add New Section.

-
Enter the name of the new Section and select where the Section should be placed on the Table of Contents.

Add a Subsection
- Click Add Subsection to add a subsection to any Editable section where you need to add more content.

- Click Add Subsection and name it.

- When finished adding sections and subsections, click Save and then Next at the bottom of the screen.
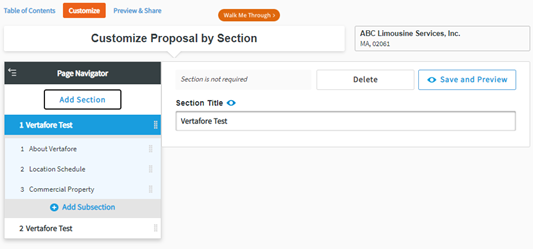
After confirming the order of the sections in your proposal, you can now customize these sections and their subsections by adding, editing or removing text blocks, images, tables, dividing lines, and/or page breaks.
Required and Editable options
As discussed in the admin guide, Sections and Subsections can be set to Required and/or Editable by the Admin user. In this view, Required sections and subsections are denoted by the absence or presence of the ‘trash can’ delete button. You can only delete a section if it’s not required.

Editable
In this view, Editable sections and subsections are denoted by the absence or presence of the lock icon on a section or subsection item.
Where a section is Editable (i.e. there is no lock icon), its subsections can be edited by the user. If a lock is visible this means that the admin has made this section un-editable.

Required/Editable
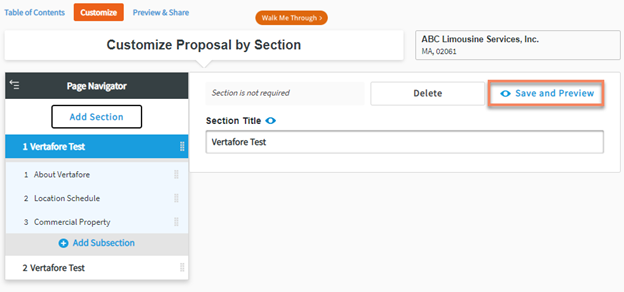
If you wish to edit a section, select that section and click the Edit button. This will allow you to edit the elements in the section’s subsections in the same way as the Admin.

|
|
NOTE: Editing a section in this mode detaches it from the Reusable Section on which it was based. This means that any updates to the original Reusable Section will NOT be reflected in the section you edited. |
Optional Titles
- Account Managers now have the option to show or hide titles of their Reusable sections and/or Subsections.
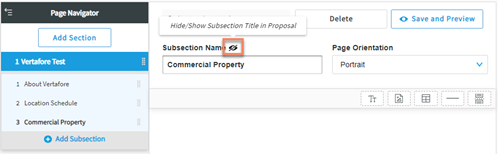
Title hidden in Section
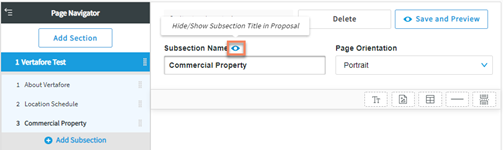
Title visible in Subsection
See the Admin guide for details on adding and editing elements in subsection.

|
Note: Hiding the subsection name at this level will remove it from both document titles and the table of contents regardless of the setting in the Brands Table Section. |
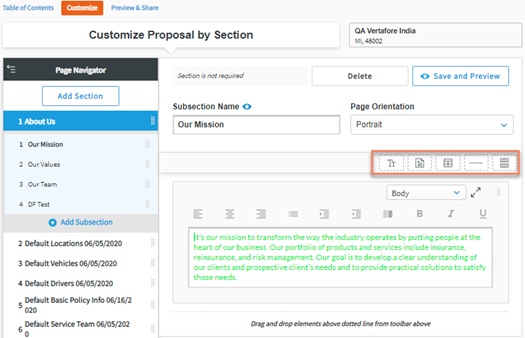
Editing Content
Select the subsection that you would like to edit to enter the Editor. Here you can customize your section by adding text, adding image/PDF file, inserting table, adding horizontal line, and/or adding page break by dragging and dropping the elements from the toolbar.
-
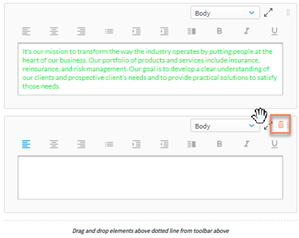
Add Text: You can add a text area by dragging and dropping the “Add Text” element above the dotted line. Then, you can add your desired text directly into the text box. There are also formatting options available including alignment, bullets, indent, text columns, bold, italic, underlined, and paragraph styles (body, heading, etc.)

-
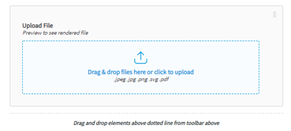
Add File: You can upload a file by dragging and dropping the “Add File” element above the dotted line. Then, drag and drop or click to upload your desired files (accepted file formats in-clude .jpeg, .jpg, .png, .svg, and .pdf).
-
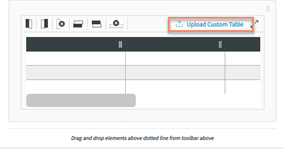
Add Table: If you would like to upload a custom table, you can do so by adding a table by dragging and dropping the “Add Table” element above the dotted line then clicking the Up-load Custom Table link (acceptable file formats include .csv, .xls, and .xlsx).
-
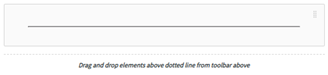
Add a Horizontal Line: You can add a horizontal line to break up sections on the page by dragging and dropping the “Add a Horizontal Line” element above the dotted line.
-
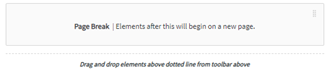
Add a Page Break: You can add a page break by dragging and dropping the “Add Page Break” element above the dotted line.
-
Delete an Element: You can delete any unwanted element by clicking the trash can icon that appears in the upper righthand corner of the element when hovering the mouse.
Section Preview
While editing a section, click Preview to see what it would look like in the final document. You can then review and adapt it accordingly. Alternatively, if you no longer need that section, you can Delete it.
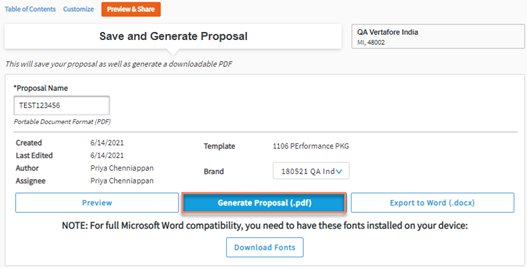
Once you have finished customizing your proposal, click Preview to see what the full document would look like.
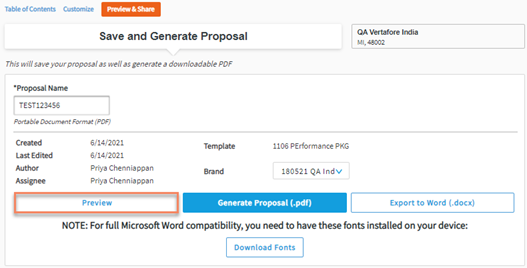
You can change the Brand using the drop-down selector.
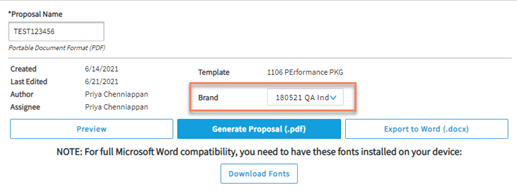
If you are satisfied with the proposal, click Generate Proposal (.pdf) to save the proposal as a PDF. Alternatively, you can choose to export it as a Word document to refine it further.
-
For you to see the Export to Word button, the admin must enable this feature in Settings.
|
|
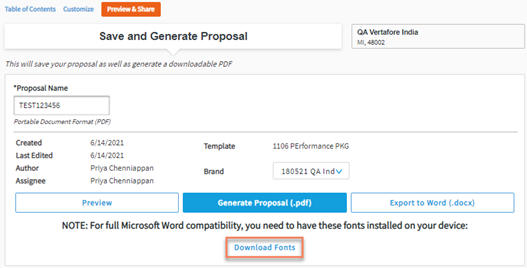
Note: You will need to download and install the font styles from Microsoft Word on your personal machine to have them appear properly in Word. |
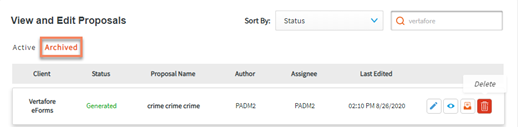
You will then be able to view the different stored versions of the proposal on the All Proposals page.
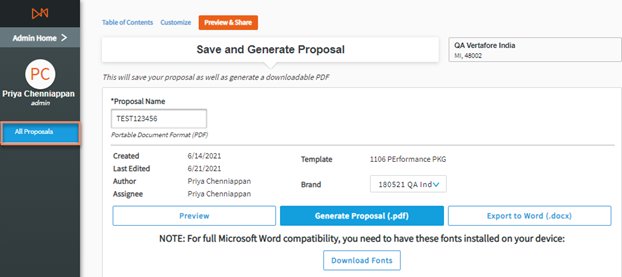
This page contains the proposals that have been initiated, which means that are in New, In Progress, or Generated status. For Admins, the page lists all proposals generated by their agency. For Account Managers, the page shows all proposals that they initiated for the specific customer.
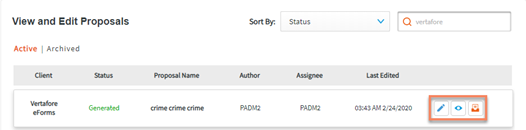

Edit, Preview, Versions
From this page, you can choose to:
- Edit an existing proposal that is New, In Progress, or Generated. This resumes the proposal creation flow.
- Preview a proposal that is In Progress or Generated.

-
Archive your proposal. This moves your proposal to the Archived tab, where it can be stored. You also have the option to delete the proposal if you no longer need it.