In this topic, we continue our discussion of the Retail Agent/Broker feature, located on the Tables Menu.
When you are ready to add a new retail agent/broker to your AIM system, use the following steps to make the addition. The steps that we outline for adding a new retail agent/broker can be used to edit existing entries.
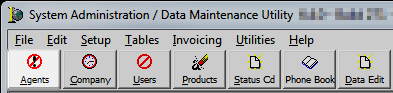
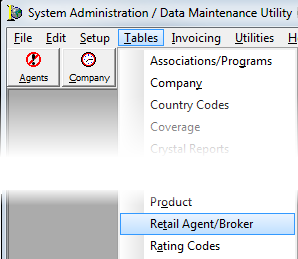
- On the Tables menu, click Retail Agent/Broker. As an alternative, you can click the Agents button on the toolbar.
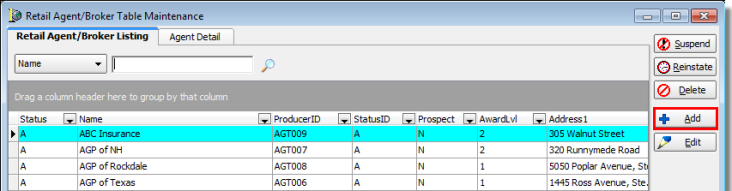
- Click
the Add button.
To change an existing agent/broker, select the broker in the list and click Edit. You can adapt our steps to make the necessary changes. For more information about the buttons listed below, see Retail Agent/Broker.
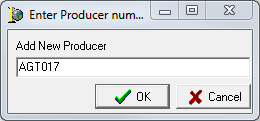
- A unique number is automatically generated for you and displayed in the Enter Producer Number dialog box. We recommend that you use the number. However, you may change the number if desired.

|
Boxes and fields shaded in yellow indicate a required field. You must enter text into these fields in order to be able to save your changes. You can use the |
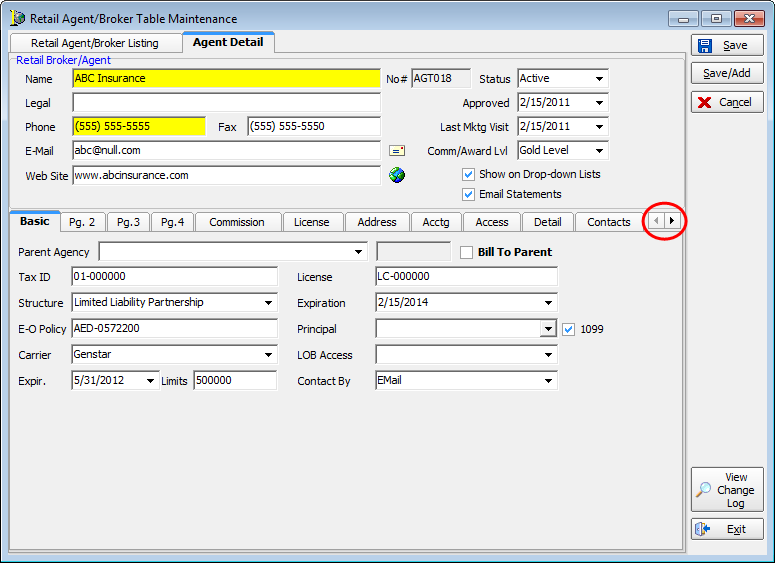
- Enter
the agent/broker identifying information in the Retail/Broker Agent pane
on the Agent Detail tab.
- Name – agent/broker name
- No# – agent/broker ID
- Legal – complete legal name, if different from name
- Phone – main telephone number
- Fax – main fax number
- E-mail – main e-mail address. Click
 to send an e-mail message to the company using the
e-mail program on your computer.
to send an e-mail message to the company using the
e-mail program on your computer. - Web Site – main Web address for
agent/broker. Click
 to open
the Web site using your computer's default Web browser.
to open
the Web site using your computer's default Web browser. - Status – status of the agent/broker
- Approved – date that your agency
approved the agent/broker. You may type the date or click
 and use the Calendar.
 - Last Mktg Visit – date of the last
marketing visit to the agent/broker. You may type the date or click and use the Calendar.
- Comm/Award
Lvl – award status
- Gold Level
- Silver Level
- Bronze Level
- Show on Drop-down Lists – agent/broker will be on the appropriate AIM drop-down lists.
- E-mail Statements – Send statements via e-mail to the accounting e-mail address, if available.
To complete the addition of the agent/broker, you must enter information on the sub-tabs on the Agent Detail tab. For more information about configuring the sub-tabs, click the appropriate link below.