Check for Updates
You can use the Check for Updates command, located on the Help Menu, to see whether there are available updates to AIM and then to perform an update.
You can use the AIM Updater tool only if you are currently running AIM 2017 or later. If you are using an older version, please contact your Vertafore Account Manager to schedule an upgrade.
The Check for Updates reads the WebUpd.ini that is looking for the current released AIM version. The webupd.zip (MyVertafore registration required can be downloaded which contains the WebUpd.ini file. Place this WebUpd.ini file where the aim.exe exists in the client’s environment.
Prior to updating, you should perform the following actions:
- Read the AIM release notes for all versions between your current version and the version to which you are updating.
- Perform a full database backup of your AIM databases.
- CIS
- AFD
- Claims
- Obtain the update files from the My Vertafore website and extract them to your AIM directory. Third-party software such as WinZip or 7Zip is required to extract the update files.
- It is strongly recommended that all users exit the AIM system just prior to beginning the update. This includes, AIM, AIM Accounting, Claims, and all other AIM modules. DMU must remain open so you can perform the update. It will restart during the update process.

|
Prior to performing an update of your AIM system you must perform a full backup of your AIM databases. The AIM updater cannot verify that this step has been completed. You are responsible for performing and verifying the backup prior to updating. During the update process, to ensure that all files are extracted and executed properly, you should access your AIM directory directly. Do not use a mapped drive or an UNC path. |
Perform the Update
- Log in to the Data Maintenance Utility.
|
|
The user account used to sign into DMU must have SQL rights to run SQL scripts. The SA account is preferred. Any other user must be a valid user in AIM and that user ID must be granted the appropriate rights to run update scripts against the CIS, AFD, and Claims databases. |
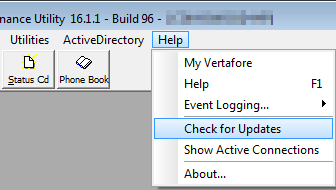
- Click the Help menu, and then click Check for Updates.

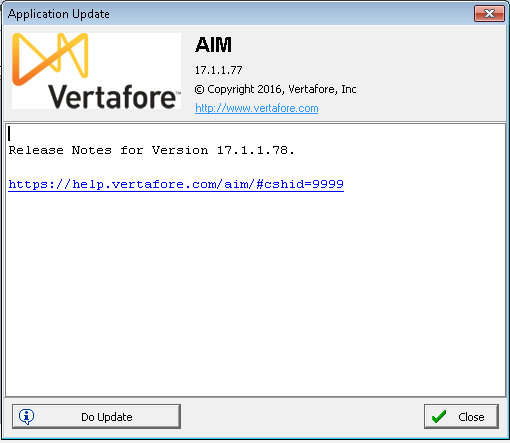
- Click Check for Update to check for available updates.
If an update is available, you will be prompted to review the release notes.
|
|
Before proceeding to the next step, verify that you have performed the necessary database backups and that all users have exited the AIM system. |
- Click Do Update to begin the update process.
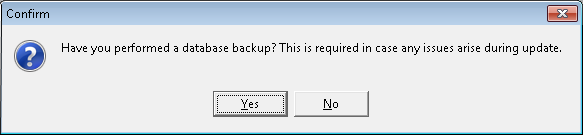
- In the Confirm dialog box, click Yes to confirm that you have performed the required database backup.
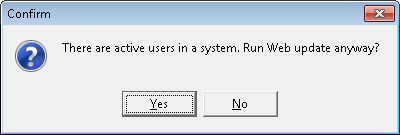
- A check is performed to verify whether users are still in the AIM system. If this appears, we recommend that you click No, and then have all users exit the AIM system.
To bypass this, you can click Yes and perform the update anyway; however, some files may not be updated.
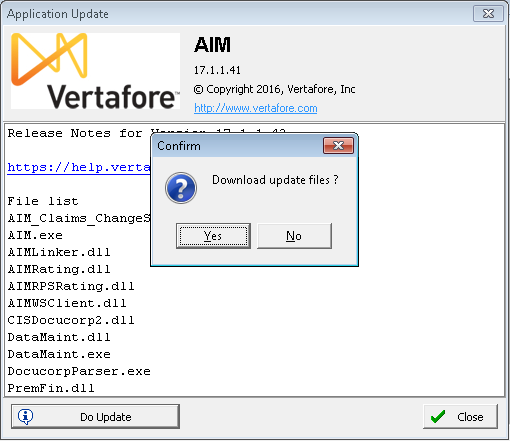
- A list of files to be downloaded is displayed. Click Yes to download the update files.
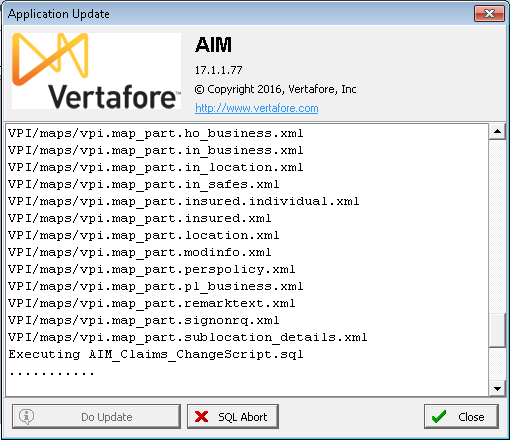
- A SQL update is performed to update your AIM databases.
Note: SQL scripts take time to run. The time varies depending on a number of factors, but 10 to 20 minutes is not unusual. If you need to stop the SQL update, click SQL Abort (not recommended). Otherwise, allow the update to continue normally.

|
With the AIM 20R1 release, the update process will return the actual database script, meaning users can review what is being changed prior to clicking Apply DB Update. If a user does not want it updated at this time, click Save to File and Skip DB Update, and the script can be run manually through SQL Server Management Studio. This updated process will not occur as part of an upgrade to AIM 20R1, but instead will be in place after updating to 20R1. NOTE: After completing the initial update to AIM 20.1, restart the DMU application when the updater asks to do so and log in again using the same login information to finish the update process.
Migration will also check for a Custom objects table. A message will appear stating that a change was found. The user will need to move their updated stored procedure in release.
|

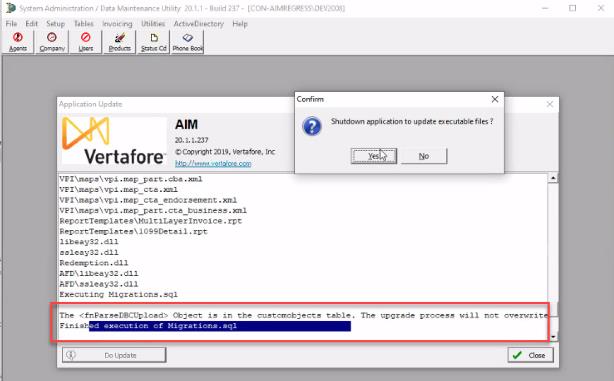
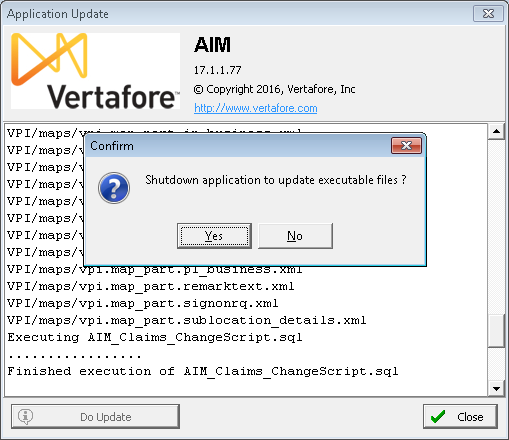
- In the Confirm dialog box, click Yes to shut down DMU to update the executable files.
- Log back on to DMU using the same login information to finish the update process.
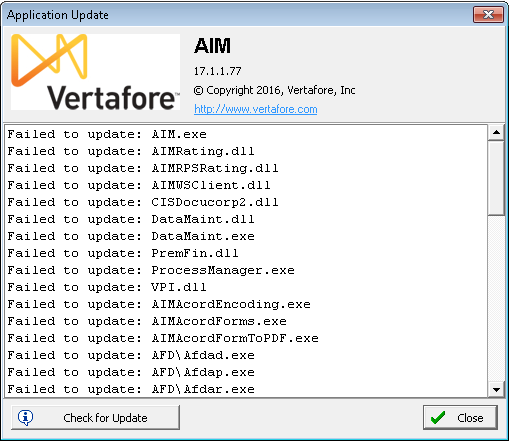
If any files were not successfully updated, they appear in the Application Update dialog box when DMU starts.
Troubleshooting
Following the update, the information below may be useful in resolving any problems that may arise.
- A log file named WUPDATE.log is created and stored in your AIM directory.
- If files fail to update, verify whether the files in question are marked as read-only. Files set to read-only cannot be overwritten by the update tool.
- • There will be either an AIM_ChangeScript.log or AIM_Claims_ChangeScript.log file, located in your AIM directory, containing a log of the SQL update as would be seen in SQL Management Studio.
- During the update, your pre-update files are copied and stored in the AIM directory with a .bak extension.
- Only one copy is made during the update. If you are repeating the update, any existing .bak files are overwritten by the next update.
- If you want to keep the backup files from a previous update, you should copy them into a location outside of the AIM directory.
- If you encounter errors that you are unable to resolve, contact AIM Product Support for assistance (see Get Help and Support).