In other topics, we explain how to add annotations to an image. At some point, you may need to change the predefined properties of an existing tool. In our example, we are going to explain the basic steps for making changes. By following our example and modifying the steps as needed, you should quickly master any needed changes to other annotation tools.
|
Predefined annotations (colors, line size, etc.) may be created in ImageRight Desktop as private annotations. You must start Desktop using the same user name and password that you use for Outlook Interface and create the notes there. For more information about creating private annotations, see ImageRight Desktop Help. |
- Add the annotation as explained in Adding Annotations.
- Before the annotation is saved, select it.
- Right-click the annotation, and then select Properties on the menu to open the Properties dialog box.
- Make your changes on the appropriate tabs in the Properties dialog box, and then click OK or Apply to save your changes.
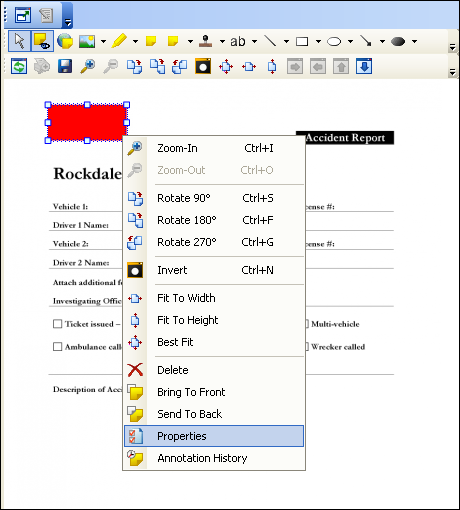
The appearance of the Properties box will differ based on the annotation that you are changing. In the following sections, we explain the changes for each type of annotation.
Arrow Annotation
- On the Colors tab, click the arrow to display the available colors. Click the appropriate tab (Custom, Web, or System) and select the color that you would like to use.
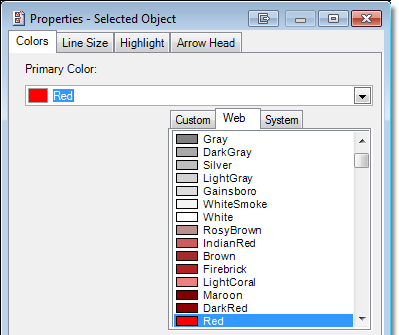
- On the Line Size tab, you can enter a value or select the size (thickness) of the line.

- On the Highlight tab, if you select the Highlighter option, the color will act only as a highlight, that is, the annotation will be transparent, and you will be able to read text through the color. If the option is not selected, the color will be opaque.

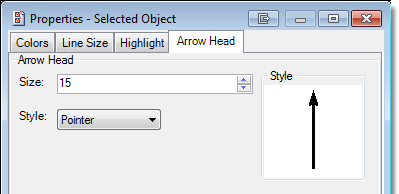
- On the Arrow Head tab, you can configure the size of the arrowhead by entering or selecting a value in the Size box. In the Style list, you can select the style of the arrow. The Style pane will be updated with a preview of your selections.
Embedded Image
You can use predesigned images as annotations. For example, you could use your company logo as an embedded image, making it possible to add the logo to an image quickly, just as easily as drawing a line on an image.
- To change the predefined image, click Load on the Image tab.
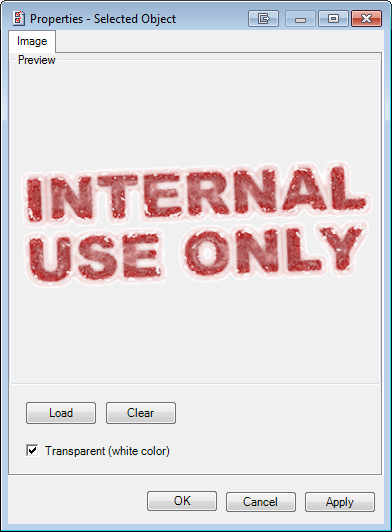
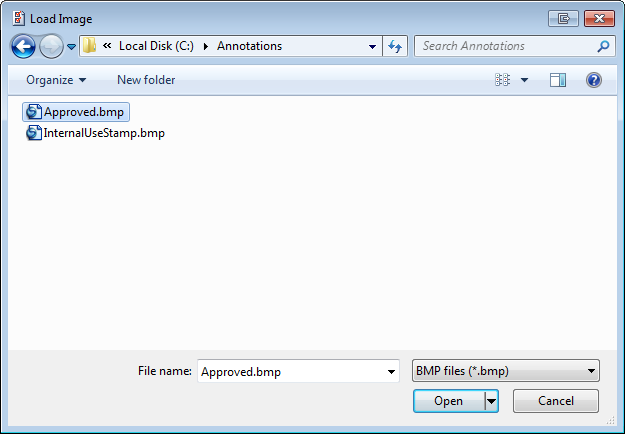
- In the Load Image dialog box, find the image that you would like to use. Image files must in the bitmap (.bmp) format.
- Select the image and click Open. Click Cancel to return without selecting an image.
- The image will be displayed in the Preview pane.
- Click Clear to remove the image and start over. Alternatively, you can click Load and locate another image to replace the one in the preview.
- Select the Transparent (white color) option, and the background of the image will be transparent. If you uncheck the option, the background will be white. You should consider that a white background could cover text in the image when the annotation is applied.
Filled Annotations
There are three filled annotation tools.
- Filled
Rectangle –

- Filled
Polygon –

- Filled
Ellipse –

We are going to explain how to configure the properties of the filled rectangle. You can easily adapt our steps to add you personal touch to the other filled annotations.
- On the Colors tab, click the arrow to display the available colors. Click the appropriate tab (Custom, Web, or System) and select the color that you would like to use.
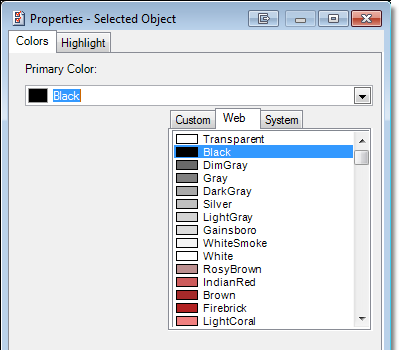
- On the Highlight tab, if you select the Highlighter option, the color will act only as a highlight, that is, the annotation will be transparent, and you will be able to read text through the color. If the option is not selected, the color will be opaque.

Highlighter
The Highlighter annotation tool can be used just like a highlighter pen in the paper world, that is, you can highlight text on an image. Follow our steps to designate the color of your highlighter.
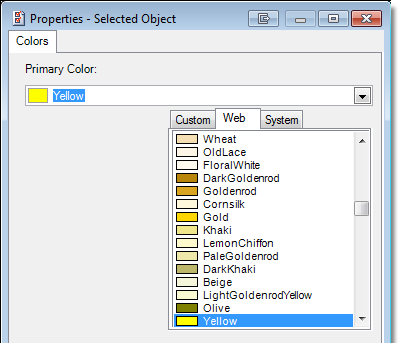
- On the Colors tab, click the arrow to display the available colors. Click the appropriate tab (Custom, Web, or System) and select the color that you would like to use.
Hollow Annotations
There are three hollow annotation tools.
- Hollow
Rectangle –

- Hollow
Polygon –

- Hollow
Ellipse –

We are going to explain how to configure the properties of the hollow rectangle. You can easily adapt our steps to add you personal touch to the other hollow annotations.
- On the Colors tab, click the arrow to display the available colors. Click the appropriate tab (Custom, Web, or System) and select the color that you would like to use.
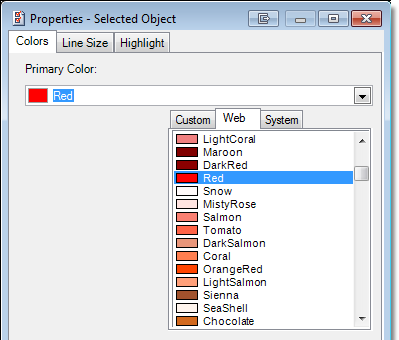
- On the Line Size tab, you can enter a value or select the size (thickness) of the line.

- On the Highlight tab, if you select the Highlighter option, the color will act only as a highlight, that is, the annotation will be transparent, and you will be able to read text through the color. If the option is not selected, the color will be opaque.

Line Annotations
There are three line annotation tools.
- Straight
Line –

- Freehand
Line –

- Polyline
–

We are going to explain how to configure the properties of the straight line. You can easily adapt our steps to add you personal touch to the other line annotations.
- On the Colors tab, click the arrow to display the available colors. Click the appropriate tab (Custom, Web, or System) and select the color that you would like to use.

- On the Line Size tab, you can enter a value or select the size (thickness) of the line.

- On the Highlight tab, if you select the Highlighter option, the color will act only as a highlight, that is, the annotation will be transparent, and you will be able to read text through the color. If the option is not selected, the color will be opaque.

Text Stamp
In the paper world, you may use a rubber stamp to add information to a document or file. For example, you might stamp a claim as approved or rejected. You can apply a predefined stamp in Outlook Interface for the same purpose.
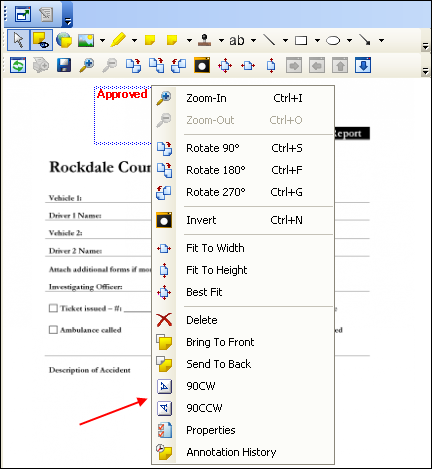
- You can change the orientation of the text stamp. Select the stamp, right-click and then click 90CW (90 degrees clockwise) or 90CCW (90 degrees counterclockwise).
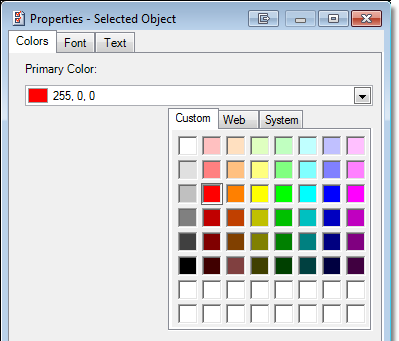
- On the Colors tab, click the arrow to display the available colors. Click the appropriate tab (Custom, Web, or System) and select the color that you would like to use for the text (font).
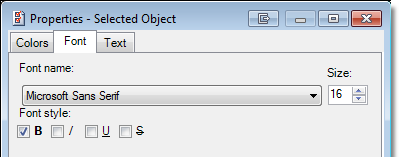
- On the
Font tab, you can select the options (font name, style, and size) to format
the appearance of the text to meet your needs.
- B – bold
- I – italic
- U – underline
- S – strikethrough
- On
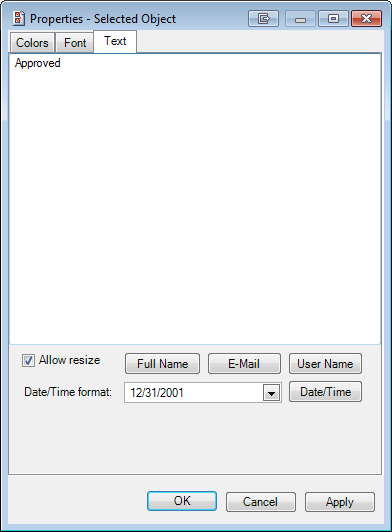
the Text tab, you can change the text and add the following items to the
note (at the insertion point) by clicking the button of the same name.
The information added will be based on your user credentials stored in
the ImageRight system.
- Full name
- E-mail – e-mail address
- User name – ImageRight user name
- Date/Time – click the arrow to select the format
- Select the Allow resize option at the bottom of the dialog box, and you will be able to change the size of a stamp you apply before it is saved, eliminating the possibility of hidden text.
