Predefined typed text annotations can be created in ImageRight Desktop as private annotations. These predefined notes can then be added to an image in Outlook Interface. To create the text notes, you must start ImageRight Desktop with the same user name and password that you use for Outlook Interface and create the notes there. Then the notes will be available for your use in Outlook Interface. For more information about creating private annotations, see ImageRight Desktop Help.
Before you continue with our example, you might find it helpful to review Adding Annotations. In that topic, we explain how to change the size of annotations, delete them, and more.
- To add
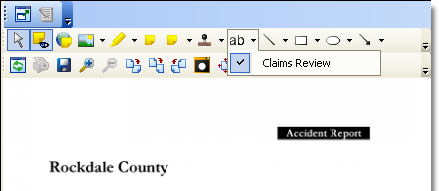
a predefined note, click the arrow next to the Typed Text button and select
the name of the note, indicated by
 ,
that you would like to add. The selected note will be used each time you
click the Typed Text button until you change your selection again.
 - Do one
of the following:
- Point at the place on the image that you want to add the note and click.
- Drag the pointer beginning at the point where you want to add the note.
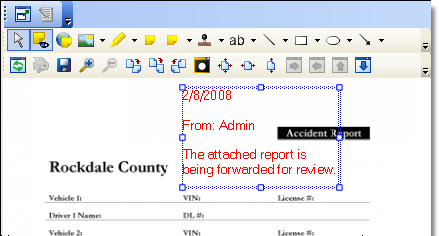
- To add text to the note, double-click the text area, move the insertion point as needed, and type the text.
- Resize the note as needed.
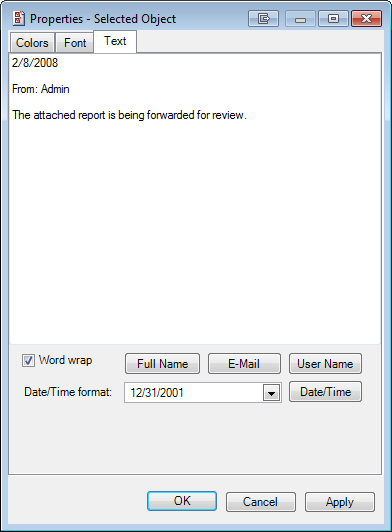
- You can change the properties of the note. Select the note, right-click, and then click Properties on the menu to open the Properties dialog box.
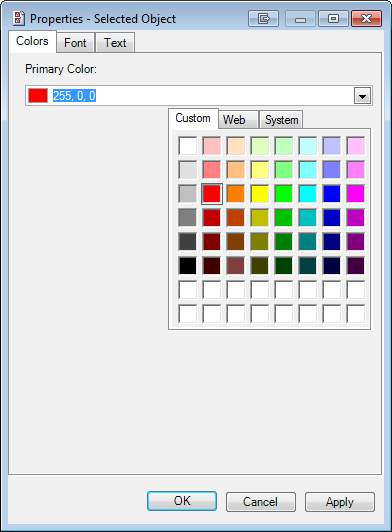
- On the Colors tab, click the arrow to display the available colors. Click the appropriate tab (Custom, Web, or System) and select the color that you would like to use for the text (font).
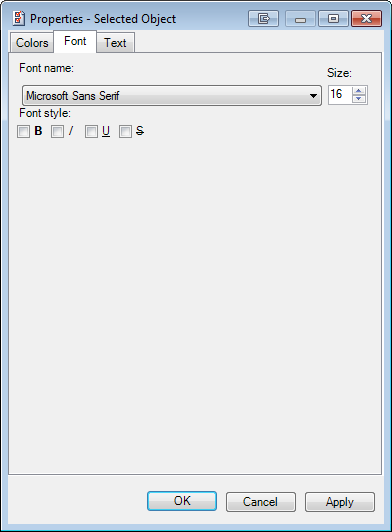
- On
the Font tab, you can select the options (font name, style, and size)
to format the appearance of the text to meet your needs.
- B – bold
- I – italic
- U – underline
- S – strikethrough
- On
the Text tab, you can change the text and add the following items to the
note (at the insertion point) by clicking the button of the same name.
The information added will be based on your user credentials stored in
the ImageRight system.
- Full name
- E-mail – e-mail address
- User name – ImageRight user name
- Date/Time – click the arrow to select the format
- Select the Word wrap option to make lines of text wrap inside the editor and note.
- Click Apply or OK to save your changes. Click Cancel first to dismiss the dialog box without saving your changes.
While editing a note, you can right-click the note to access these commands.
- Undo – reverse the last (one) action
- Cut – delete the selected text to move (paste) it to another location
- Copy – to duplicate information and place in another part of the note
- Paste – insert text that has been cut or copied in a new location
- Select All – select all the text in the note