There are two very similar sticky note annotation tools. In our first example, we will add a basic note. Following that, we will explain how to use the Sticky Note Editor.
Before you begin, you might find it helpful to review Annotate Menu. In that topic, we explain how to customize private annotations, that is, configure the attributes (properties) of the annotation tools.
|
Sticky notes are the only annotations that can be moved, changed, or removed after they are added. All other annotations are permanent. |
In this example, you can think of the basic sticky note as first placing the note paper on the document and then writing on it.
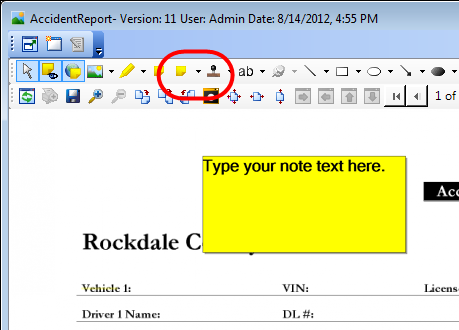
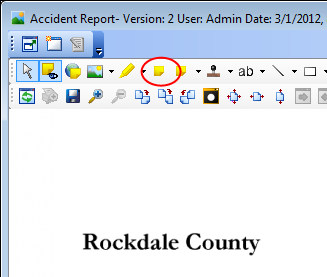
- Click
the Sticky Note button or click the arrow and select a predefined note
and add the note to the image by doing one of the following. If you use
a predefined note, the note will appear with the saved text, colors, etc.
- Point at the place on the image that you want to add the note and click.
- Drag the pointer beginning at the point where you want to add the note.
- The insertion point will be inside the note. Simply begin typing to add text to the note.
- If you need to add text to an existing note, double-click the note and move the insertion point to the desired location and type your text.
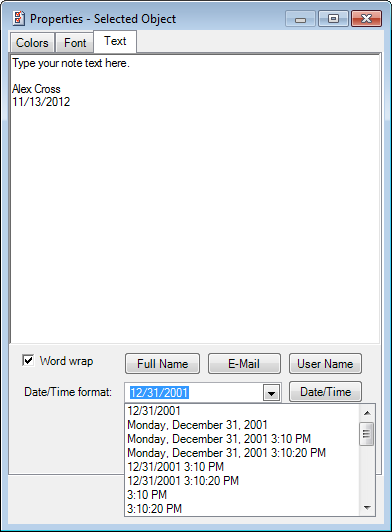
- You can also right-click an existing note, click Properties on the menu to open the Properties dialog box, click the Text tab, and then modify the text.
- With the Properties dialog box open, you
can add the following items to the text of the note (at the insertion
point) by clicking the button of the same name. The information added
will be based on your user credentials stored in the ImageRight system.
- Full Name
- E-Mail – e-mail address
- User Name – ImageRight user name
- Date/Time
- Select the format in the Date/time format list that you would like to use.
- Click the Date/Time button, and the current date will be added to the note.
- Select the Word wrap option at the bottom of the window, and the text of the message will wrap to fit the text area so that you can see all the text. The text will wrap in the note placeholder shown on the image when you apply the annotation.
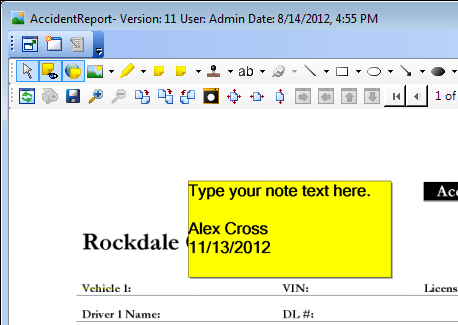
- When you click Apply or OK to save your changes, the text added in the Properties dialog box will be added to the note. Click Cancel first to dismiss the dialog box without saving your changes.
If you would like to be able to modify the properties of a sticky note at the same time you are adding the text, you should use the Sticky Note Editor. Using the Editor is like writing the note first and then sticking it on the document.
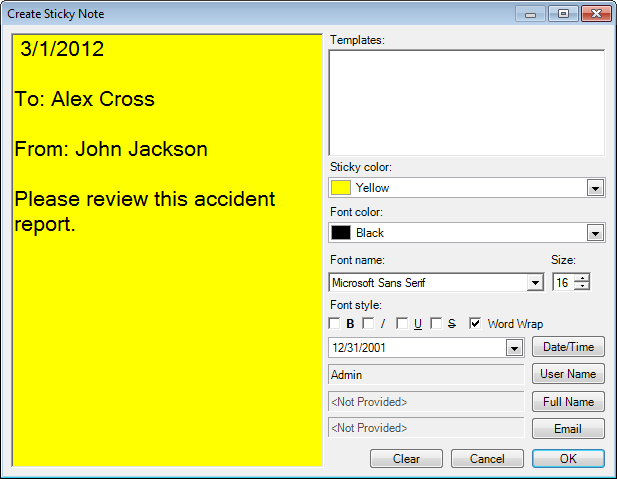
- Click the Sticky Note Editor button.
- In the
Create Sticky Note dialog box, the attributes (properties) of the note
that you can change are on the right side.
- Sticky color – background color of the note
- Font color – color of the font in the note
- Font name
- (Font) Size
- Font style – B – bold, I – italic,U – underline, S – strikethrough
- Word wrap – lines of text wrap to fit inside the boundaries of the note on the image
- Date/time
- Select the format in the date/time format list that you would like to use.
- Click the Date/Time button and the current date will be added to the note.
- User Name – ImageRight user name
- Full Name – full name of the ImageRight user
- E-Mail – e-mail address of the ImageRight user
- Select the colors and font style before typing your text and the settings will be applied to the text as you type. You can type your text first and apply the settings last.
- Click:
- Clear to remove all entries and retain the editor for additional use.
- Cancel to dismiss the editor without adding your note.
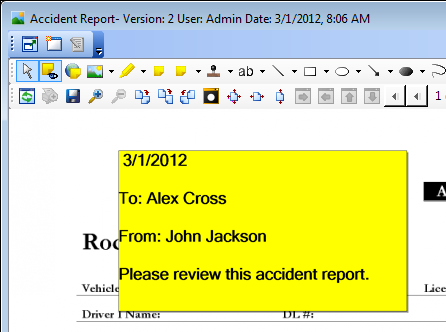
- OK to add your note to the image.
- After
the note is added to the image, you can change it using the steps explained
earlier for adding a basic sticky note. To do so, do one of the following:
- Double-click the note and make your changes.
- Right-click the note and click Properties and make your changes.
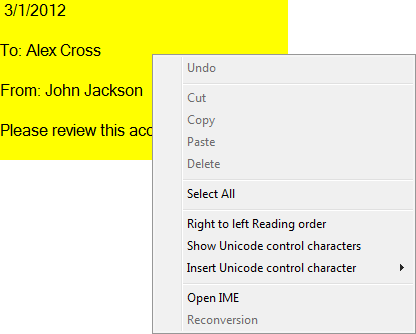
When you are editing a sticky note (both a basic note and a note in the Sticky Note Editor), you can right-click the note to access these commands.
- Undo – reverse the last (one) action
- Cut – delete the selected text
- Copy – duplicate information and place in another part of the note
- Paste – insert text that has been cut or copied in a new location
- Delete – remove the selected text
- Select All – select all the text in the note