You can add predefined text notes (created as explained in Typed Text in the Annotate Menu section), or you can add a blank note to an image and then type your text.
- To add
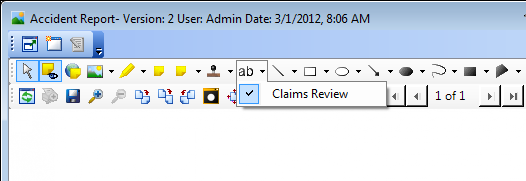
a predefined note, click the arrow next to the Typed Text button and select
the name of the note, indicated by
 ,
that you would like to add.
,
that you would like to add.- The selected note will be used each time you click the Typed Text button until you change your selection again.
- To add a blank note, clear the selection of the predefined note, and then click the button.
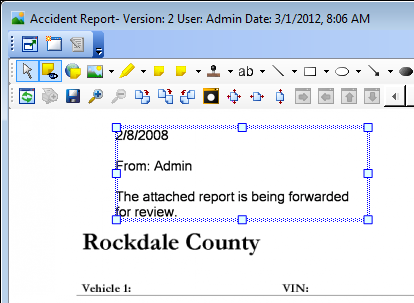
- Point at the place on the image that you want to add the note and click, or drag the mouse beginning at the point where you want the note.

- To add text to the note, double-click the text area, move the insertion point as needed, and type the text.
- Resize the note as needed.
- You can right-click the note and click Properties to open the Properties dialog box and change the attributes of the note as explained in Typed Text.

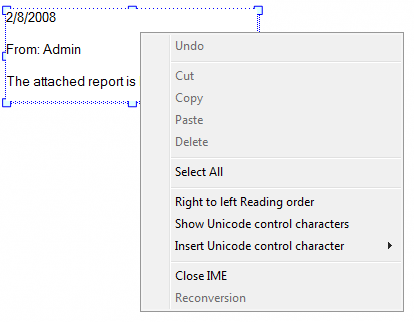
While editing a note, you can right-click the note to access these commands.
- Undo – reverse the last (one) action
- Cut – delete the selected text
- Copy – to duplicate information and place in another part of the note
- Paste – insert text that has been cut or copied in a new location
- Delete – remove the selected text
- Select All – select all the text in the note

When you define the font to be used with a text annotation tool, you should select a font that is readily available on computers. If you select an obscure font that is not installed on the computer being used to add a predefined annotation or view an existing text annotation, a similar font will be substituted when the annotation is displayed. This may cause a difference in appearance; however, the note will be readable.
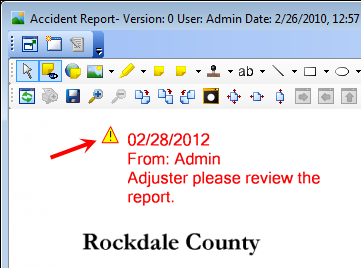
When you view a text annotation that cannot be displayed using the original font because the font is not on the computer being used, a warning icon will be placed next to the annotation.
