In this topic, we continue to show the features and controls of System Parameters, located on the Setup Menu.
The Imaging tab will be populated only if document management integration is enabled on the Company Information tab. Different options are shown depending on the document management system selected on the Company Information tab.
ImageRight
If you select the ImageRight document management option on the Company Information tab, then the ImageRight tab will appear on the Imaging tab. This is for use by customers that are using both AIM and ImageRight version 3.x. Data is exported from AIM and placed in a FUP (file update) file that is imported by ImageRight to create and update ImageRight data.

|
FUP files are not installed with the AIM system. FUP files must be configured by an ImageRight implementation coordinator to work with your system. Please contact your ImageRight account manager for assistance. |
On the ImageRight tab, you can map the transfer of data from your AIM system to your ImageRight system. These settings are used to define the layout of the FUP.
-
In the Default Drawer list, located in the ImageRight pane, select the default ImageRight drawer.
- In the FileNum Format list, select the file number format, that is, how file numbers will appear in ImageRight. Choose from the following options:
- Named Insured – Uses the name of the insured as the ImageRight file number.
- Policy Number – The policy number is used as the ImageRight file number.
- Quote ID – The quote ID is used as the ImageRight file number.
- Named Insured/Quote ID – The name of the insured and the quote ID are combined.
- Named Insured/Policy – The name of the insured and the policy number are combined and used as the file name.
- Named Insured/Effective – The name of the insured and the effective date of the policy are combined.
- Policy/Effective Date – The policy number and the effective date of the policy are combined.
- Policy/Named Insured – The policy number and the name of the insured are combined.
- Policy or quote ID/Named Insured – The policy number is combined with the name of the insured. If a policy has not been issued, the quote ID will be used.
- Named Insured/Policy or Quote ID – The name of the insured is combined with the policy number. If a policy has not been issued, then the quote ID will be used.
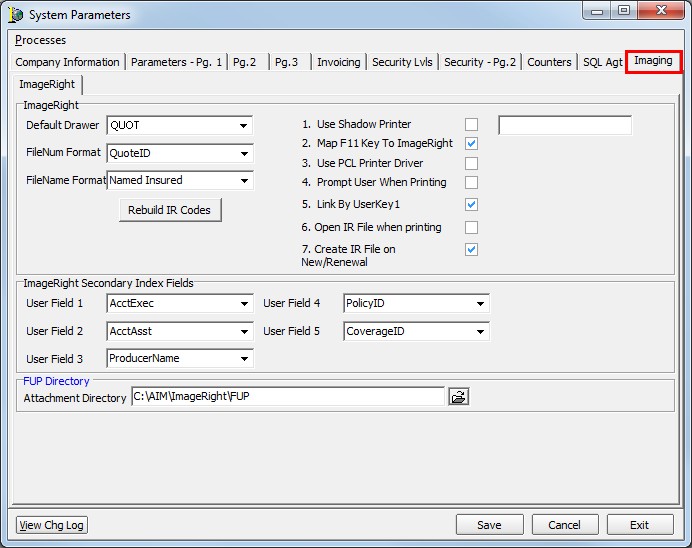
The Rebuild IR Codes button is reserved for future development.
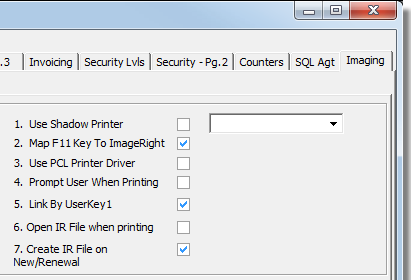
You can make selections for printing, key mappings, and more using the numbered options on the right side of the ImageRight pane.
- Use Shadow Printer – Copies of files printed from AIM into ImageRight are also printed to a physical printer. Select the printer name from the list.
- Map F11 Key to ImageRight – When viewing a submission or policy in AIM, the F11 key can be used to open the corresponding file in ImageRight.
- Use PCL Printer Driver – Use a PCL printer rather than a physical printer.
- Prompt User When Printing – Prompt the user to approve or modify the print settings and destination.
- Link By UserKey1 – Links an AIM file to an ImageRight file using the userkey1 field in the ImageRight database. Since the data in the userkey1 field is a unique identifier that does not change, this mapping maintains the link between AIM and ImageRight in the event that the file or file location changes. For example, if the file is renamed or moved to another ImageRight drawer, the link is maintained.
- Open IR File When Printing – Open the linked file in ImageRight when printing the file from AIM into ImageRight.
- Create IR File on New/Renewal – Prompt the user to create a corresponding file in ImageRight when creating a new or renewal submission in AIM. The ImageRight file is created using the FUP process.
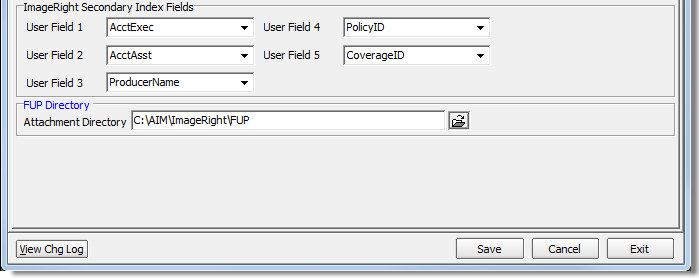
You can use the options in the ImageRight Secondary Index Fields pane to map additional data from AIM to ImageRight to make it easier to find files and to provide useful information in ImageRight. Using the User Field lists, data from the CIS database is mapped to populate secondary index fields in the ImageRight database. The User Field lists correspond to the ImageRight secondary indexes. For example, User Field 1 corresponds to the userdata1 secondary index in ImageRight, User Field 2 corresponds to userdata2, and so on.
There are many options available for you to choose from in each of the User Field lists, but we will not list all of them in this guide. If you need additional information about the database values shown in the User Field lists, please contact AIM product support.
- Select a database value from the User Field list to map it to the corresponding ImageRight secondary index field. You must specify a location for the FUP file. The ImageRight system will retrieve the FUP file and import it. Both systems must be using in the same FUP directory.
- In the Attachment Directory box, type the directory where the FUP file is to be placed by AIM. Alternatively, you can click
 to browse to the directory.
Liberty Net
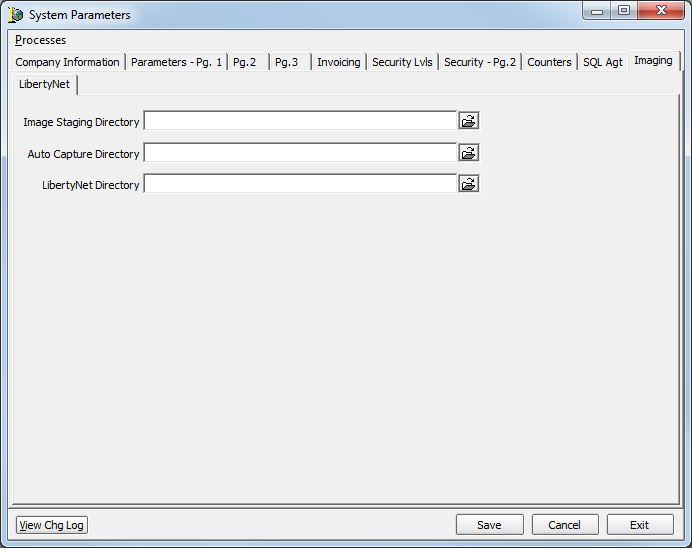
When LibertyNet is selected on the Company Information tab, the LibertyNet tab is shown.
The configuration of the third party application Liberty Net is outside the scope of this guide. You can use the Liberty Net Help file as a reference for configuring the Liberty Net settings on the Imaging tab. If you need additional assistance, please contact AIM product support.
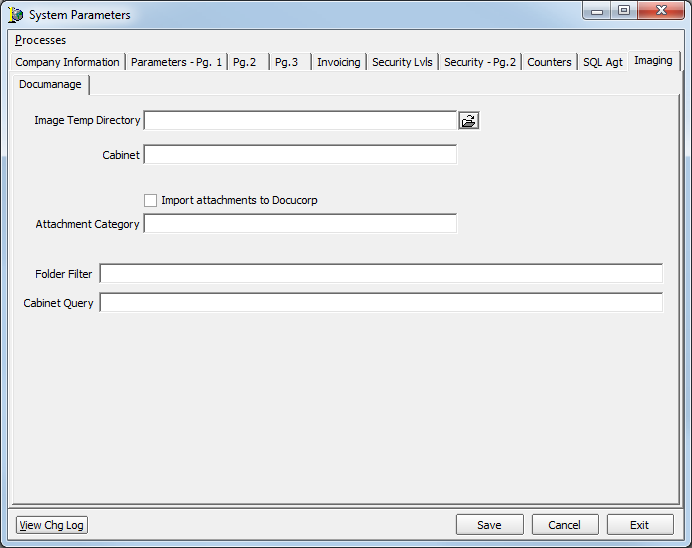
DocuManage
When DocuManage is selected on the Company Information tab, the DocuManage tab is shown.
The configuration of the third party application DocuManage is outside the scope of this guide. You can use the DocuManage Help file as a reference for configuring the DocuManage settings on the Imaging tab. If you need additional assistance, please contact AIM product support.
ImageRight V4+
When ImageRight V4+ is selected on the Company Information tab, the ImageRight V4+ tab is shown.
Configuration of AIM with ImageRight version 4.x and later is explained in ImageRight 3.x Setup.
