In this topic, we continue our setup of a retail agent/broker started in Add a New Retail Agent Broker. This feature can be accessed by clicking the Retail Agent/Broker command on the Tables Menu.
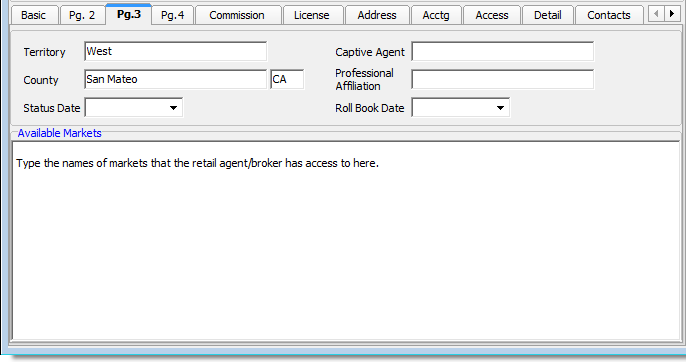
On the Pg. 3 tab, located on the Agent Detail tab of the Retail Agent/Broker Table Maintenance dialog box, we continue the process of configuring settings to add or change a retail agent/broker that we began on the Basic tab.
- Enter the appropriate information on the Pg. 3 tab based on the following definitions:
- Territory – where the agent/broker operates
- County – where the agent/broker operates
- Box (unlabeled) next to county – two letter state abbreviation
- Status Date – date on which the status of the agent/broker changed. You can type the date or click
 and use the Calendar.
 - Captive Agent – name of the captive agency, if applicable
- Professional Affiliation – names of professional affiliations, if applicable
- Roll Book Date – effective date of a rolled book of business. You can type the date or click and use the Calendar.
- Available Markets – names of the markets that the agent/broker has access to in-house. Information entered here will be displayed in the AIM phone book.