In this topic, we continue our discussion about managing Units At Risk on a submission.
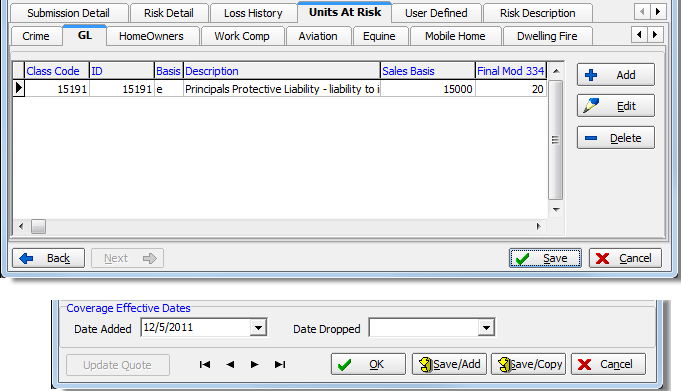
If the location is covered for general liability (GL), you can enter specific information about the general liability coverage on the GL tab.
The table that follows, we discuss the buttons used on the GL tab as well as the buttons used when adding or editing a GL entry in GL Class Code – Add Edit.
|
Button |
Function |
|---|---|
|
|
Add a new GL entry |
|
|
Edit the selected GL entry |
|
|
Delete the selected GL entry |
|
|
Move to the first record |
|
|
Move to the previous record |
|
|
Move to the next record |
|
|
Move to the last record |
|
|
Save your changes and close GL Class Code – Add Edit |
|
|
Save your changes and begin adding a new record |
|
|
Save your changes and copy data into a new record |
|
|
Abandon your changes and close GL Class Code – Add Edit |


In the steps that follow, we show you how to add a new GL entry. You can modify our steps to edit existing records, as needed.
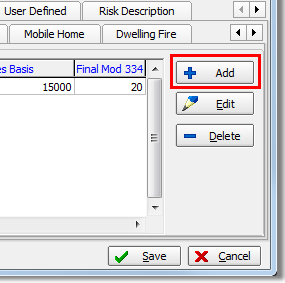
- Click Add.
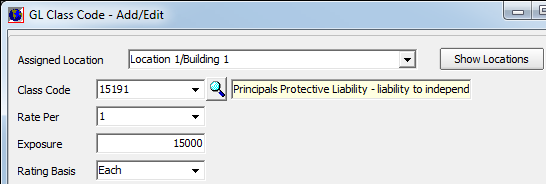
- In the
Assigned Location box, select the location from the list.
Alternatively, you can click Show Locations to add or edit location information as explained in Location Information. - Enter
the following information in the boxes provided.
- Class Code – rating class ID code
(Select from the list or click
 to search.)
 - Unlabeled box – populated by your selection in the Class Code box
- Rate Per – ID code of the rate per unit being used
- Exposure – exposure amount for the selected unit at risk
- Rating Basis – identifies the unit type on which the premium is based
- Class Code – rating class ID code
(Select from the list or click
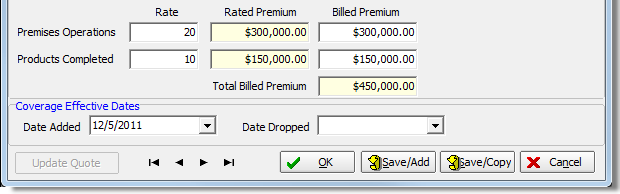
- In the
Premises Operations Rate box, enter the rate
for the premises operations. The values in the following boxes are calculated
automatically.
- Rated Premium – Rate for the premises operations multiplied by the exposure amount.
- Billed Premium – Monetary amount for the premises operations premium.
- In the
Products Completed Rate box, enter the rate for products completed. The values in the following boxes are
calculated automatically.
- Rated Premium – Rate for products completed multiplied by the exposure amount.
- Billed Premium – Monetary amount for the products completed premium.
- Total Billed Premium – Sum of the billed premium amounts for premises operations and products completed.
- In the
Coverage Effective Dates pane, type the dates when the coverage began
and ended. Alternatively, you can click
 to use the Calendar.
- Date Added – Date on which the unit at risk was added to the policy.
- Date Dropped – Date on which the unit at risk was dropped from the policy.
If you have a permission level of 9, you will see the Admin button on the title bar of the GL Class Code – Add/Edit dialog box. This button is used to specify which fields are required in the submission entry workflow.

- In the Extended Form Admin dialog box, select the fields to set as required fields, and then click Save.
