In this topic, we continue our discussion of the Underlying tab, encountered when creating a New Submission.
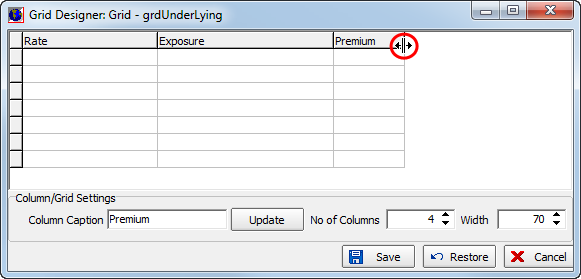
You can use Grid Designer to alter the grid shown on the Underlying tab. You can add columns to the grid and control the width of the column, that is, the maximum number of characters that the column can contain. Additionally, you can provide a name for each column that appears in the grid.
In the table below, we describe the function of the buttons shown in the Grid Designer dialog box.
|
Button |
Function |
|---|---|
|
|
Update the column caption |
|
|
Save changes made to the grid and close Grid Designer |
|
|
Restore the grid to default settings |
|
|
Cancel changes to the grid settings and close Grid Designer |

Next, we show you how to change the column name and add new columns.
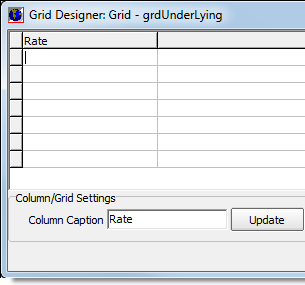
To change a column name:
- Click a cell in the column that you want to name.
- Type the name in the Column Caption box.
- Click the Update button.

To add a column:
- Increase the number of columns in the No of Columns box.
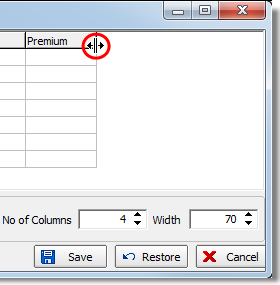
- Use the
mouse pointer
 to drag the new column header to the
desired size.
 - Enter the desired field length in the Width box.


