Policy Setup is used to record when the steps required to complete a policy have been accomplished. These steps include when the policy was received and when the policy was mailed out.
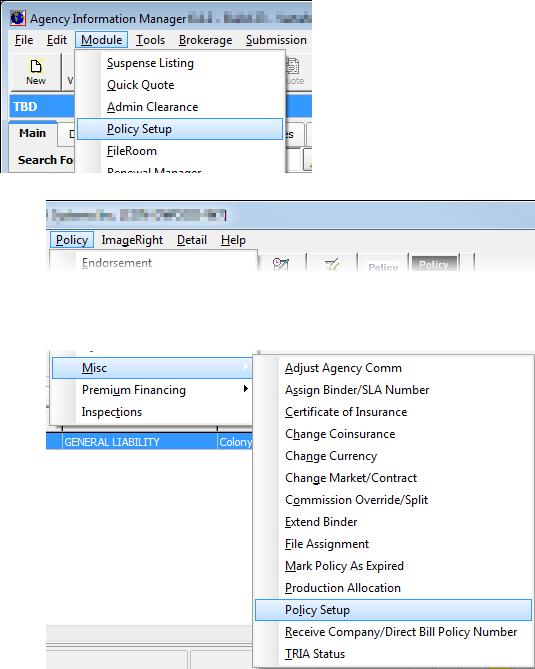
- On the Module menu, click Policy Setup.
As an alternative, on the Policy menu, point to Misc, and then click Policy Setup.
In the table that follows, we provide a brief description of the toolbar buttons and their functions.
|
Button |
Function |
|---|---|
|
|
Move to the first policy in the grid |
|
|
Move to the previous policy in the grid |
|
|
Move to the next policy in the grid |
|
|
Move to the last policy in the grid |
|
|
Receive the policy |
|
|
Return the policy to the underwriter |
|
|
Print the policy using Docucorp, if it is installed |
|
|
Not currently used |
|
|
Set the policy mail out date and create a policy cover letter using Document Processing |
|
|
Create a suspense (See Suspense Listing |
|
|
No longer used |
|
|
No longer used |
|
|
No longer used |
|
|
Close Policy Processing |


- In Policy Processing, enter the desired search criteria as explained in Understanding Searches in AIM, and then click Apply or press Enter to search for policies.
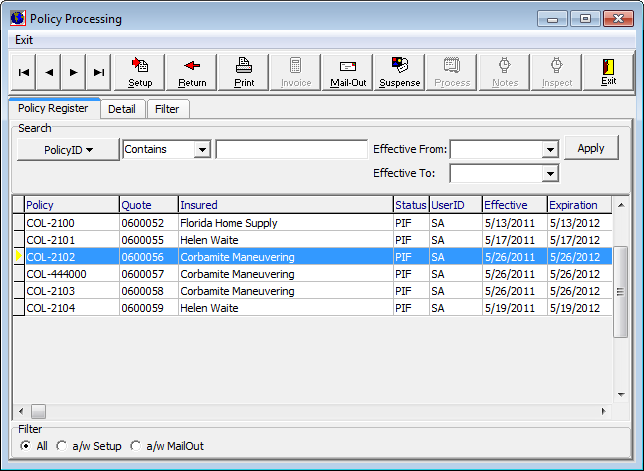
- Select a policy from the list. The list is displayed in the grid format.
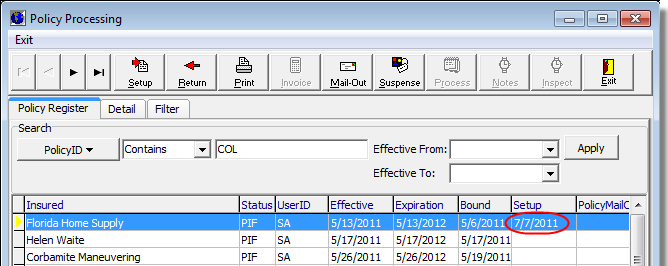
- Click
Setup to add the current date to the Setup column of the grid.
This marks the policy as having been setup, that is received, in AIM.
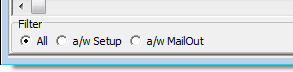
- In the
Filter pane, select a filter method to restrict the number and type of
policies shown in the grid.
- All – All policies are shown.
- a/w Setup – Only policies where no setup date has been established are shown.
- a/w MailOut – Only policies with no mail out date are shown.
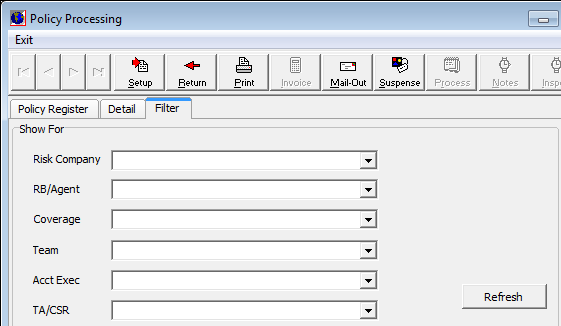
- Click the Detail tab to view policy details.
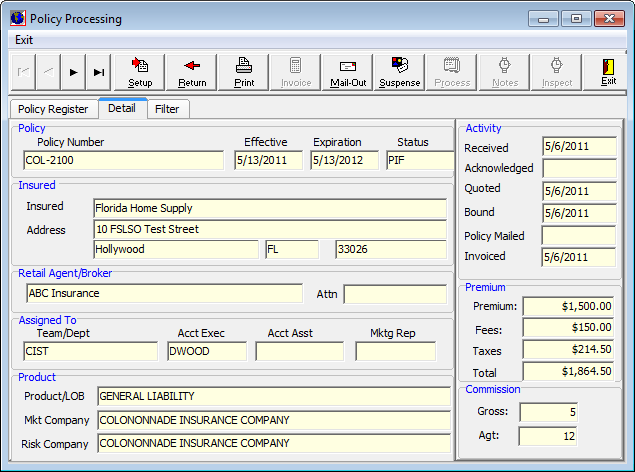
- Click the Filter tab to refine the listing of policies displayed on the Policy Register tab.
- Make selections from the Risk Company, RB/Agent, Coverage, Team, Acct Exec, and TA/CSR list boxes to filter the results.