Using the Trial Balance report, you can create reports for all general ledger accounts.
Before you begin, you should refresh the database as explained in Financial Report Preparation.
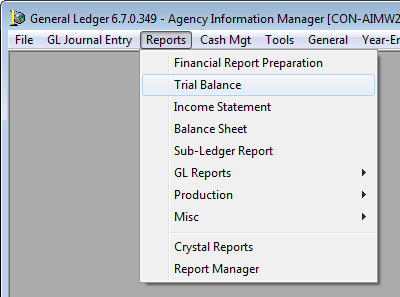
- On the Reports menu, click Trial Balance.

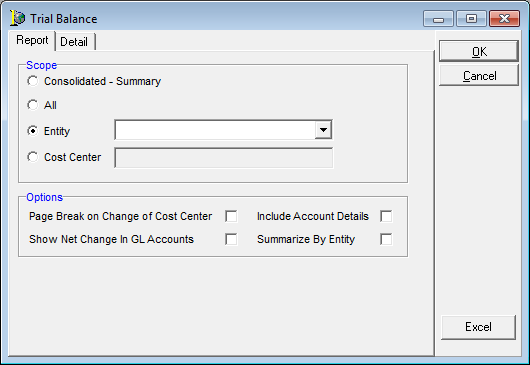
- Enter the report parameters on the Report tab based on the following definitions:
- Scope – define the appropriate option in the list.
- Consolidated – Summary – data for master accounts
- All – data for all entities and cost centers
- Entity – a specific entity
- Cost Center – a specific cost center
- Options – select the appropriate check box or boxes.
- Page Break on Change of Cost Center
- Show Net Change in GL Accounts
- Include Account Details
- Summarize by Entity – include description before each entity
- Scope – define the appropriate option in the list.
- To see the report results, do one of the following:
- Click the Detail tab to see the results in a grid.
- Click OK to see the Trial Balance Report options.
- View – view the report
- Print – print the report
- Setup – change the printer setup
- Exit – close the report
- Cancel – cancel the view and print options

For additional information about printing and exporting reports, see Printing and Exporting Reports.