Many people who process tasks want to do so rapidly and do not care in what order the tasks are presented. To do so, they use the Auto Process command.
As opposed to your picking specific tasks in the to do list to process, the auto process feature presents (in Desktop) the next task in the list as you release each task. This continues until all the tasks based on your search criteria have been completed.
|
In addition to the auto process method explained here, you can also utilize Document Indexing to systematically process tasks in the index step of a workflow. |
- On the
To Do List tab, select the search criteria that you would like to use
to locate the tasks that you would like to auto process.
- Workflow
- Step
- User (name of the person, group, or role to which tasks are assigned)
- On the
Workflow menu, click Auto Process. Alternatively, you can click
 on the toolbar.
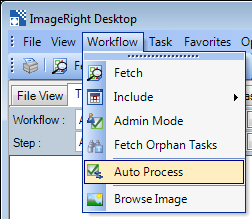
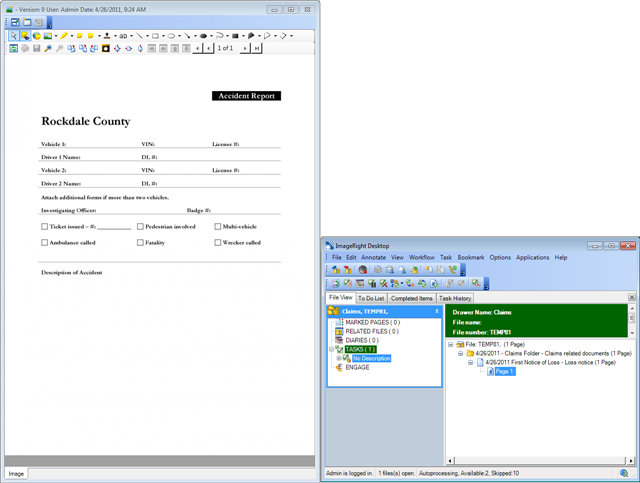
- The first task available for auto processing (based on your search criteria) will be locked and opened in Desktop (on the File View tab). The Document Indexing dialog box will be opened if the task is in an index step.
- The locked task can be processed as needed using the commands on the Task menu.
- When you
release the task (click Release in Document Indexing or click
 on the toolbar), the next task in the list will be opened and locked.
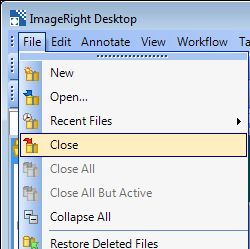
- To end auto processing, click
Close on the File menu or click
 on the toolbar to close the file (task) presented for auto processing.
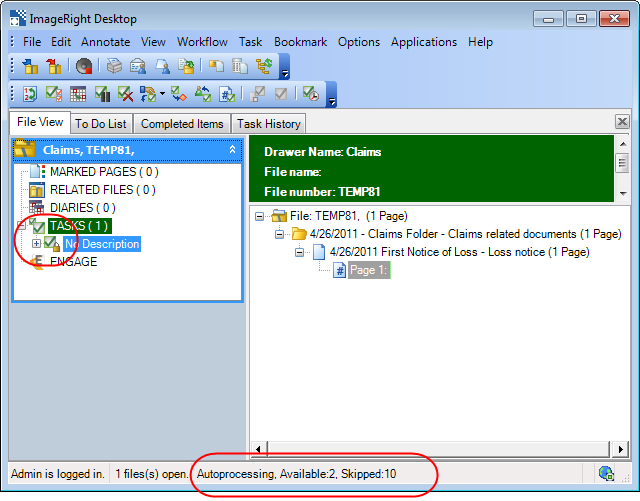
A quick look at the navigation pane and status bar will help you identify tasks being auto processed and your progress.
- The locked icon appears on the task level in the navigation pane.
- In
the status bar, you can see:
- Task auto processing mode when you are using the feature.
- The number of available tasks to be processed.
- The number of skipped tasks.
|
The display of available and skipped task counts can be turned on and off using the Miscellaneous Options in Desktop Settings. |
There are four commands on the Workflow menu that you can use when auto processing tasks.
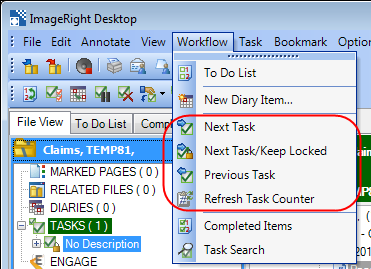
- Next Task – The task being viewed is skipped. The task is unlocked, and the file is closed. Auto processing will continue.
- Next Task/Keep Locked – The task being viewed remains open and locked but is skipped, and the next task is presented. To return to the earlier task, click the file bar in the navigation pane.
- Previous Task – Skipped tasks are locked and opened for processing.
- Refresh Task Counter – The counts of available tasks and skipped tasks displayed in the status bar are updated.
You can suspend auto processing and open another file if needed. When you are ready to return to auto processing, simply locate the file with the locked task (look for the lock icon on the Task level in the navigation pane) and click the file bar to return to the file.