ImageRight Desktop Quick Tour
We are going to explain how to start ImageRight Desktop, and then we will provide a quick tour of the interface. In separate topics, we explain how you can change (customize) the appearance of Desktop to meet your personal needs.
The easiest way to start ImageRight Desktop is to click Start, All Programs, ImageRight, ImageRight Desktop. As an alternative, you may double-click the ImageRight Desktop icon on your Windows desktop.
If your organization uses Vertafore WorkSmart Online and Vertafore Single Sign-On functionality, you should follow the logon instructions in Single Sign-On Integration.
Otherwise, when the ImageRight Logon dialog box opens, enter the user name and password assigned to you by the system administrator. If your organization has more than one location, select the location name in the Log on to list. Typically, the location name represents a remote office (satellite site) or the home office (main site).
Click the Options button to display the Log on to list box and the Change password option if needed.
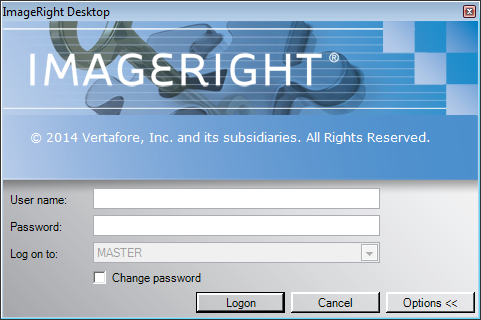
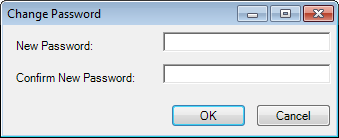
Select the Change password option, indicated by  ,
if you would like to change your password, and then click Logon. When
the Change Password dialog box opens, type your new password in both boxes
and click OK, and then enter your new password as explained earlier.
,
if you would like to change your password, and then click Logon. When
the Change Password dialog box opens, type your new password in both boxes
and click OK, and then enter your new password as explained earlier.
|
If your organization uses integrated security, which gives network users access to permitted resources using a single logon process, the Login dialog box will not be presented. The program will start without your having to enter the user name and password. |
When the program starts, you will see two windows that comprise the work area:
- Image Viewer on the left side of the screen displays the images when items are selected in Desktop.
- Desktop on the right side of the screen displays the file tree, the navigation pane, and more.
|
The space above Desktop can be used to view other applications. Resize the other application window as needed and drag it to the space. |
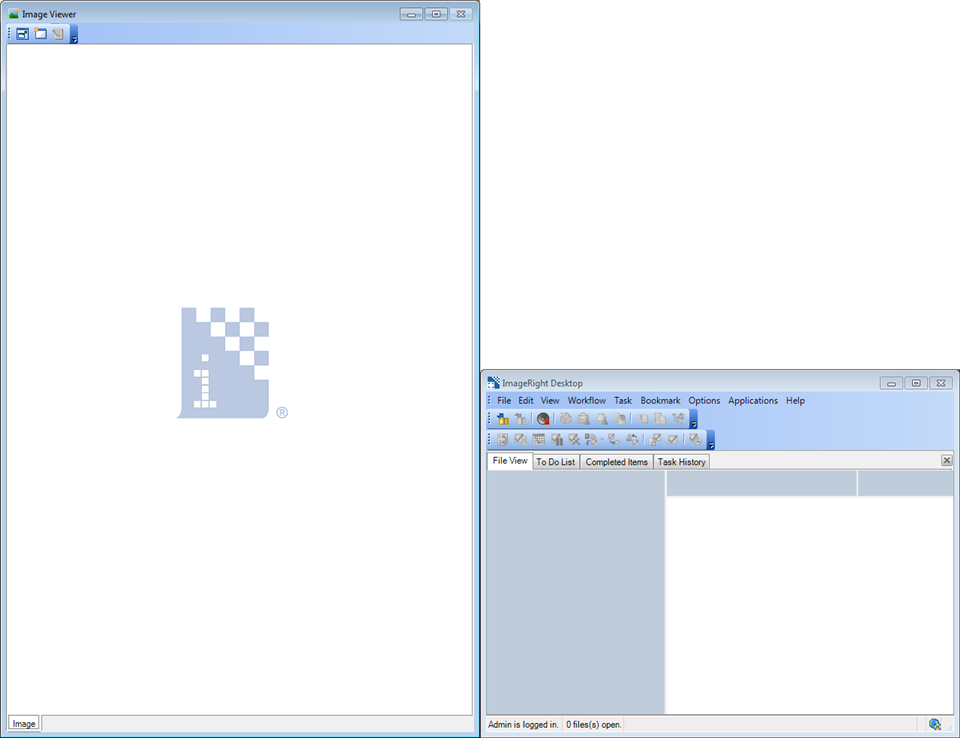
Image Viewer
When you select a file, document, page, etc., in Desktop, the corresponding image will be displayed in the Image Viewer window. The viewer is equipped with flexible commands that you can use to manipulate images for clarity and ease of use.
The toolbars are for the graphically focused user. You can invoke a number of menu commands by simply clicking a button (icon) on the toolbars.
- Viewer – Change the size of the viewer window or open the displayed image in a new window.
- Annotations – Click a button to select an annotation tool and add the annotation to the image (text, line, arrow, highlight, etc.).
- Image – Zoom in and out on the image, save the image, adjust the view of the image to fit the window.
When you right-click an image, a shortcut menu will be displayed. Shortcut menus, which are available in Desktop also, are simple, direct, and contextual. They display the commands and options that apply to the current work you are performing. You can use the commands on the Image Viewer shortcut menu to zoom in and out on the image, rotate the image, and more. You can also use the keyboard shortcuts, Ctrl+I for example, that are on the menu to manage the image you are viewing.

Desktop
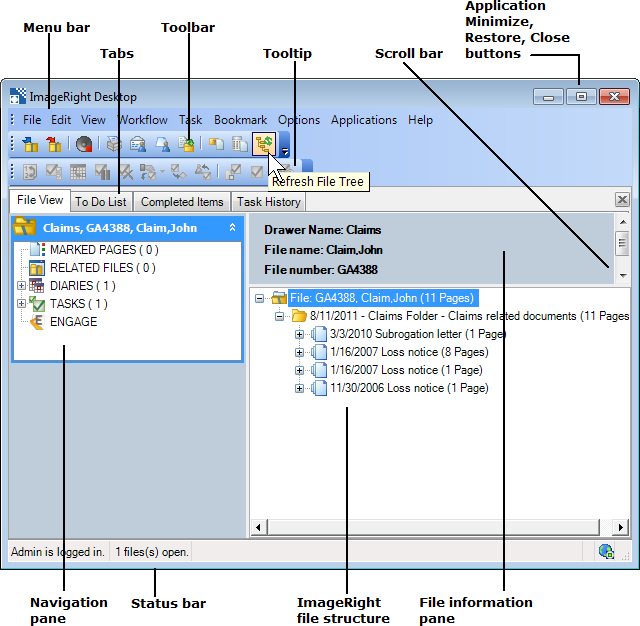
The Desktop window on the right side of the screen displays details of the file, that is, the ImageRight file structure and more. The appearance of the window will change based on the tab you have selected (click). Our discussion is related to the File View tab; however, the information about the menu bar, toolbars, etc., is applicable to all tabs. Later we will provide a look at the appearance of the other tabs.
The menu bar is the starting point for managing files (opening, closing, sending e-mail, etc.). To open a menu and see the available commands, click the menu name. The keyboard shortcuts that you can use to invoke a command are shown on the menus. It is important to note that the menus are intended for a specific tab (see below), that is, the available commands change based on the tab being viewed.
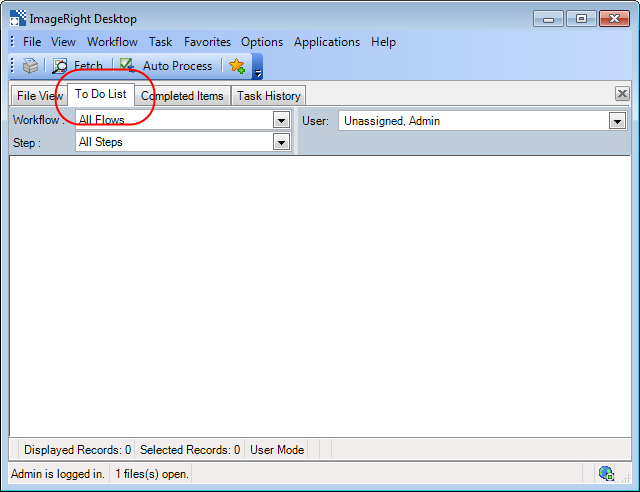
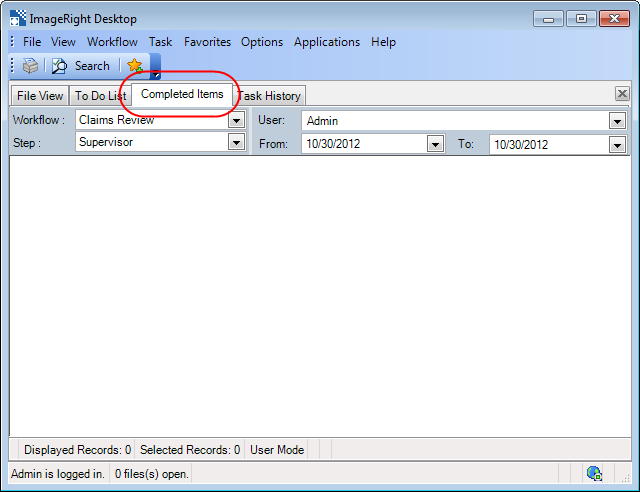
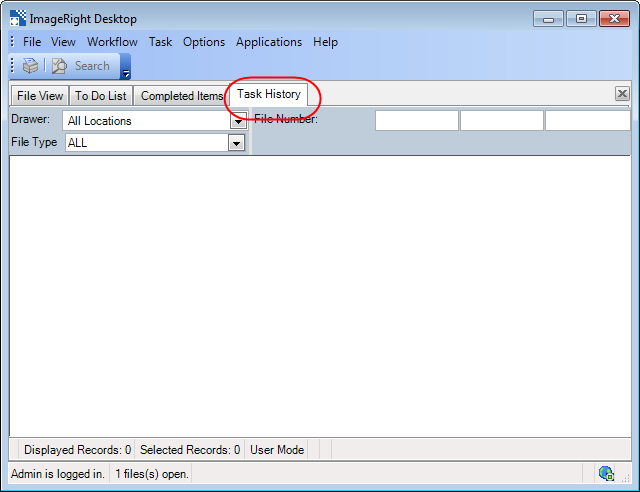
You can click the tabs to quickly change to the different work areas (or views) that are available.
The toolbars are for the graphically focused user. You can click the buttons on the toolbars to access many of the same functions that are on the menu bar. When you point at a button on the toolbar, a tooltip will help you identify the button's function. Once you learn how to access a command on a toolbar, you will likely stop accessing the same command on a menu.
When the information that you are viewing is larger than the display area, scroll bars will be added automatically. You can use the scroll bars to see the information that is out of view.
Additional information about the file is displayed in the navigation pane. You can quickly learn the number of these items in the file:
- Marked pages
- Related files
- Diaries
- Tasks
To see the individual items in these categories, click  or
or  as needed to expand the lists. With a list expanded,
you can select an item in the list and it will be displayed in Desktop.
as needed to expand the lists. With a list expanded,
you can select an item in the list and it will be displayed in Desktop.
There are useful shortcuts that you can use in the navigation pane. You can:
- Switch the view (focus) from one file to another by simply clicking the file number in the navigation pane.
- Change
the view of the file information in the pane by clicking
 or
or  to show more or less.
 - Can change the size of the navigation pane as explained in Changing the Window Layout.
With a quick look at the status bar, you can determine how many files
are open and the current user that is using the program. You can also
determine whether your current Desktop session is connected to the ImageRight
Application Server by the appearance of the  in the
status bar.
in the
status bar.
If your organization uses ImageRight Image Cache Server, the words Cache Server Connectivity and an indicator regarding the state of Image Cache Server are displayed in the status bar. With a quick look at the indicator, you can determine the status and take action if needed.
-
 –
Image Cache Server is operating correctly.
–
Image Cache Server is operating correctly. -
 –
Image Cache Server is functioning intermittently. If this indicator is
observed for an extended time, you should contact your ImageRight system
administrator so any problems can be investigated and resolved as needed.
–
Image Cache Server is functioning intermittently. If this indicator is
observed for an extended time, you should contact your ImageRight system
administrator so any problems can be investigated and resolved as needed. -
 – Image
Cache Server is not responding. You should contact your ImageRight system
administrator so that service can be restored.
– Image
Cache Server is not responding. You should contact your ImageRight system
administrator so that service can be restored.
|
ImageRight Cache Server is used by some organizations that have multiple locations to store local copies of frequently accessed content, making it possible to retrieve the content quickly in Desktop. |
The ImageRight file structure (location, drawer, file, folder, document, and page) is displayed in the lower right portion of the window. The number of pages in each level is also displayed in the file structure. You can also identify folders that may contain other folders, often referred to as nested folders.
The file information pane in the upper right portion of the file structure displays information related to the file's location, type, number, and more, based on settings that you can configure.
In the screen captures that follow, you can see how the appearance of the interface changes when you select another tab. In separate topics, we explain the functionality of each tab in detail.