You can associate a cover page and letterhead with pages, etc., that you send from ImageRight Desktop via fax (see Choosing the Letterhead). The cover page is actually a message to the recipient that you can use to provide or request additional information.
The cover page may take one of several forms.
- Boilerplate text may be used. That is, the text is used repeatedly without the need to edit it each time.
- Information related to the file from which the fax is being sent may be included automatically, without your having to type it. For example, the file number and the insured name may be included.
- Information about the sender (you) may be included in the message automatically.
- Message text may be changed each time a fax is prepared, even if the text is predefined. This type of message is often referred to as a free form memo.
- Message text may not be changed. This type of message is often referred to as a fixed form or protected memo.
- Predefined reasons may be selected and added to a message (typically a protected memo).
- Message text may be created without using predefined text.
|
The predefined text that is populated automatically in a message and the predefined reasons are set up in ImageRight Enterprise Management Console by the system administrator. |
We are going to start by explaining how to select a cover page, edit the message, and select reasons. Then we will explain how to select the letterhead to be used.
As you follow our examples to compose your messages, you may want to
preview the results of your changes. You can do so by simply clicking
 on the toolbar.
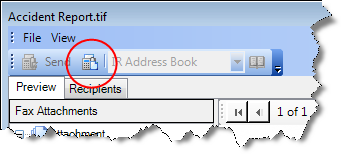
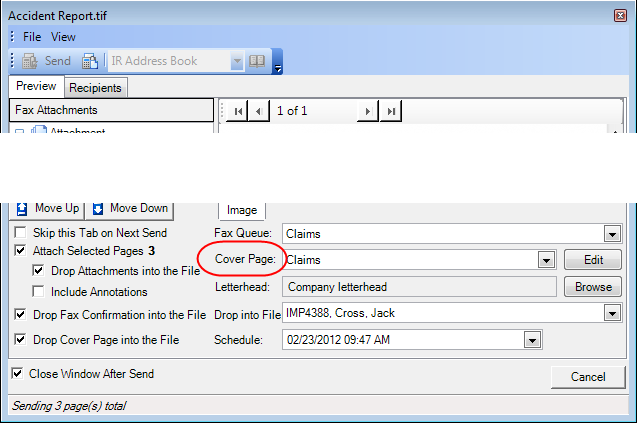
- In the Cover page list, select the cover page that you would like to use, and then click Edit.
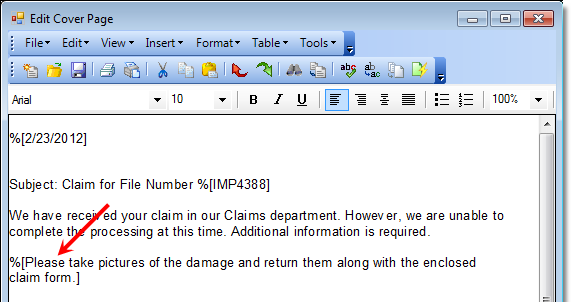
- The cover page (typically with predefined text) opens in the message editor.
|
The editor is basically a word processing program. In that the menus, toolbar icons, formatting options, etc., function in much the same manner as a typical word processor, all the functionality will not be explained here. While our explanation is brief by design, by following our basic steps, experimenting with the other commands, and adding some practice, you will soon master the use of the editor. |
- You can
add text from an outside source to the message. You might use this function
if you want to replace an existing message with text in a message stored
outside ImageRight.
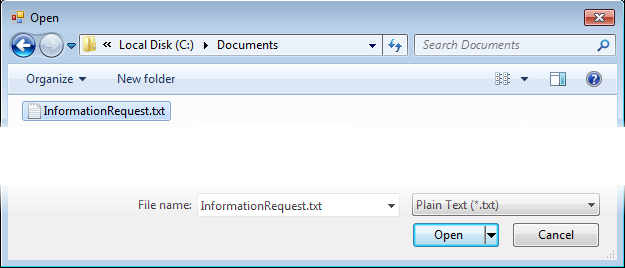
- In the Editor, click
 on the toolbar and locate the file containing the
text that you would like to add in the Open dialog box.
on the toolbar and locate the file containing the
text that you would like to add in the Open dialog box. - Select the message and click Open.
- The selected (file) text will replace the existing message text.
- In the Editor, click
- You can
save the message text in a location outside ImageRight. This might be
helpful if you want to reuse the text later. It is important to note,
that when you save a message, the merge fields (explained later) will
be saved just as they appear; therefore, you will need to edit the message
before reusing text.
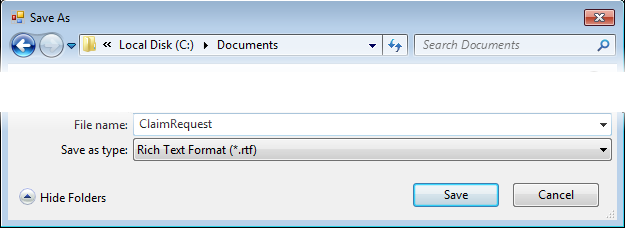
- Click
 to open the Save As dialog box.
 - Save the message just as you would any word processing file.
- Click
- You can
add file-related placeholders, referred to as merge fields, to the message
that will be updated automatically when the message is sent.
- With the Edit Cover Page window open, position the insertion point in the editor where you would like to insert the merge field.
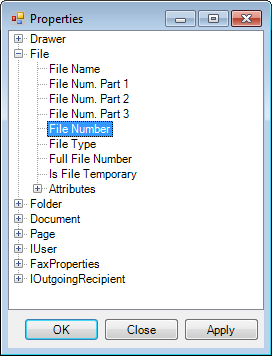
- Click
 to open the Properties dialog box, which contains
the list of ImageRight system items that you can add to the message.
to open the Properties dialog box, which contains
the list of ImageRight system items that you can add to the message.
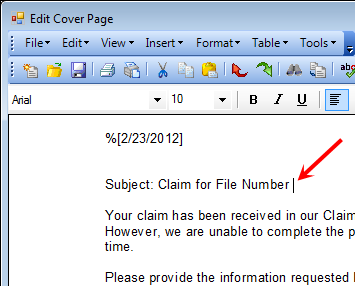
- In Properties, select an item, File Number for example, that you want to add and click OK (to add the field and close the dialog box) or Apply (to add the field and keep the dialog box open and add other fields).
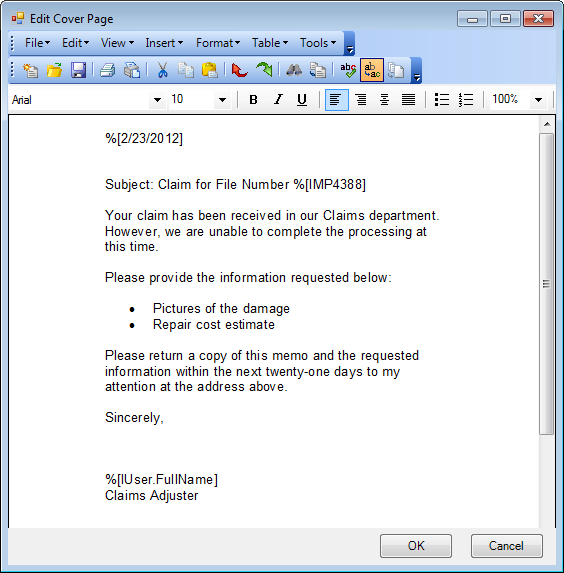
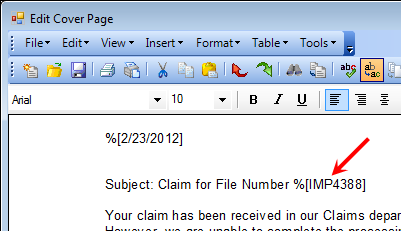
- The merge field will be added to the text. Mail merge fields are preceded by a percent sign ( % ), making them easy to identify. The value that will be updated each time is enclosed in brackets. The percent and the brackets will not be included in the final version of the message.
- Click Close in the Properties dialog box after you have added all the necessary merge fields and return to the editor.
- Complete the necessary changes in the message text.
- Click OK to close the editor and save the changes or Cancel to return without saving changes.
|
Would you like to create a message from scratch (using no predefined text)? You can, provided you open a cover page message that can be changed, that is, a free form memo. Simply delete the predefined text, and you have a blank message that you can customize. |
In our next example, we are going to explain how to select and add predefined reasons to a message. Typically, reasons are selected and added to a protected (fixed form memo) message, one in which you can't make other changes to the text. If the message is not protected, you can make changes, by following the steps in our earlier example. You can also save the message as we explained earlier.
- Begin by selecting the cover page that you want to use in the Cover page list.
- Click Edit to open the cover page in the message editor.

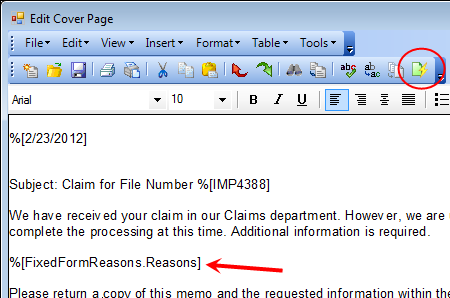
- Notice
the merge field that is labeled FixedFormReasons.Reasons.
The reasons you select will replace the field. If this merge field is
not present, you cannot select and add reasons. Click
 on the toolbar to open the Reasons dialog box.
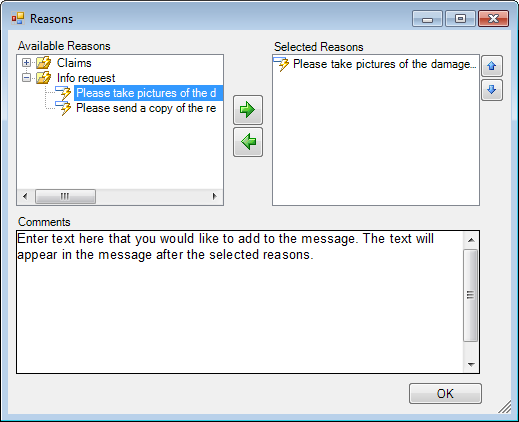
- Expand the Available Reasons list as needed to locate the reasons to be used.
- Select the reasons and click the (Move) right arrow to add the reasons to the Selected Reasons list. You can select the folder level and move all the reasons in the folder in one action.
- To remove a reason from the Selected Reasons list, select the reason and click the (Move) left arrow.
- To change the order of the reasons in the Selected Reasons list, select the reason and click the up and down arrows on the side of the dialog box. This will change the order of the reasons in the message.
- To add additional text to the message, type the text in the Comments box at the bottom of the dialog box. The text will appear in the message after the selected reasons.
- Click
OK in the Reasons dialog box to save your changes. Click
 first to return without
saving changes.
first to return without
saving changes.
- The reasons (and optional text that you add) will be displayed in the editor.
- You can
change the reasons if needed. Click
to open the Reasons dialog box. This will remove all
reasons from the message, and you can select the reasons to be used again.
- Click OK in the Edit Cover Page window to save your changes to the message. Click Cancel to return without saving changes.
|
If the Edit Cover Page menu bar is hidden, you can display it. Right-click the toolbar area and select Main Menu on the shortcut menu. For more information about hiding and displaying toolbars and menus, see Menu and Toolbar Customization. |