Redact Image
Redaction is the striking out of specific information (private data like a social security number or a settlement amount) on an image, such as a TIFF or JPEG, or on a PDF. We are going to explain how to strike out private information using the Redact Image command. You can also strike out information when you attach files or drag files into Desktop.
The redaction process utilizes a variation of the Import dialog box to display the selected images and enable the management of the images. To eliminate redundancy, we are not going to explain all the options and buttons in the dialog box. If you need more information about these items, please see Import Dialog Box Explained.
- Select the document or page that you want to redact, that is, on which you want to hide information.
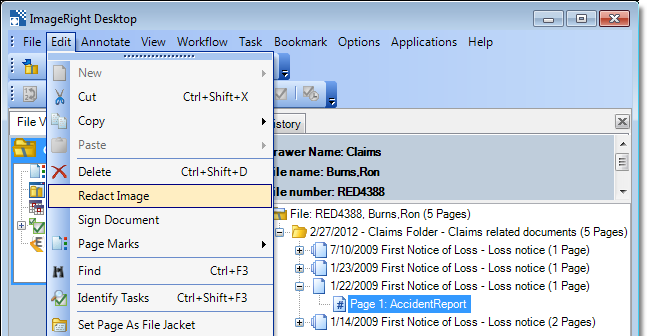
- On the Edit menu, click Redact Image. As an alternative, you may right-click the selected item and click the command on the menu.
- All the pages in the document will be displayed on the right side of the Preview tab. If a page does not have a description, default text (No Page Description) will be displayed. The default text will be removed, and the description will be blank again when you complete your changes.
- Select the page in the list that you want to redact, and the preview will be updated.
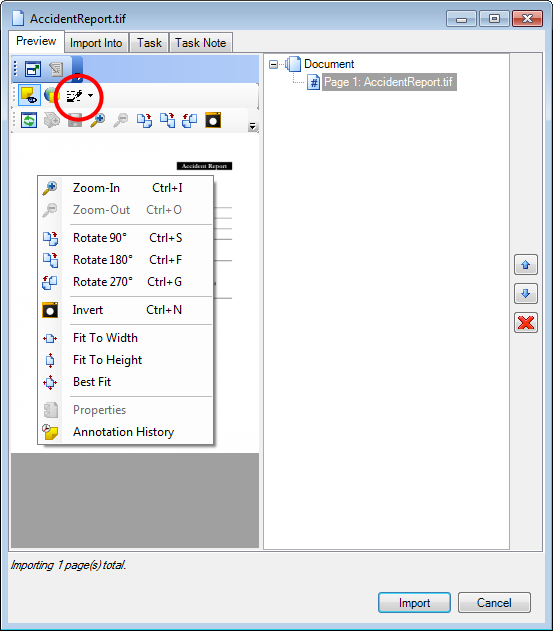
- You can right-click the image and select from a number of commands to manage the view. For example, you might use the Zoom In command to make it easier to see the content that you want to redact.
- Click
 on the toolbar to select the Redaction tool. Press
the Shift key first, and you can use the tool repeatedly until you click
the button again.
on the toolbar to select the Redaction tool. Press
the Shift key first, and you can use the tool repeatedly until you click
the button again.
- At this
point, striking out information is the same as adding an annotation to
an image as explained in Adding Annotations.
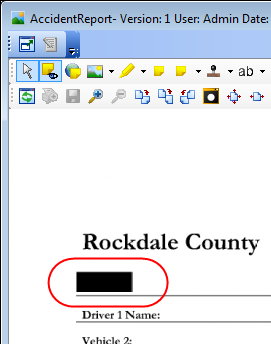
While it is not representative of sensitive information, we redacted Vehicle
1 for demonstration purposes.
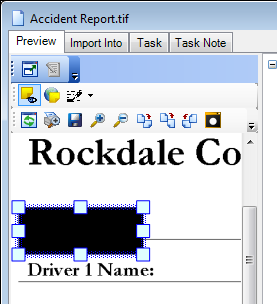
- Simply drag the pointer over the information to be redacted.
- Before you close the dialog box or select another page in the list, the redaction can be resized by dragging a sizing handle, or it can be removed. To remove a redaction, select it (indicated by the blue borders) and press the Delete key, or right-click then click Delete.
- After you move to another page or complete the import process, the redaction becomes permanent and cannot be changed.
- You can define filing options on the Import Into tab. For example, you could change the document type, folder, etc., related to the redacted document. If you do not select any options on the Import Into tab, the redacted document will be inserted in the existing document, that is, added as the first document/page in the file.
- You can create tasks and task notes on the Task and Task Note tabs.
- Click Import to complete the process. Click Cancel to dismiss the dialog box without saving your changes.
|
For more information regarding the Import Into, Task, and Task Note tabs, see Import Dialog Box Explained. |
The redacted information:
- Will not be readable.
- Cannot be made readable by removing or hiding the redaction, as annotations can be hidden.
- Will appear on documents printed or sent by e-mail or fax to other people.
|
The redaction is added to a copy of the original image. The original image is left unchanged. If the original should be secured, you must associate it with a specific document type that has applicable security permissions applied to keep unauthorized people from viewing the image. |