In this topic, we continue our description of the features of the Phone Book located on the Tables Menu.
We will explain how to view the list of contacts in the phone book and search for contacts. There are numerous methods that you can use to filter and search the list of contacts. With some practice, you will no doubt find a favorite method.
In Phone Book Contacts, we explain how to add and change contacts.
- On the Tables menu, click Phone Book. Alternatively, you can click the Phone Book button on the speed bar.
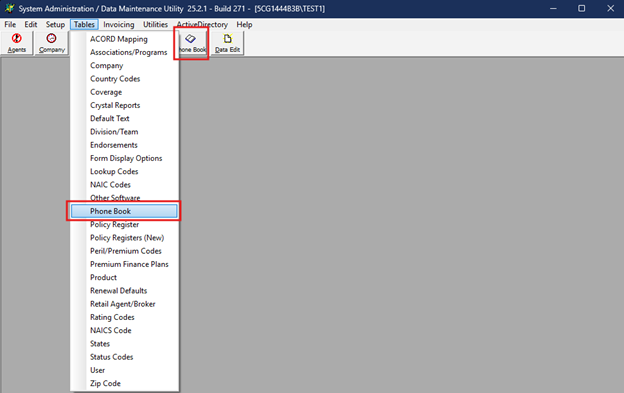
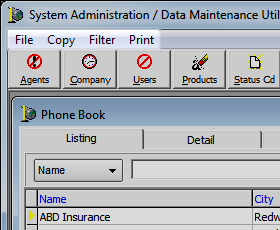
- Notice that the DMU menu options have changed to provide you with menus that work specifically with the phone book, as explained later.
- When the
phone book opens, you can click on the tabs at the top to see the contact
information.
- Listing – Contacts in the system and their identifying information are displayed in grid format
- Detail – The selected contact's detailed information can be viewed (see Phone Book Detail).
- Contacts – Addition and management of contact information is performed on the tab (see Phone Book Contacts).
- Production/Acctg – The tab is available when the selected contact is a retail agent or broker. Production information for the agent or broker can be viewed at a glance (see Production Acctg).
- You can use the search function to quickly locate a contact in the list. You
simply enter all or part of your search parameter. The first matching
contact will be highlighted. You can click
 and select
one of the parameters.
and select
one of the parameters. - Click
 to perform an advanced
search, as explained later.
to perform an advanced
search, as explained later.
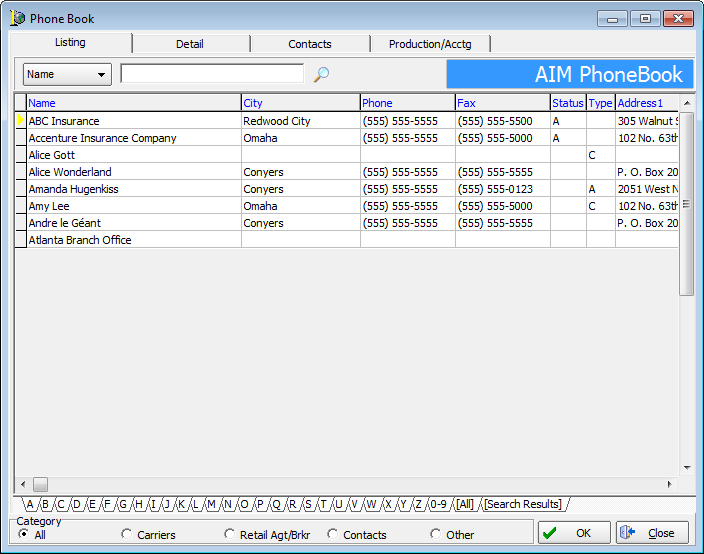
- Click a lettered tab at the bottom of the Listing tab to view only contacts and companies whose names begin with the letter that you select. You can click the All tab at the bottom to see all the entries. The Search Results tab is currently not used.
- You can narrow (filter) the list of items by selecting an option in the Category pane.

- You can
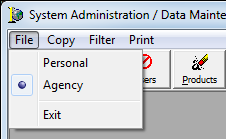
filter the list by selecting commands on the File menu.
- Personal – displays the contact that have been copied (as explained later) from a larger list to the DMU user's personal list. The copied contacts are viewable only by the person who is logged onto DMU when the contact is copied for personal use.
- Agency – displays all the contacts based on the filters that are selected as explained later. Everyone using AIM may see the contacts.
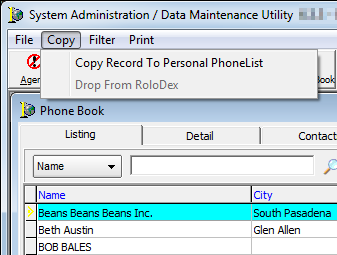
- To create
a personal phone list, select the desired listing, and then click Copy
Record to Personal PhoneList on the Copy menu.
The listing will be added to your personal phone list. With a personal list, you can quickly identify the contacts that you use frequently while working in DMU. Other people who logon to DMU will not be able to see your personal list. The Drop from RoloDex option is not currently used.
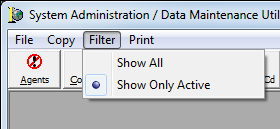
- Select
a command on the Filter list to control the contacts that are displayed
in the list. Other filters can be applied to the list, as explained later,
that work in conjunction with your selection here.
- Show All – All active and inactive contacts will be displayed.
- Show Only Active – Only active contacts will be displayed. In other words, if you have marked a broker as inactive, the contact information will not be displayed.
Advanced Search
Earlier, we explained how to perform a simple search based on a single parameter. You may find the steps below helpful if you want to perform a more advanced search.
- Click
on the Listing tab to open the Contact
Search dialog box and begin your advanced search.
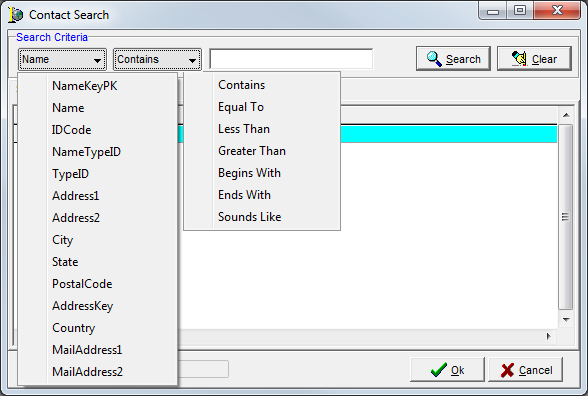
- In the
Search Criteria pane, click the Name button to select one of the search
parameters.
- Name – Name of the company or contact
- NameKeyPK – primary database key
- IDCode – company or contact ID code
- NameTypeID – record type indicator
- P – payee
- L – lawyer
- D – doctor
- E – adjuster
- T – third party administrator (TPA)
- A – agency
- U – client
- F – finance company
- C – company
- I – contact
- TypeID – association type – A (agent), C (company)
- Address 1 – first line of the address
- Address 2 – second line of the address
- City – city of residence
- State – state of residence
- Zip – zip code
- Postal Code – in which the company or contact resides
- AddressKey – (reserved for future development)
- Country – location of the company or contact
- MailAddress1 – first line of the mailing address
- MailAddress2 – second line of the mailing address
- Click
the Contains button to select a different search operator. Choose from
the following search operators:
- Contains – Only results containing the exact text typed in the search box will be shown.
- Equal To – Results with the exact integer or the exact text entered will be shown.
- Less Than – Results will show only integers that are less than the value of the integer entered.
- Greater Than – Results will show only integers that are greater than the value of the integer entered.
- Begins With – The search will return only matches that start with the text or integer you entered.
- Ends With – The search will return only matches that end with the text or integer you entered.
- Sounds Like – Results will include items that match based on an approximation of the sound of the search criteria.
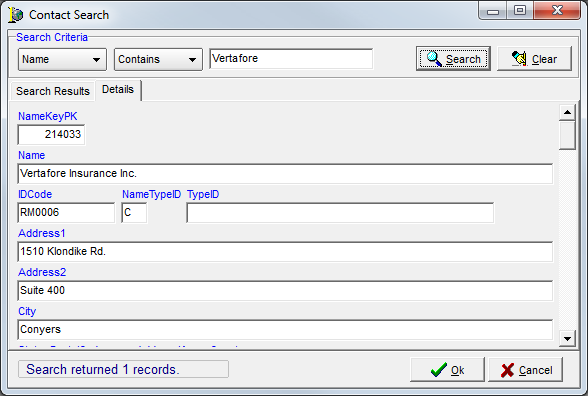
- The remainder of the Contact Search functions are the same manner as those we explain in Company.
- Once you
have located the company or contact, click the Details tab to view specific
information.
You can review but not change the information on the Details tab. - Click OK to return to the Listing tab.