In this topic, we continue our discussion about adding Locations when adding a New Insured.
Information about the location, such as the address, square footage, and the number of buildings can be added to the Detail tab.
In the table below, we describe the buttons located in the Add/Edit Location Schedule dialog box. The buttons displayed vary depending on whether you are adding a record or editing an existing record.
|
Button |
Function |
|---|---|
|
|
Add a new additional insured record |
|
|
Edit the selected record |
|
|
Copy the selected record |
|
|
Save your changes and close Add/Edit Location Schedule |
|
|
Save changes and begin a new record |
|
|
Abandon changes and close Add/Edit Location Schedule |
|
|
Delete the selected record |
|
|
Open the location address on the Map Quest Web site using your default Web browser application |
|
|
Move to the first record |
|
|
Move back ten records |
|
|
Move to the previous record |
|
|
Move to the next record |
|
|
Move forward ten records |
|
|
Move to the last record |
|
|
Close Add/Edit Location Schedule |


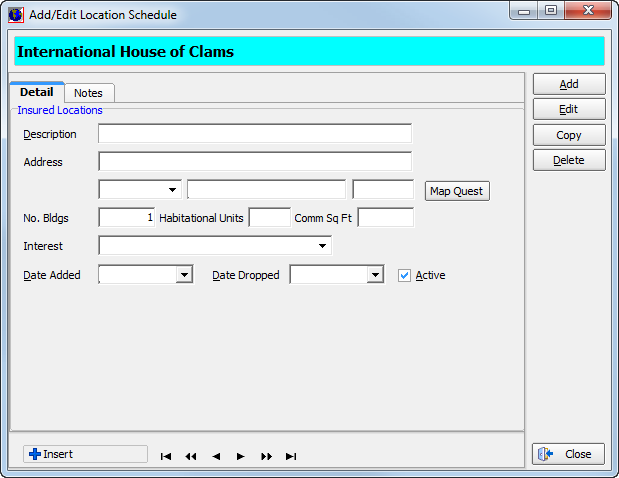
Next, we show you how to add location information to the Detail pane. You can modify our steps to edit existing locations.
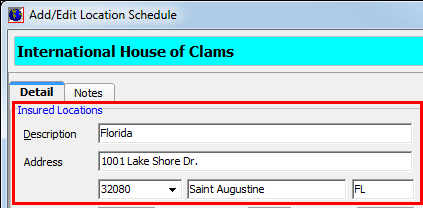
- Enter the following information in the Insured
Locations pane.
- Description – brief description of the location
- Address – address of the location (City and state information is populated automatically when the zip code is selected.)
- No. Bldgs – number of buildings or sub-locations
- Habitational Units – number of units used as places of residence, such as apartments
- Comm Sq Ft – commercial square feet
- Interest – type of interest
- Date Added – date
on which the location was added to the insured record (Click
 to use the Calendar.)
 - Date Dropped – date on which the location was dropped from the insured
- Active – indicates whether the location record is active