In the steps that follow, we show you how to process certificates in AIM including adding/editing a certificate and adding/editing certificate holders. In our example, we show you how to process and ACORD 25 certificate.
-
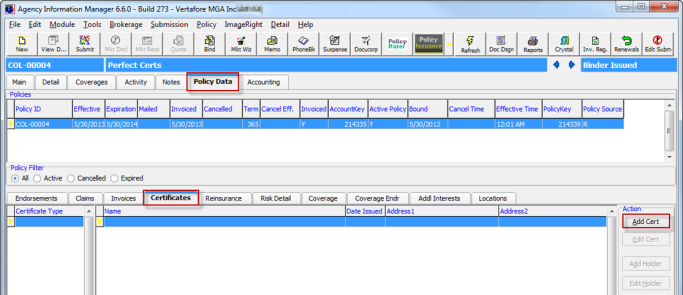
On the Policy Data tab, click the Certificates tab, and then click the Add Cert or Edit Cert button depending on whether you are adding a new certificate or editing an existing one.
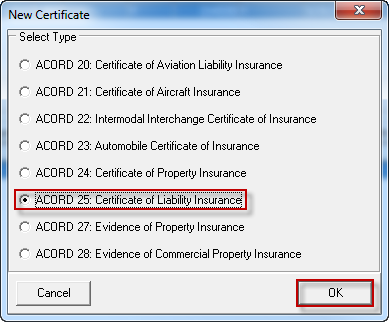
- In the New Certificate dialog box, select the ACORD certificate type, and then click OK.
-
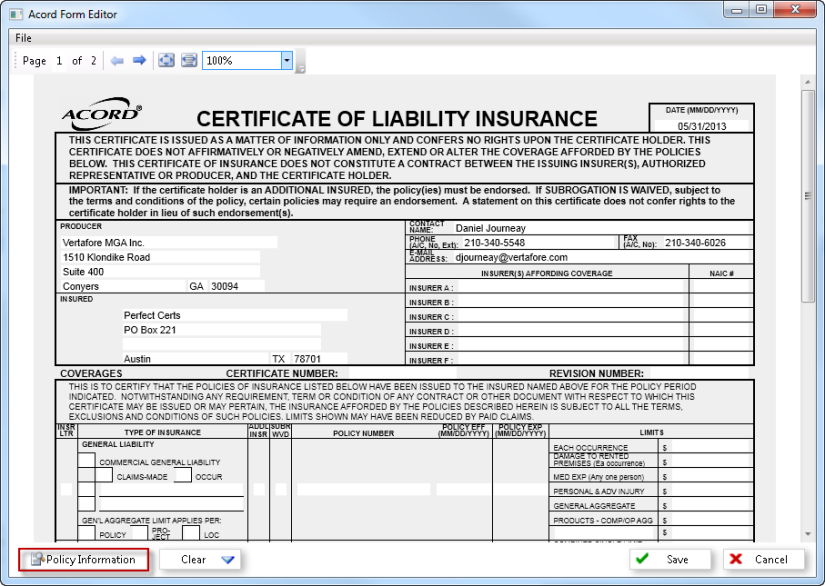
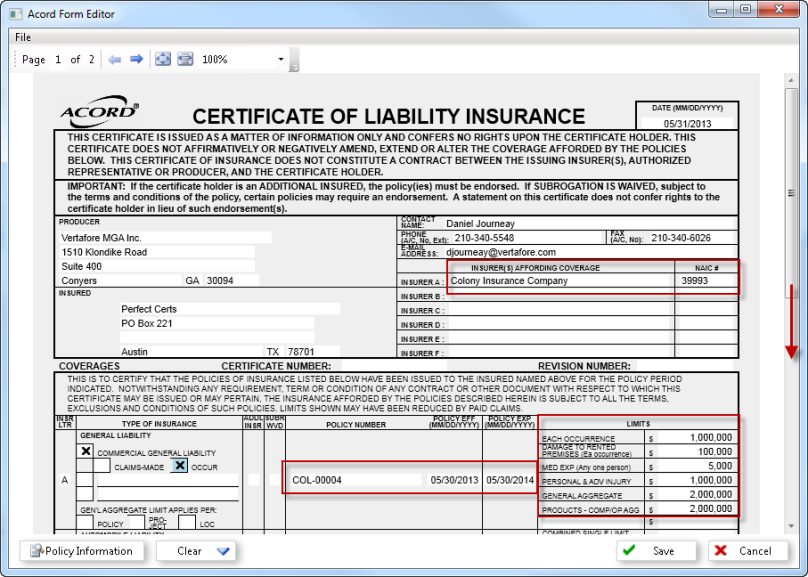
When the ACORD certificate opens in ACORD Form Editor, it is automatically populated with some information. To populate the Coverages section, click the Policy Information button.
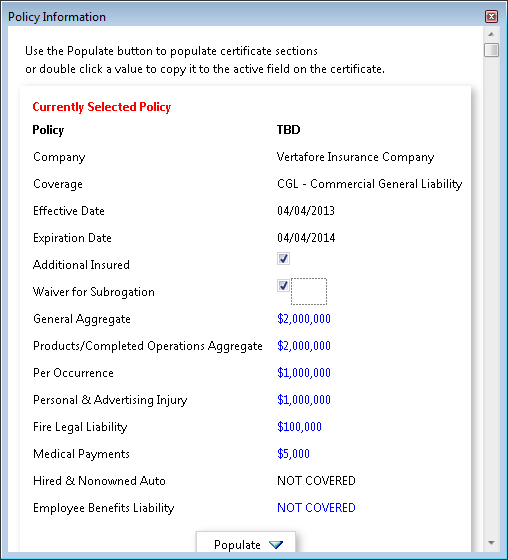
- In the Policy Information dialog box, the information for the currently selected policy is displayed. If the insured has other policies (previous years or other lines of business), these are displayed further down in the window.
- If you are adding an ACORD 25 certificate, you can select Additional Insured and/or Waiver for Subrogation if you want to populate the certificate with a Y for those values.
|
Selecting Add to Waiver for Subrogation or Add as Additional Insured does not change the policy. An endorsement must be created to change the policy. |
- At the bottom of the dialog box, click the Populate button and choose the coverage sections of the certificate you wish to populate.
|
The Populate button is only available when the ACORD 25 certificate type is used. |
- Close the dialog box.
- The information populates the certificate. Scroll down to review the lower half of the document.
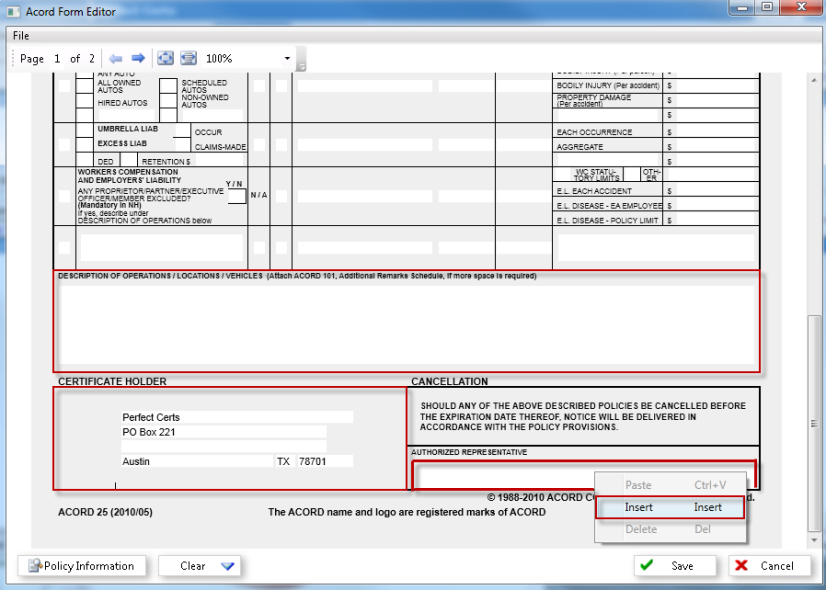
The Description of Operations is available to edit on the next page; as is the Certificate Holder section as it defaults to show the named insured.
- The Authorized Representative signature automatically defaults depending on the state setup. Each state can have a unique signature for certificates based the filing state or risk. If there is no default, right-click the Authorized Representative field, and then click Insert.
If a signature does not default on your certificate, please refer to your system administrator to review the setup of signatures in the AIM directory. - Browse to find the desired signature to insert into the certificate.
- Click Save.
You can view policy certificates on the Policy Data tab by clicking the Certificates tab.
Certificates are displayed in the grid. The Certificate Type pane displays the types of certificates on the policy. The buttons displayed in the Action pane and described in the table below can be used to manage certificates on the policy. Alternatively, you can right-click the grid to see the menu.
|
Button |
Function |
|---|---|
|
|
Add a new certificate of insurance as discussed in Certificate of Insurance and ACORD Form Editor. |
|
|
Edit the selected certificate as described in Process Certificates. |
|
|
Add a certificate holder to the selected certificate |
|
|
Edit the certificate holder for the selected certificate |
|
|
Print the selected certificate |

|
Upload a list of Certificate Holders for the selected certificate |

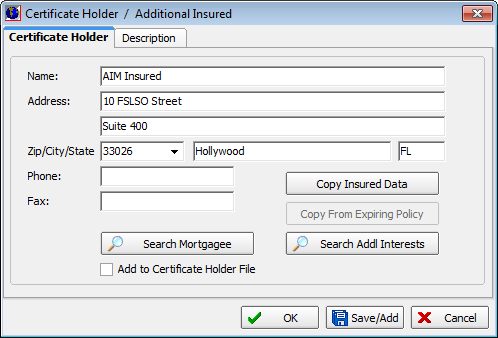
In the steps that follow, we show you how to add a certificate holder to the certificate that you have selected in the grid. You can modify these steps to edit an existing certificate holder, if applicable.
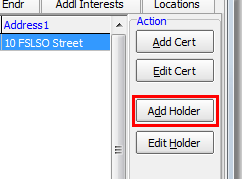
- Click Add Holder.
- Click Search Mortgagee to browse existing certificate holders if applicable.
- Click Copy Insured Data to copy the name, state, address, etc. from the insured if applicable.
- Click Copy From Expiring Policy if you are processing a renewal and want to copy the certificate holders from an expiring policy.
If you are not processing a renewal this button is not available.
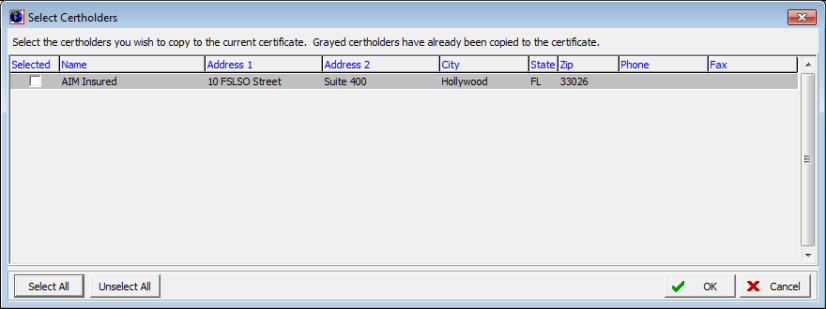
- In the Select Certholders dialog box, select the certificate holders to carry forward into the renewed policy.
You can click Select All to select all certholder records. - Click OK.
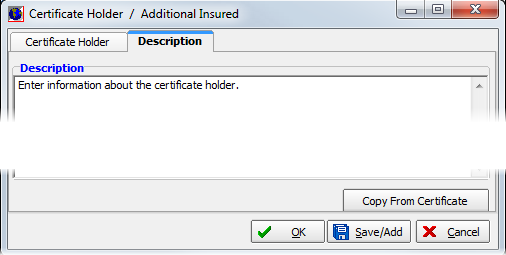
- On the Description tab, enter the description of operations as needed.
This information can be copied from a Word document, if necessary. The description entered here is unique to the certificate holder. - Click Copy From Certificate to copy description information from the certificate, if applicable.
- On the Certificate Holder tab, select Add to Certificate Holder File to add the entered information to the certificate holder file.
- Click OK to save your changes, Save/Add to save your changes and add another new certificate holder, or click Cancel to abandon the process of adding the certificate holder.

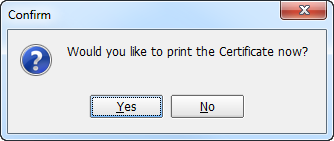
- Click Yes in the Confirm dialog box to print the certificate now.
The completed certificate is displayed in a .pdf format. You can print, fax, or e-mail the certificate as needed.
Certificates can be viewed and managed on the Certificates tab of the policy record.
To use this function, you must use the certificate holder upload template, which is located here.
-
Once you have chosen the certificate to add holders, click the "Upload" button.
-
In the "Upload Holder Schedule" window, click on the folder icon next to File and browse to the location of the saved upload template.

-
Once you have chosen your upload file, you can select the upload Method to use.
-
Delete Existing Holders: This will remove any existing certificate holders and upload the certificate holders specified in the template.
-
Append to Existing Holders: This will preserve the existing certificate holders and append the certificate holders specified in the template to the existing list of holders.

-
-
After you have chosen the appropriate upload Method, click the "Upload File" button to begin the upload process.

-
Once the upload process is completed, click "OK" in the upload Information window; you will be returned to the Certificates tab that contains the newly uploaded certificate holders.
-
Repeat this process to add more certificate holders to the currently selected certificate, or you may select another certificate to add certificate holders.


