In this topic, we continue our discussion of managing commercial inland marine property on the Commercial Inland Marine tab in Units At Risk.
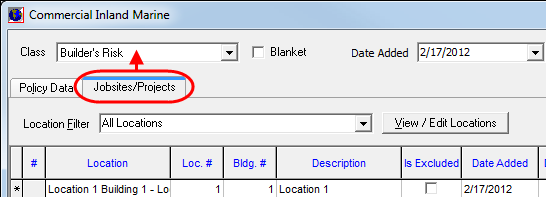
The name of the second tab, to the right of the Policy Data tab, changes depending on which class you select in the Class box. For example, if the selected class is Builder’s Risk, the Jobsites/Projects tab is displayed. However, if the Commercial Articles class is selected, the Scheduled Items tab is displayed.
In our example, we have selected the Builder’s Risk class so that we can show you the basic functions of the second tab. You can modify our example to meet the needs of the class you select.
- In the
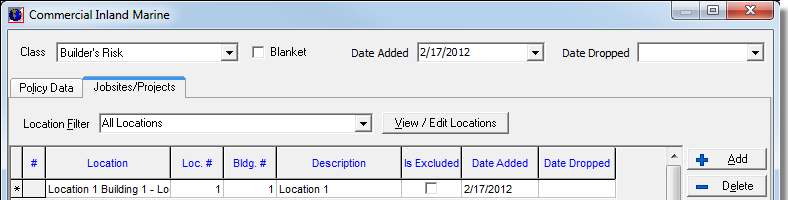
Location Filter box, select the required location.
Alternatively, you can click View/Edit Locations to add or modify the locations as described in Location Information.
- Click Add to add the selected location to the grid, or click Delete to remove an existing location from the grid.
- In the grid, click the columns to enter data specific to the scheduled item, project, job, or vehicle. Complete the grid as needed.
|
Depending on your class selection, you may see one or two grids on the secondary tabs. The contents of the grids vary depending on the selected class so we will not provide a detailed explanation of all possible grid formats in this guide. If you need assistance, please contact Vertafore Support for AIM. |
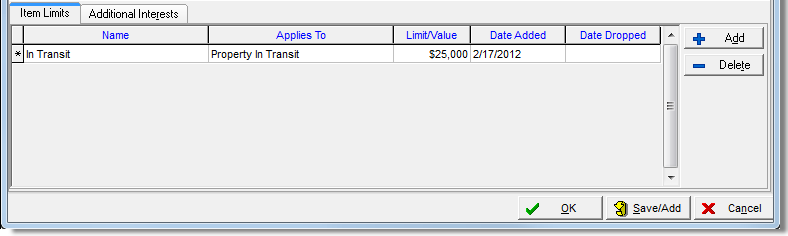
- The lower grid, if available, has two tabs, Item Limits and Additional Interests. Click the Item Limits tab, and then enter additional coverage data, as required.
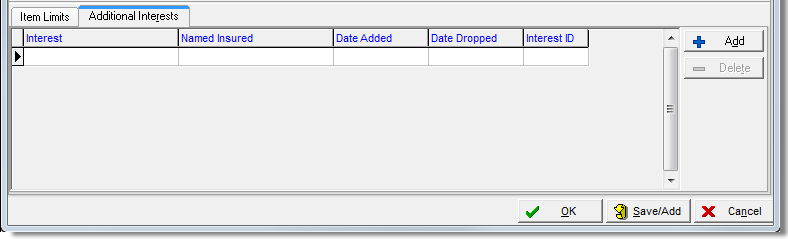
- On the
Addittional Interests tab, you can manage any other interests using the
process described in Additional Interests.
Click Add to add additional interests to the grid, or click Delete to remove them.