When you prepare an e-mail message, you can select options that define whether the message body and attachments will be added to ImageRight after you send them (see Selecting the E-Mail Options). You can define the options that dictate where these items will be filed in ImageRight.
|
The Import Images dialog box discussed here is used whenever you add content to ImageRight. The options and use of the dialog box are generally the same in all instances. Therefore, to eliminate redundancy, our discussion of the Import Images dialog box here is limited by design. For more detailed information, see Import Images Dialog Box Explained. |
- If you
select one of the options below when preparing
an e-mail message, the Import Images dialog box will be opened after you
send the message (see Preparing the E-Mail Message).
- Drop attachments into the file
- Drop message body into the file
- You can select a favorite in the Import favorites pane to define how the message and attachments should be filed. See Favorites for more information about selecting, creating, and using favorites.
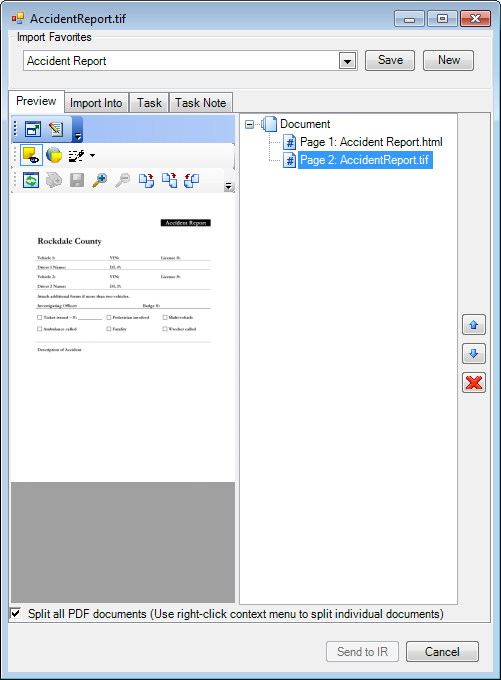
- On the Preview tab, you can select an item in the Pages to Import list on the right side of the dialog box and see a preview on the left.

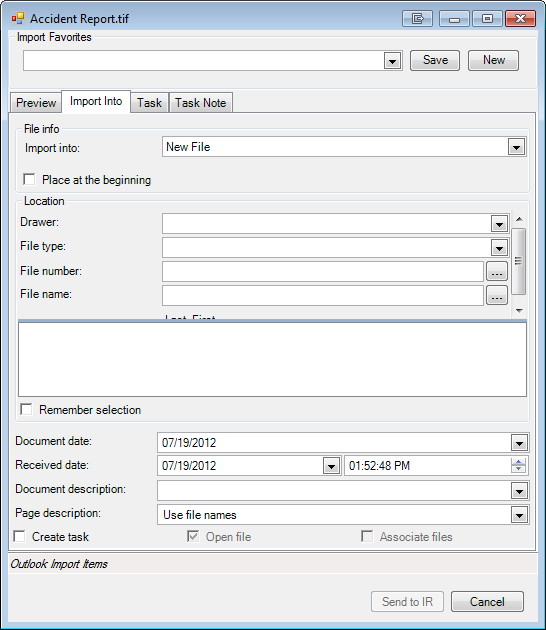
- On the Import Into tab, you configure the options related to the file structure, that is, the options that dictate where the message and attachments will be filed.

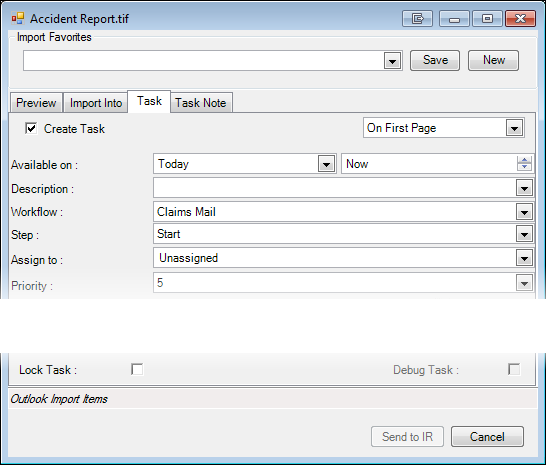
- To create a workflow task, click the Task tab, and then enter the necessary information, for example, the workflow, step, priority, assignment, etc.

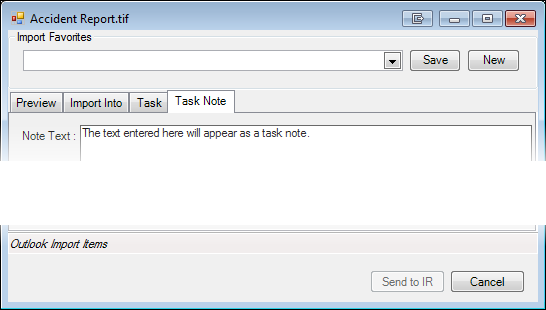
- You can add a task note on the Task Note tab if needed.
- Click Send to IR to complete the import process. Click Cancel to end the import process.
