There are multiple options for composing a message. You may use:
- Lotus Notes
- Microsoft Outlook
- The integrated e-mail editor
We are going to explain the use of Outlook and the integrated e-mail editor. You can easily adapt our steps to use Lotus Notes.
|
In E-Mail Options, we explain how to select the editor that you want to use. |
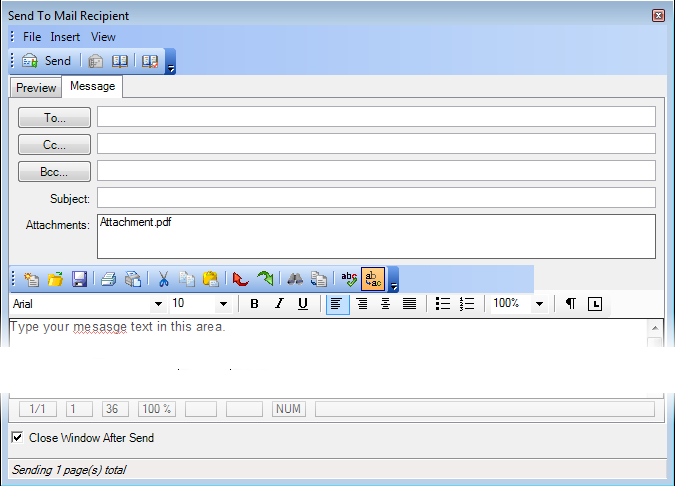
Using the Integrated E-Mail Editor
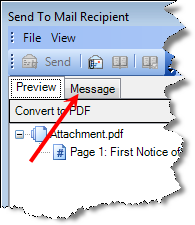
- Click the Message tab to display the e-mail editor which is very similar to a typical e-mail program.
- Add the
names of the people to whom you want to send the message in the To, Cc,
and Bcc
boxes.
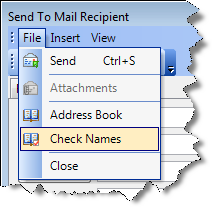
- Click
 to open the address book related to your e-mail
program. As an alternative, you can expand the File menu and click Address Book.
With the book open, you can choose addresses just as you would when composing
a message outside of ImageRight.
to open the address book related to your e-mail
program. As an alternative, you can expand the File menu and click Address Book.
With the book open, you can choose addresses just as you would when composing
a message outside of ImageRight. - Click
 , and the entered names will be compared to names
in your e-mail program address book. The address in the book will be used
for the entered names. As an alternative, you can expand the File menu
and click Check
Names.
, and the entered names will be compared to names
in your e-mail program address book. The address in the book will be used
for the entered names. As an alternative, you can expand the File menu
and click Check
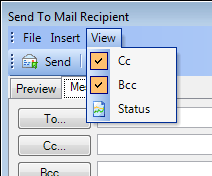
Names. - You
can hide the Cc and Bcc boxes if desired. On
the View menu, click Cc or Bcc to remove the checkmark. If you would like to display either one again, simply repeat this action to select the one to be displayed, indicated by
 .
.
- Click
- Enter the topic of the message in the Subject box.
- Place
the insertion point (cursor) in the message area below the Attachments
box.
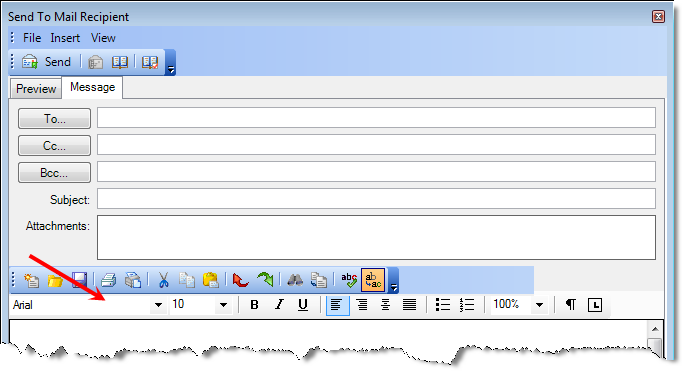
- You can use the options on the Formatting toolbar to format the text and layout of the message as needed and change the zoom percentage. The options on the toolbar are typical of those found in most word processing programs, so we will not explain them here.
- Type your message in the message area.
- A red, wavy line will appear under misspelled words. You can right-click the word and select a correct spelling from a list or choose to ignore the identified word.
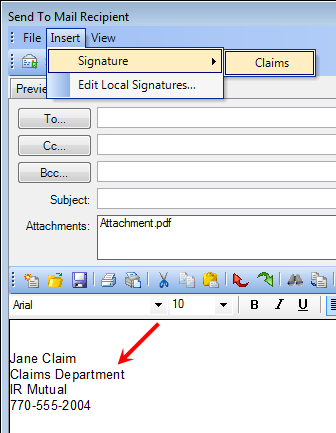
- Using the Insert menu, you can add a signature to your message. point to Signature, then select the signature that you want to use. (We will explain later how to create a signature.)
- Select the Close window after send option at the bottom of the message window if you want the dialog box to close automatically. If the option is not selected, the window will remain open for use.
- You can determine how many attachments are being sent. Each attachment is counted as one page, and the Sending x pages total count is displayed in the status bar at the bottom of the dialog box.
- Click
 to send the message, or click Send on the File menu.
 - Click
 or click
Close on the File menu to cancel the message without sending.
or click
Close on the File menu to cancel the message without sending.
Creating a Signature
Earlier we explained how to add a signature to a message. In this section, we will explain how to create a signature. You can create multiple signatures if needed by following our example.
- Open the Send to Mail Recipient dialog box.
- Click the Message tab if it is not already displayed.
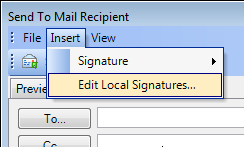
- On the Insert menu, click Edit Local Signatures.
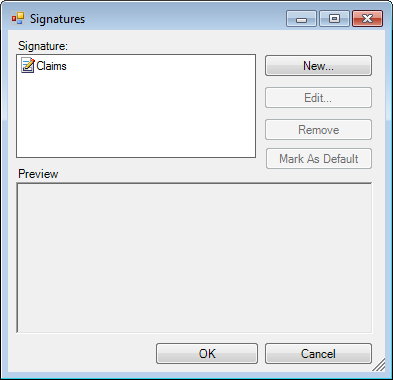
- To create a new signature, click New in the Signatures dialog box.
- In the New Signature dialog box, enter an easily identifiable name in the box under number 1. This name will be displayed on the Insert menu when you point to Signature.
- Under number 2, select the appropriate option based on the descriptions in the dialog box. If you select Use this existing signature as a template, select the appropriate signature in the list.
- Click Next to open the Edit Signature dialog box.

- To create
the new signature, do one of the following:
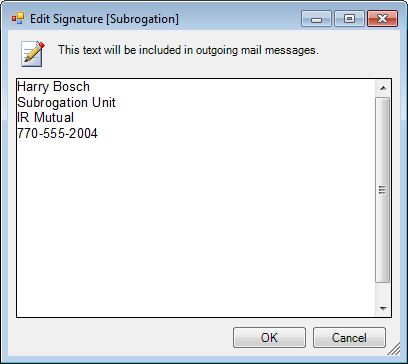
- If you selected a signature to use as the basis for a new signature, the signature will appear in the dialog box. Change the signature as needed.
- If you are creating a new signature, type the signature as you want it to appear in the lower portion of the dialog box.
- Click OK to save your changes or Cancel to return without saving changes.
|
A red, wavy line will appear under misspelled words. |
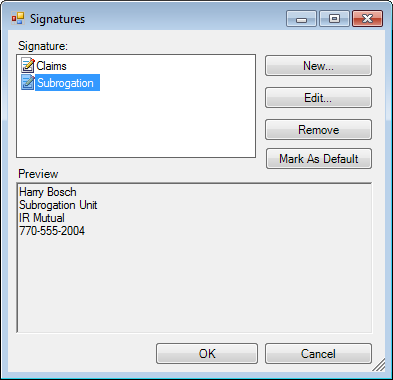
When you select a signature in the Signatures dialog box, it will be displayed in the Preview pane. With a signature selected, you can click:
- Edit to open the Edit Signatures dialog box and change the signature as needed.
- Remove to delete the signature, making it unavailable for future use.
- Mark as Default to designate the signature that will be used automatically without your having to use the Insert menu.
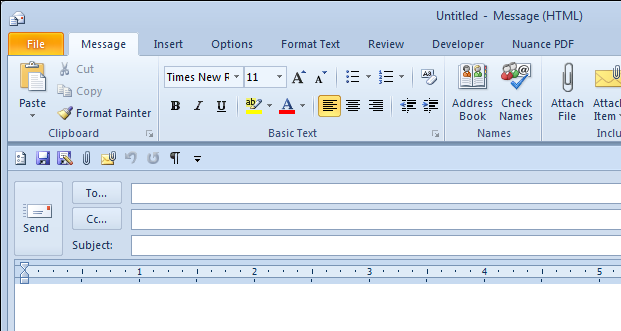
Using Microsoft Outlook
We mentioned earlier that you can use Microsoft Outlook to compose your e-mail messages. Before you begin, you must enable the use of Outlook in E-Mail Options.
In separate topics, we explain the layout of the Send to Mail Recipient dialog box, the options available, how to add attachments, etc. Therefore, we will not repeat the discussion here. If you need more information regarding these topics, see Mail Recipient.
You will notice one difference in the Send to Mail Recipient dialog box when using Outlook. The Message tab is removed.
After you have defined the attachments to be sent and selected the appropriate
options, click to open the Outlook message
window. Now, you are ready to compose and send your message, using all
the functionality of Outlook.
|
In Send To, we provide additional details about managing attachments, customizing the dialog box, and available menu commands. |