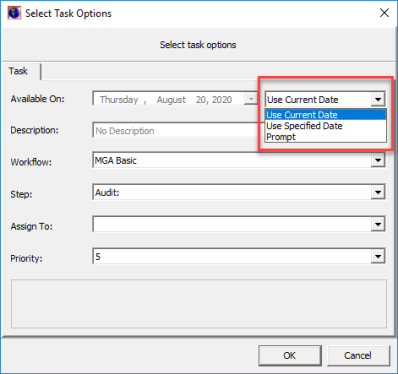
You can use the Renewal Listing tab to get a more detailed view of the search results generated on the Selection Criteria tab that we discussed in Renewal Manager.
The policies are shown in the familiar grid layout. In the table below, we provide a description of the buttons on the Renewal Listing tab.
|
Button |
Function |
|---|---|
|
|
Update the renewal status of the selected policy |
|
|
Initiate the selected process action |
|
|
Move to the first policy in the grid |
|
|
Move to the previous policy |
|
|
Move to the next policy |
|
|
Move to the last policy |
|
|
Select all policies |
|
|
Cancel the selection of all policies |
|
|
Change the selected renewal rule |
|
|
Remove the selected renewal rule |
|
|
Copy the selected to renewal rule to be used in a new rule |
|
|
Create a new renewal rule |
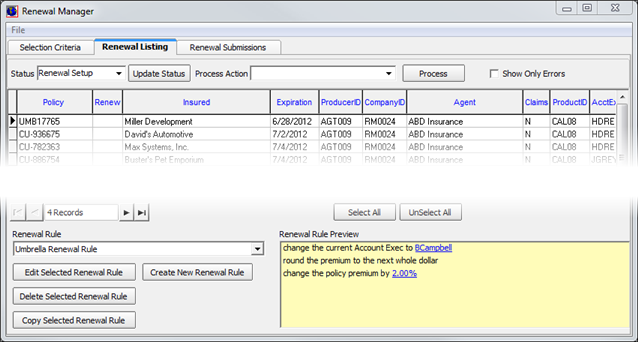
In the steps that follow, we show you how to create a new renewal rule, update renewal status, and process actions for renewals.
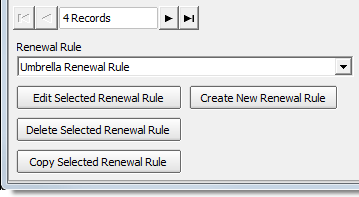
- If you need to apply a renewal rule, and if the required renewal rule already exists, you can select it from the Renewal Rule list. Otherwise, click Create New Renewal Rule to create the rule.
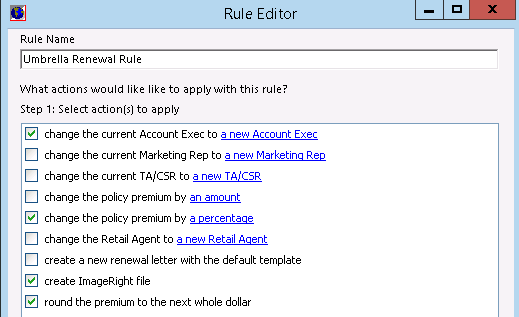
- In the Rule Editor, type the name of the rule that you are adding in the Rule Name box.
- In the
Select action(s) to apply pane, select all actions that apply:
- change the current Account Exec to a new Account Exec
- change the current Marketing Rep to a new Marketing Rep
- change the current TA/CSR to a new TA/CSR
- change the policy premium by a percentage
- change the Retail Agent to a new Retail Agent
- create a new renewal letter with the default template
- create ImageRight file (creates an ImageRight file if one does not exist)
- round the premium to the next whole dollar
- In the Edit the action description pane, you can click the underlined value to edit the selected action. In our example, we show you how to change the account executive.
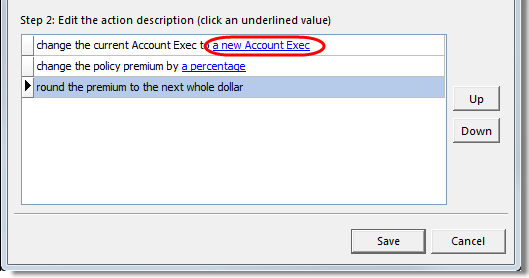
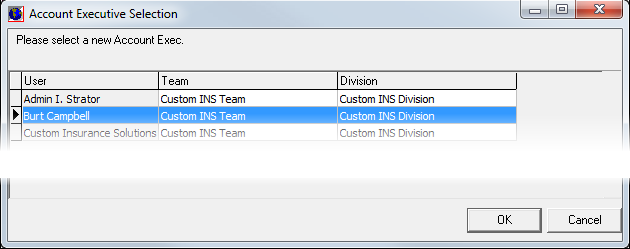
- Select
the new account executive and then click OK to save your changes or Cancel
to abandon the change.
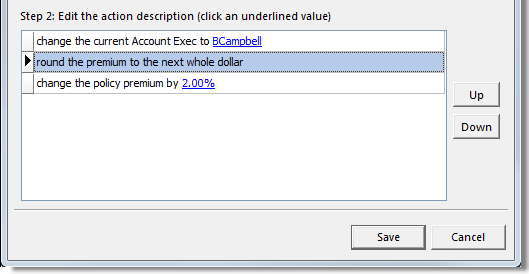
Changes are reflected in the Edit the action description pane.
- You can change the order in which actions are implemented. Select an action and click Up or Down to move the action in the list.
- Click Save to save your changes, or click Cancel to abandon any changes and close Rule Editor.
- Click
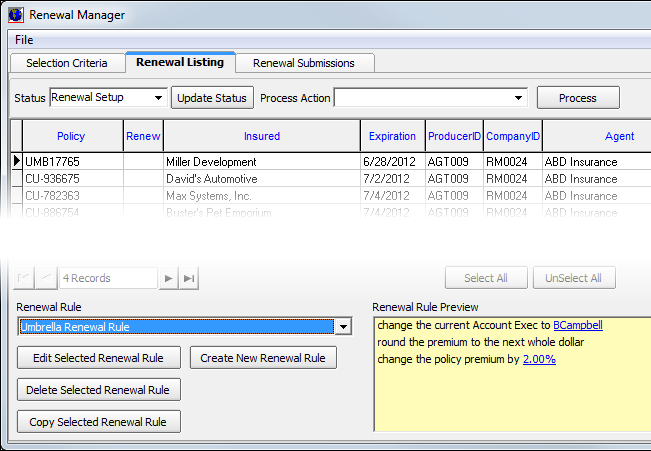
to select policies in the grid.
You can press the Ctrl key to select multiple policies or click a policy and press Shift and click another policy to select those policies and all policies in between.
- In the
Status list, select a renewal status.
- Renewal Setup – The policy needs to renewed.
- Issue Policy – The policy should be submitted to the policy issuance team.
- Issue Quote – A renewal quote should be offered.
- Non-Renew – The policy should not be renewed.
- Clear Status – Remove the status of the selected policies.
- Click
Update Status to update the status of the selected policies.
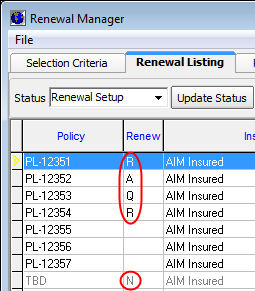
The Renew column in the grid displays the renewal status that you have selected.- R – renew
- A – issue policy
- Q – issue quote
- N – non-renew
- In the
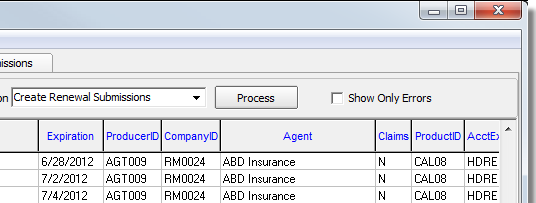
Process Action box, select one of the following process actions.
- Create Renewal Submissions – create or add to a renewal batch
- Create Renewal Submissions (RTF) – create or add to a renewal batch
- Issue Renewal Letter – issue a renewal letter using Crystal Reports
- Issue Non-Renewal Letter – issue a letter of non-renewal using Crystal Reports
- Issue Survey Letter – issue a survey letter using Crystal Reports
- Create Renewal Submissions (Condo) – create or add to a renewal batch
- Select policies from the grid to process. You can use the method described earlier to select multiple policies.
- Select Show Only Errors if you want to see only those renewal submissions that have received an error message following processing.
- Click Process to create renewal submission batches or to issue a letter using Crystal Reports.
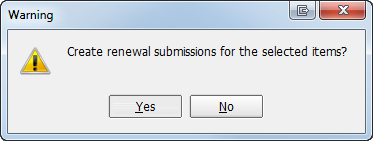
- If you are creating a renewal batch, click Yes to create a renewal batch or click No to cancel.
- In Renewal
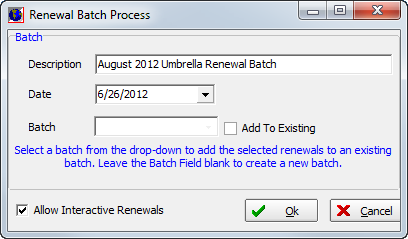
Batch Process, enter the following information.
- Description – type a brief and identifiable description of the batch
- Date – type the batch date or use the Calendar
- Batch – select an existing batch from the list or leave blank to create a new batch
- Add to Existing – select to add to an existing batch
- Allow Interactive Renewals – use Submission Renewal Merge during the batch process
- Click OK to create the batch or click Cancel to abort.
|
As of AIM 20R1, if a user is set up as the Account Exec, Marketing Rep or TA/CSR on a policy that is being renewed, and that user is no longer a valid user in AIM or a valid selection option from the drop-down list for Account Exec, Marketing Rep or TA/CSR a message will appear during the Renewal process. An enhancement has been added to validate that fields are set with valid options. If an invalid option is found, the field will be cleared and the user will receive a message asking if they would like to enable interactive batch renewals.
The user has the option to fix the issue using the interactive batch renewals or click No. If No is selected, the policy is flagged as failed with an error message.
The user will need to manually process the renewal, or reprocess the renewal using the Interactive batch renewal to update to a valid selection. |
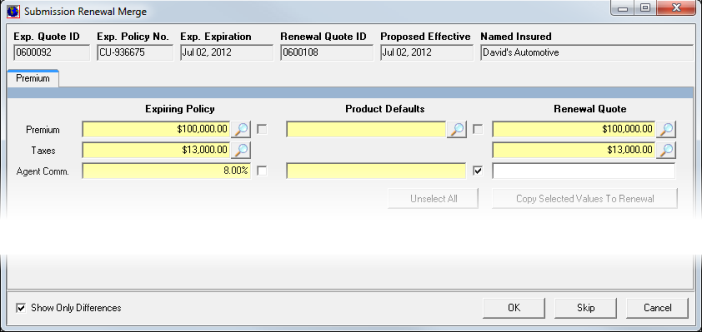
- For the renewal submissions that include products that are part of a default renewal group, Submission Renewal Merge is displayed. You can process the renewal merge or click Skip to move past the displayed submission record without creating a renewal record.
- If you are using interactive renewals, and if any policy included in the renewal batch uses multi-state tax allocation, Multi-State Tax Allocation is displayed so that you can edit the multi-state tax allocations.
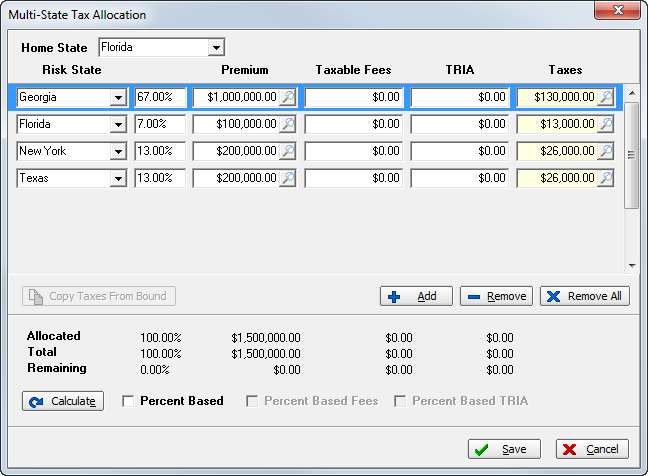
If the renewal contains multi-state allocations, the filing state is automatically updated to match the filing state of the insured and the NRRA Multi-State option is selected automatically, as described in New Submission. A warning message appears to let you know that the home state has been updated.
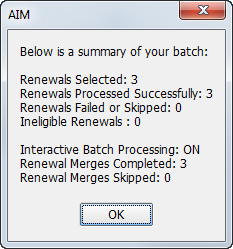
When all renewal submission records have been processed, a summary of the batch is displayed.
|
With the AIM 20.2 release, the following changes were made:
|


